



Mini Miter Box (Khuôn cắt góc 90°, 45°, 30°, 22.5°)
 ByfifindrLikes355Downloads853
Build another version of this model.
*Update: added STEP files & link to assembly jig.
*Update: added STL files without text.
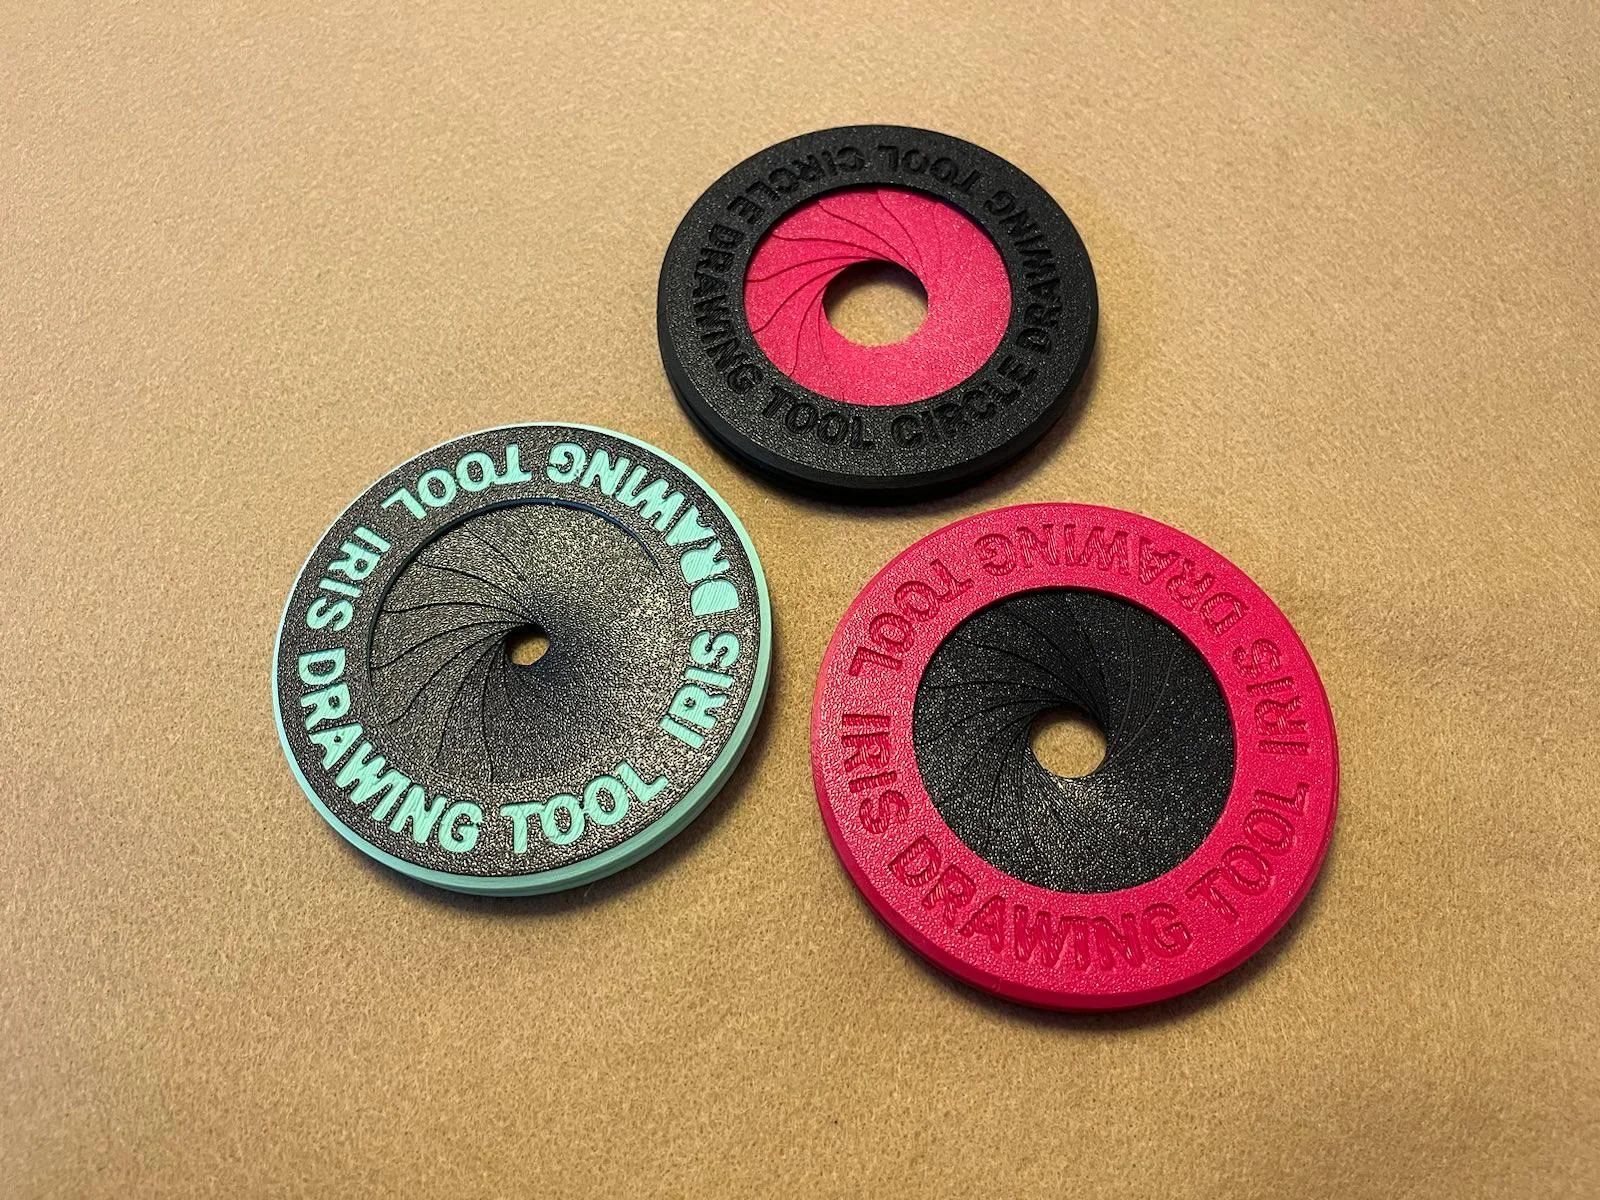
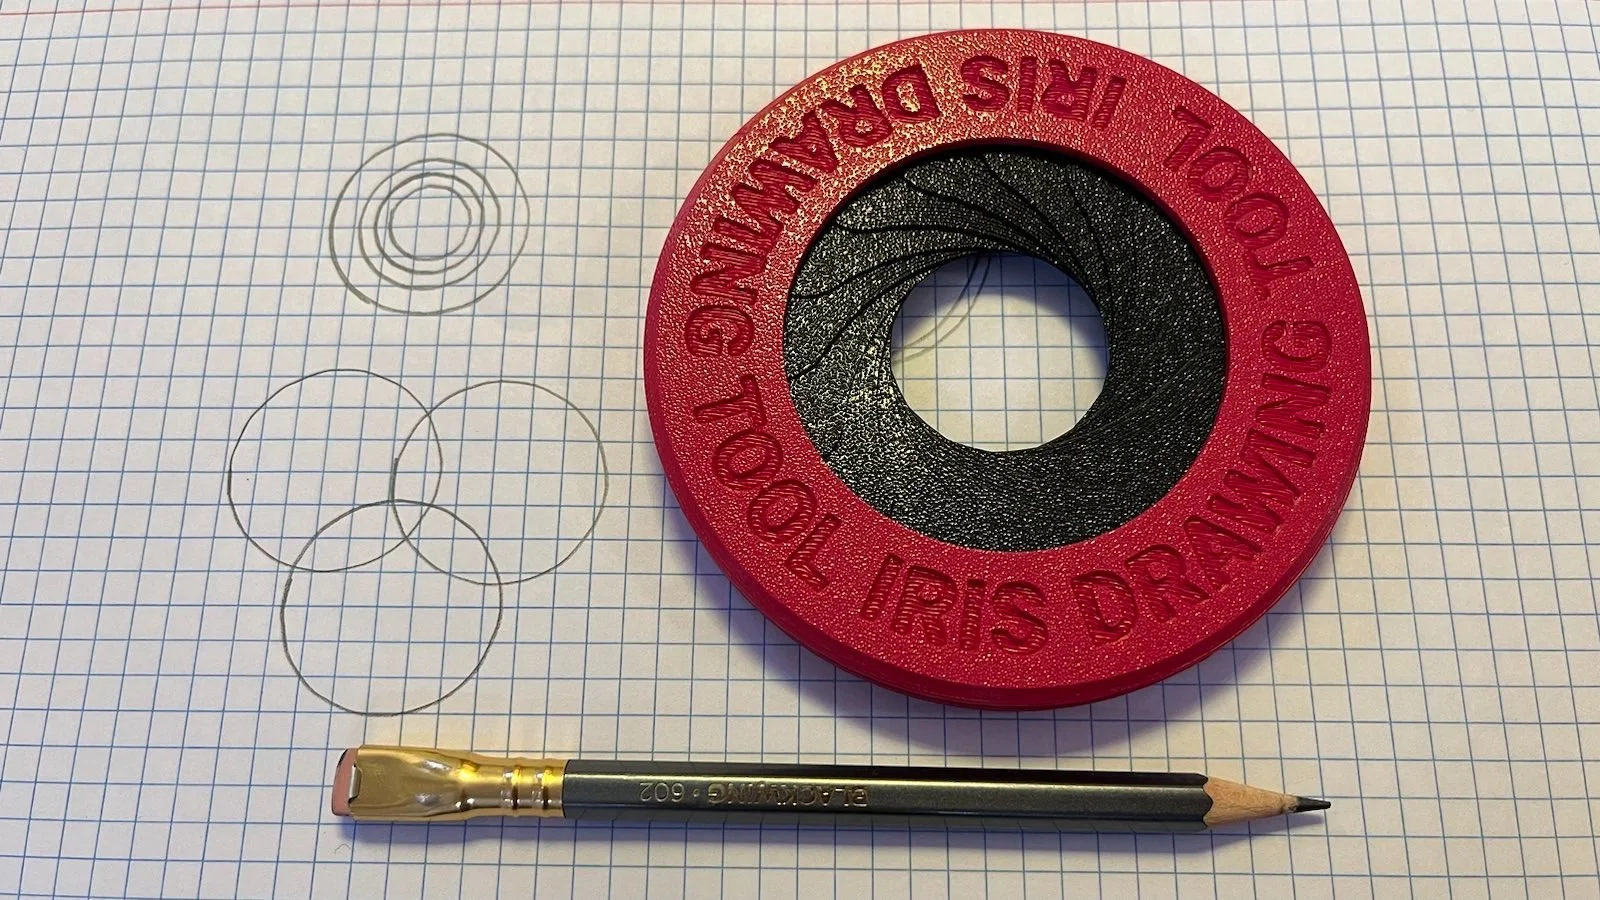
I Saw Makers Cabinet's IRIS and had to have it, but the I found how much it costs and decided to design a 3d printable version. Maybe someday I'll buy the real one :).
I Worked hard over multiple iterations to get this print to be as easy to assemble as possible, hope you find it to be as such. I Would love to get feedback in order to improve the design, so feel free to message me and or leave comments.
Step one (parts):
*outer ring oops
Step Two (Connecting the leafs):
Take the Inner ring and start hooking the Eyes to the Pillars going CLOCKWISE
*****depending on print materials this step can go smoothly or not, don't hesitate to reprint the leaves for a better fit, it only takes 30 minutes :).
Step Three (Positioning the leafs):
After all the leafs are connected position them as shown in the picture, a small flat head screw driver can help.
*this step may be frustrating but the worry were almost done. To make this easier “markury” made an assembly jig.
Step Four (connecting the rings):
Place the outer ring on top trying to get all the sliders into their slots. Make sure to align the three tabs on the inner ring with the openings on the outer ring before closing
For some reason the text editor wont let me add more photos so the photo for stage four is above with the model pics.
*if a few of the leafs aren't in place after you close just take a small flat head and move the until they snap into their slot.
ByfifindrLikes355Downloads853

 Bykjus_448782Likes314Downloads673

 ByVC_DesignLikes679Downloads3.6K

 ByDan Schwartz SchwartzLikes744Downloads3.4K

 Bychubbs8697_2027893Likes585Downloads1.7K

 Byquibeck_3353173Likes965Downloads1.9K

 ByRungeKuttaLikes229Downloads1.2K

 ByEadubsLikes228Downloads1.3K

 ByRobertoGalloc_356815Likes549Downloads1.8K

 ByWolf_115355Likes513Downloads8.4K

 ByJeremyVillalo_760366Likes68Downloads763

 ByZED4EverLikes313Downloads5.2K