

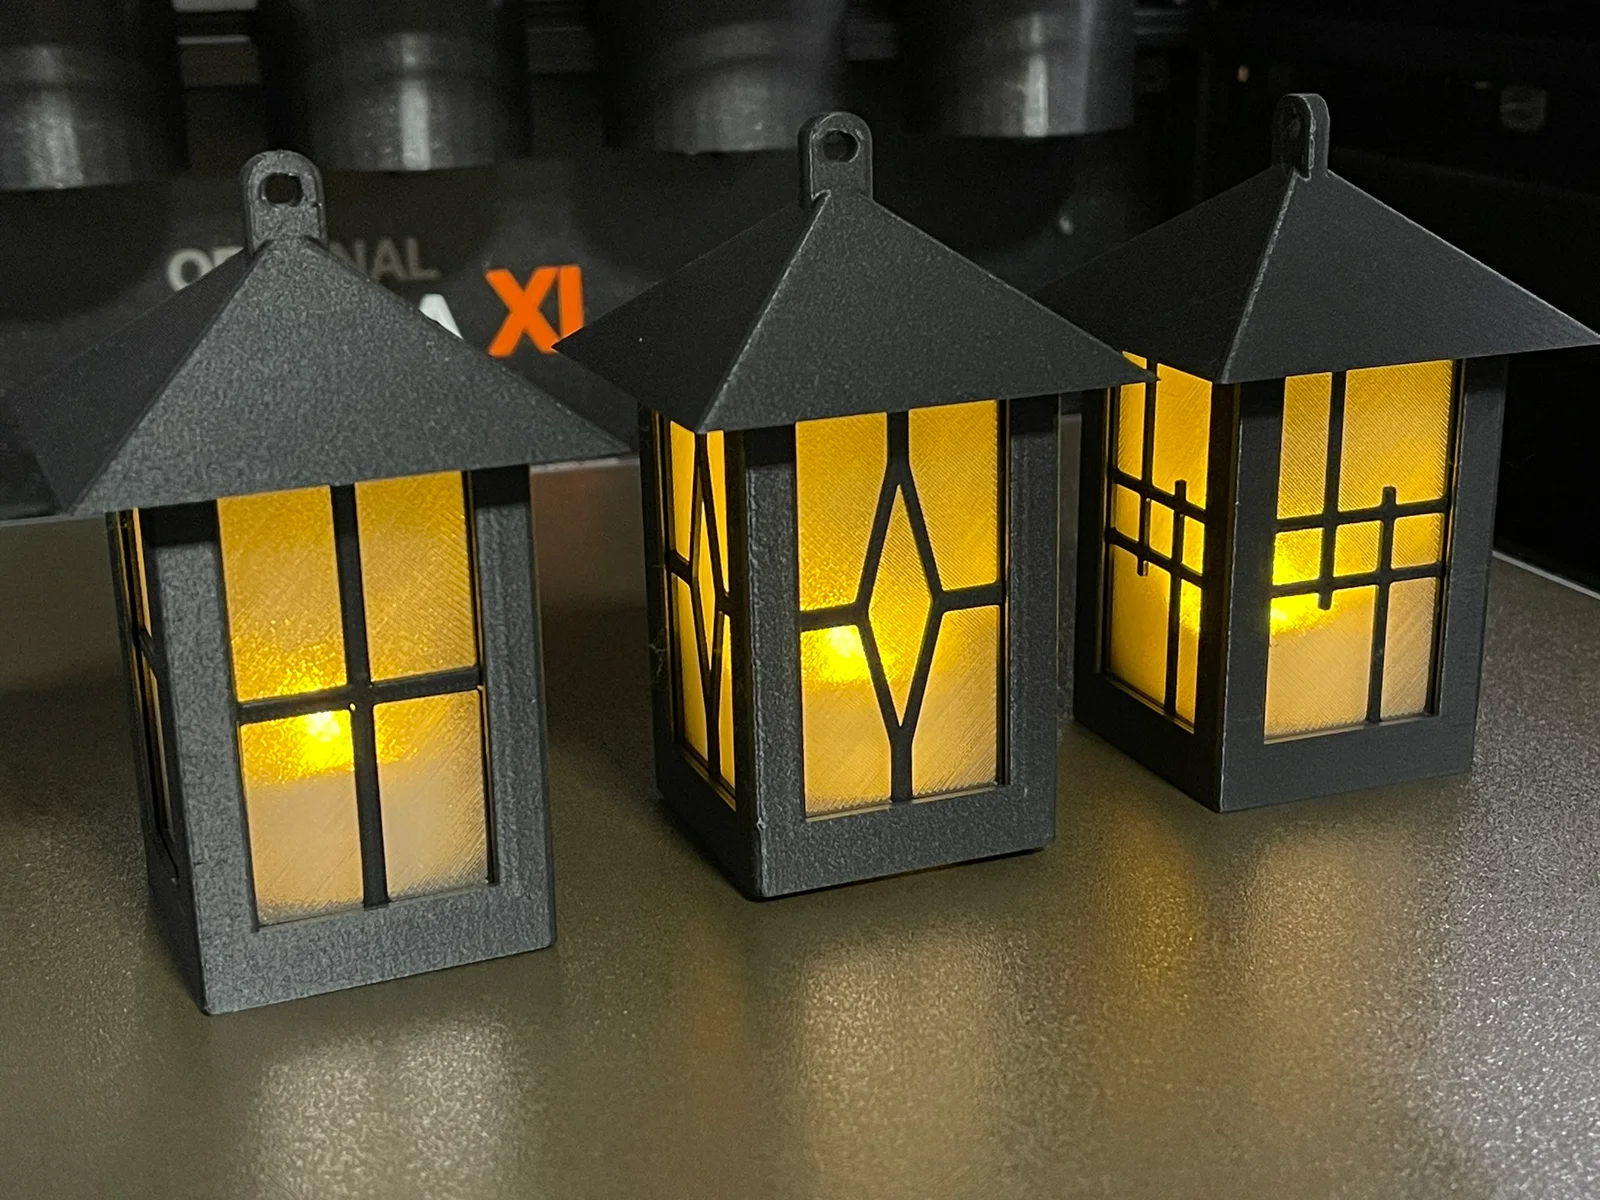


Thị trấn nến tealight hiện đại Giáng Sinh (dùng 1 hoặc 3 nến LED)
 ByMaxTLikes527Downloads1.7K
Build another version of this model.
This is a LED tea light lantern that can be placed on a table, or hung as a decoration using the loop on the top. The base is designed around this specific LED tea light from Amazon, but may work with other LED tea lights that have a 36mm diameter.
The LED tea light press fits in from the bottom so it is easy to access the on/off switch, or replace if necessary. The top of the lantern press fits onto the frame, and can be removed so the windows can be swapped out for different designs. I've provided a handful of window styles, but feel free to create your own as well! More info on this below.
UPDATE: I added a “thin” version of all the windows that can be printed with white filament instead of clear. The window “glass” is only 0.4mm thick, so light from a LED tea light will still shine through when using an opaque filament.
Any colors can be used, but to achieve a similar result to the above pictures, use matte black PLA for the base, top, and window frames, and clear PLA for the windows.
I recommend printing the lantern base and top at 0.2mm layer height, 15% infill, and 2 perimeters. No supports needed.
The windows should also be printed at 0.2mm layer height, 100% infill, but 1 perimeter only for best results.
MMU Windows - These window files are intended for MMU printing, and are made up of 2 files each. To print a window, download both the “frame” and “glass” file, then drag both into the slicer at the same time.
Standard Windows - Use these files to print the windows with a filament swap. When slicing, add a pause or M600 “filament change” at layer 6. Start the print with the “window” color, wait until the printer pauses, then load the “frame” color and resume printing.
You can create your own window designs and use them with this model if they adhere to the following design specifications:
Start by creating a 60mm x 33.5mm x 1mm box to use as the window “glass”. Then create a 2mm border on all sides except for the top, the area inside of this border is what you will see when the window is inserted into the lantern. Create your design, then extrude it to be 1mm thick. The window and frame together should be a total of 2mm thick.
UPDATE: If creating a “thin” version of a window, the “glass” should be 0.4mm thick, and the “frame” should be 1.6mm thick.
Print 1 lantern frame, 1 lantern top, and 4 windows of your choice.
Push the LED tea light into the frame from the bottom, it should fit snug by the time it's lined up with the bottom of the frame. If the fit is too lose, wrap some tape around the tea light.
Next, slide the windows into the frame from the top, make sure the side without a border is facing up.
Last line up the 4 frame posts with the recesses in the top and push them together. The parts are designed to press fit together and should be snug enough that the lantern can be hung from the loop without coming apart. At any time, you can pull the top off again to swap out the windows with different designs.
That's it, enjoy!
ByMaxTLikes527Downloads1.7K

 By_conny_k__1262949Likes181Downloads350

 ByKamilWiniszew_352975Likes282Downloads1.4K

 ByCrazy3DLikes321Downloads1.1K

 ByTripleGWorkshopLikes49Downloads192

 ByCraftswomanczLikes3.8KDownloads15.7K

 ByWimVLikes409Downloads570

 ByFlorianProchn_367378Likes180Downloads540

 ByChrisELikes24Downloads73

 ByAndi_424856Likes305Downloads1.2K

 ByERiK004Likes185Downloads1K

 ByNukit_2466521Likes66Downloads224