

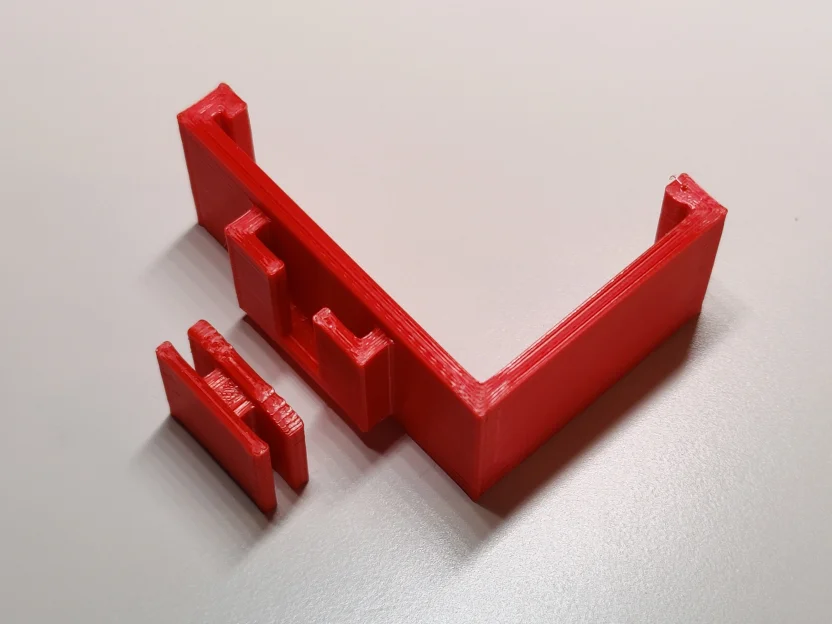
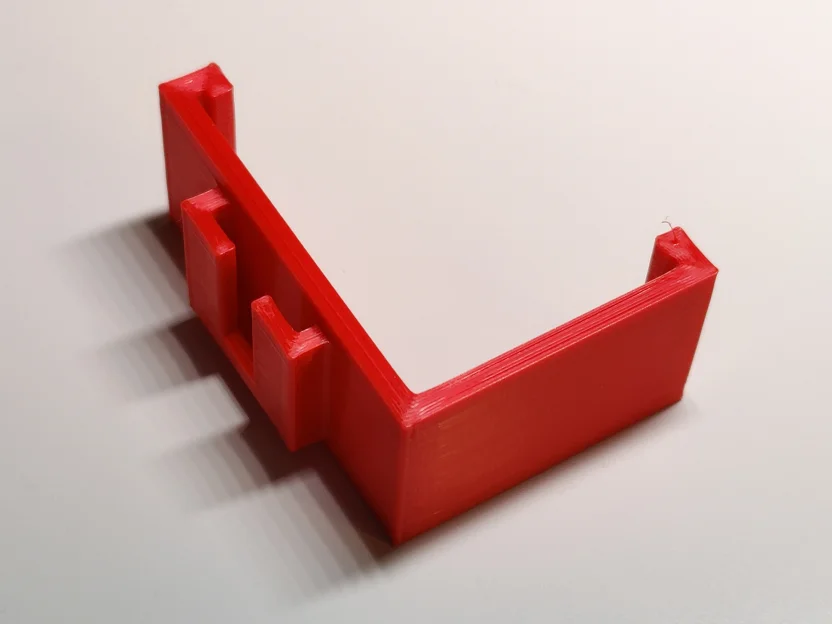


Kẹp giữ sợi Filament
 Bytinx_1344834Likes1.2KDownloads6K
Build another version of this model.
Just download the included ZIP file for the complete, most up-to-date collection of the mounting system: mega-s-general-mounting-system-23February2023.zip
Description May 21, 2021
Under normal circumstances, I don't like to glue parts together. With 3D printed parts, however, I think this is a none issue. With the frame mount part and attachment part found here, you can simply glue the attachment part to whatever you want to mount to your Anycubic printer. Example: instead of modifying the Raspberry Pi case that I'm using, I simply printed the frame mount and attachments parts, glued the attachment part behind the case and mounted the Raspberry Pi on my printer. The Raspberry Pi is quite secure mounted on my printer, though it's easily removed when needed. The frame mount piece was also designed to be much easier to remove from the frame compared to anything else I've seen out there. I've also posted the step files, so you can simply take the attachment piece and add it to your model.
Frame Mount Part
This part mounts to the left 'pillar' of the Mega/S. For the right pillar, simply mirror the piece. Print with tree supports.
Attachment Part
Rotate this piece 180 degrees so that the slightly curved part is facing up. Print without supports.
Notes
-I didn't want anything to rattle, so the attachment insert might be a tight fit for some people. If that is the case, take some 220 grit sandpaper and do about a dozen strokes on the back of the attachment piece. Everything should slide easier now while still remaining snug.
-The dimensions of the Anycubic Mega/S frame are all over the place. My left pillar is quite different from the right. Moreover, the base of the pillars are quite different from their tops. If you encounter any issues attaching the frame mount piece to your printer, leave a comment and I'll see if I can do something to help.
If you found these parts useful, please Like and post a Make. Thanks!
Supports: Yes
Infill: 100
Bytinx_1344834Likes1.2KDownloads6K

 ByreddLikes216Downloads2.2K

 ByWyomingWolf_261196Likes52Downloads424

 ByJasonOlliff_519145Likes241Downloads2K

 ByBlackky98Likes25Downloads205

 Byarhi_585078Likes64Downloads537

 ByHanzo3dLikes155Downloads411

 ByGeek5DLikes147Downloads482

 ByBrokentooth_designsLikes23Downloads403

 By3DSourcererLikes48Downloads374

 Bytopronix_2170418Likes41Downloads293

 ByAnthonyDouri_1604724Likes24Downloads215