



Kẹp giữ sợi Filament
 Bytinx_1344834Likes1.2KDownloads6K
Build another version of this model.
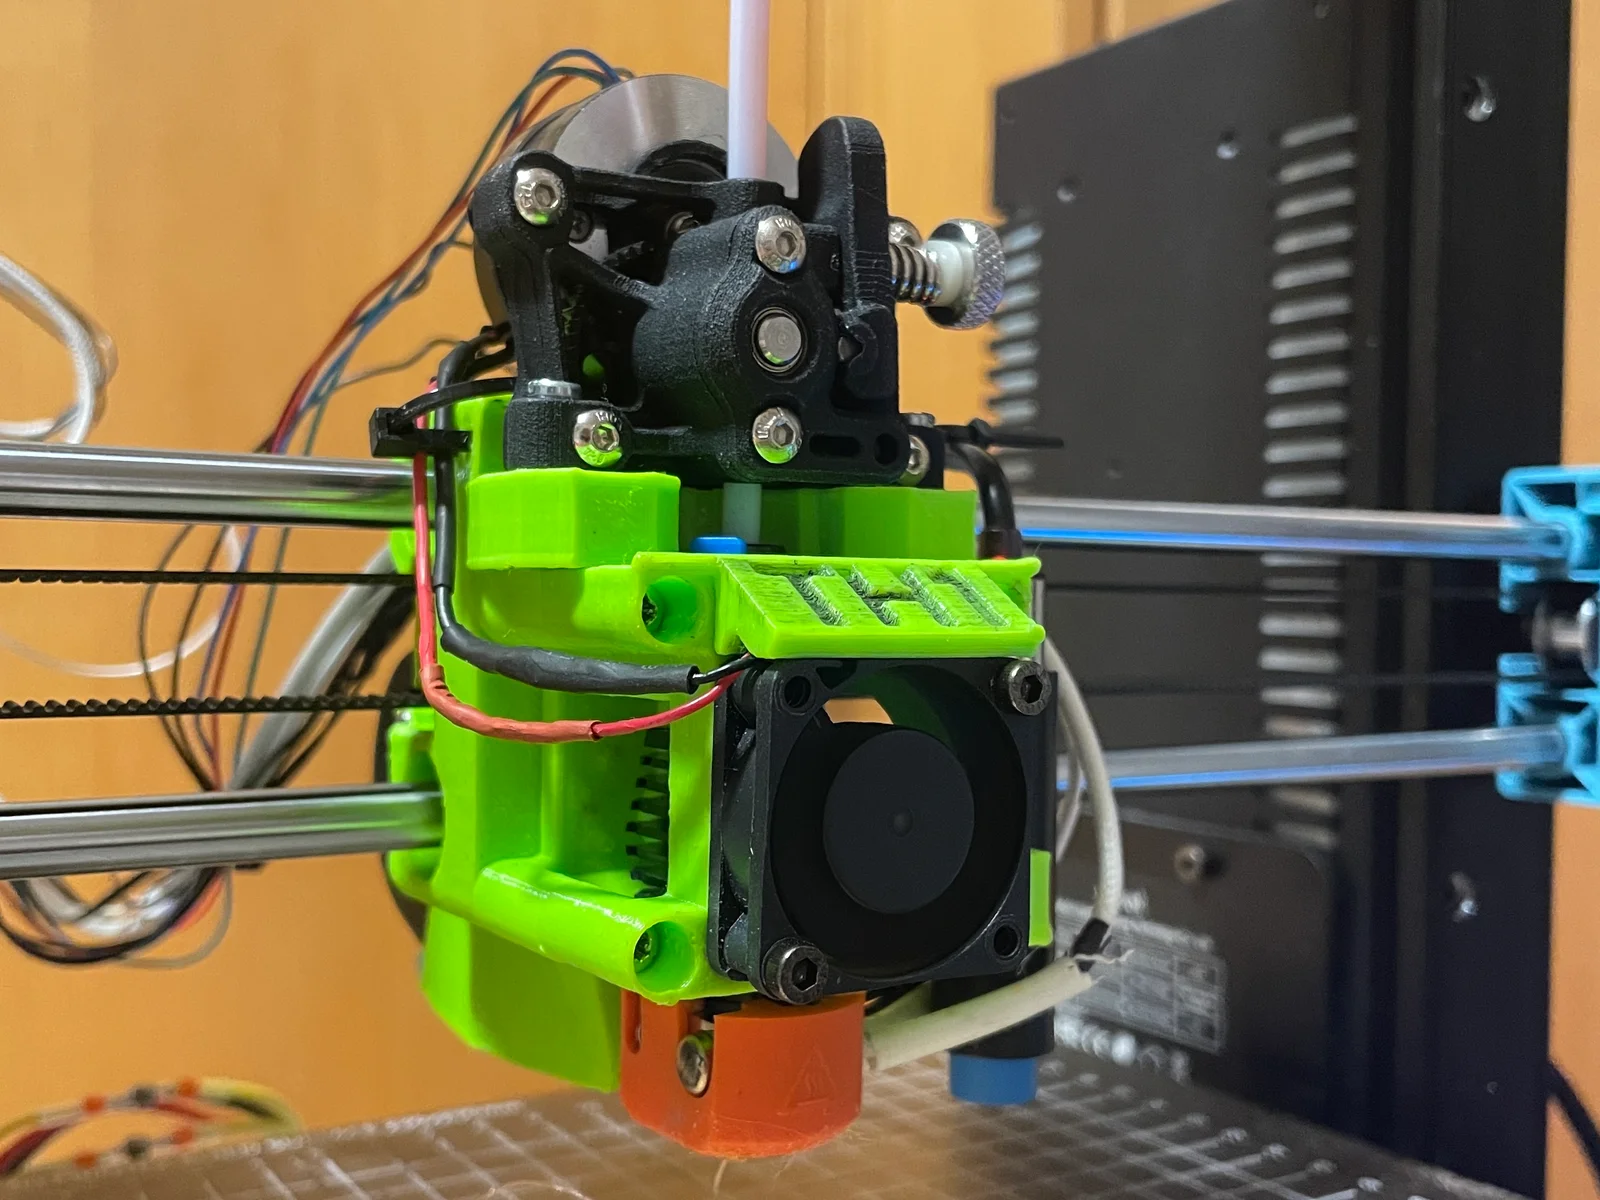
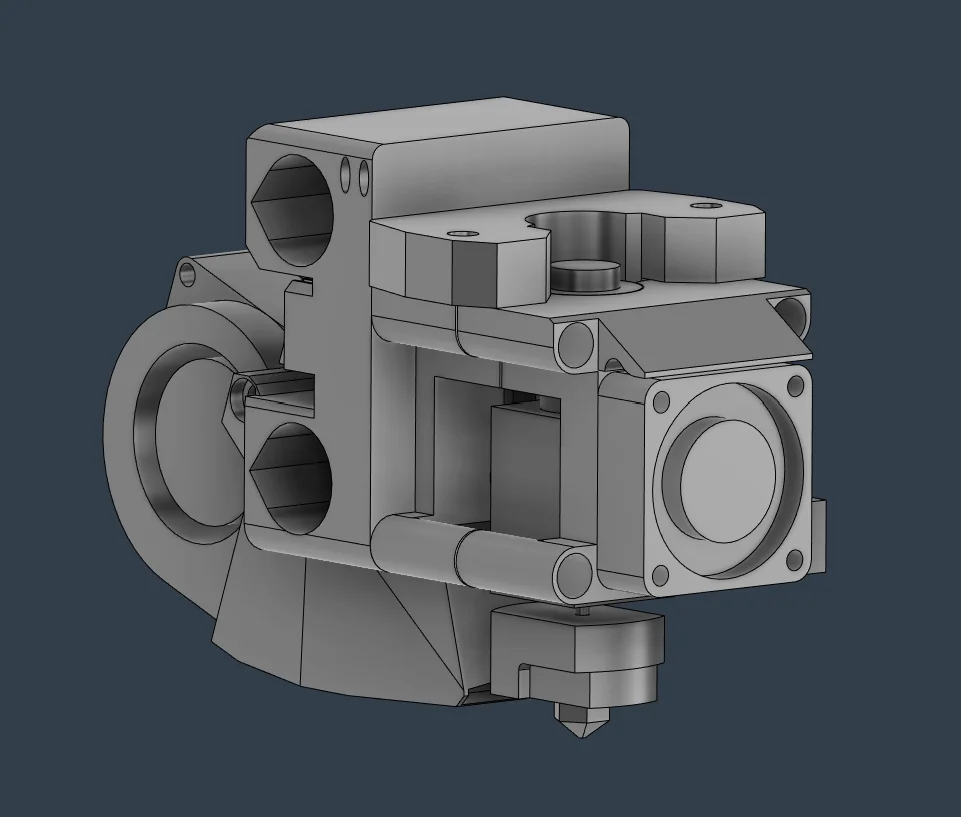
I wanted to create a whole new toolhead using a phaetus dragonfly BMO. You can use the original linear bearings or change to sintered bronze bushings. It is necessary to change the original drive belt to a slightly longer one (~5cm longer should be enough). I integrated two holes at the top of the main body where you can insert a zip-tie to organize the cables.
Materials:
Parts to print:
You will need to print all attached models. If you use the original bed leveling sensor, you would need to remove the excess plastic that holds the thread/heat insert so the BLS_clamp would work properly. In my case though, I just simply glued the sensor into position with some hot glue. Both variants should work.
Assembly:
1. Insert 5 heat inserts into the main_body
2. Insert 4 heat inserts into the hotend_mount
3. Insert 4 heat inserts into the fan_mount
4. Insert the dragonfly BMO hot end into the hotend_mount
5. Attach the fan mount to the assembly from step 4 (use ca glue to attach the name plate, which isn't shown in the following picture)
6. Lock the assembly from the steps before with 4 m3x40mm screws
7. Attach the 3010 axial fan to the fan_mount with 4 m3x16mm screws
8. Insert the 4020 radial fan into the slot of the main_body and lock it with a m3x40mm screw
If the assembly is finished, you would just have to switch the x-carriage to your printed one. The drive belt can be simply pressed into the toothing of the main_body.
Bytinx_1344834Likes1.2KDownloads6K

 ByNadirLikes25Downloads115

 Byprusa-researchLikes0Downloads2.7K

 ByBrokentooth_designsLikes17Downloads147

 Byarhi_585078Likes64Downloads542

 BykingnothingLikes0Downloads181

 ByHanzo3dLikes155Downloads415

 BydarienLikes0Downloads1K

 ByGeek5DLikes147Downloads486

 BynozeLikes0Downloads133

 Byla-cave-au-chatLikes0Downloads967

 Bycrawler-3903250Likes0Downloads907