
F3D
Ham Chest – Thùng ammo crate cho ham radio 1

5 images

DIY

Ham Chest – Thùng ammo crate cho ham radio

By SwiftyTheFox

Downloads
305
Likes
109
Views
4,700
Remixes
1

Files 12 3.2 MB

  • batbay_top_1777709537.stlSTL · 600.8 KB
  • batbay_side_1777709539.stlSTL · 18.9 KB
  • batbay_bottom_1777709540.stlSTL · 82.8 KB
  • transceiver_side_1777709540.stlSTL · 369.2 KB

Make a variant with AI

Build another version of this model.

Open Studio

Remix versions 1

See all 1 remix

Details

Model ID
#365154
Category
DIY
Published

Description

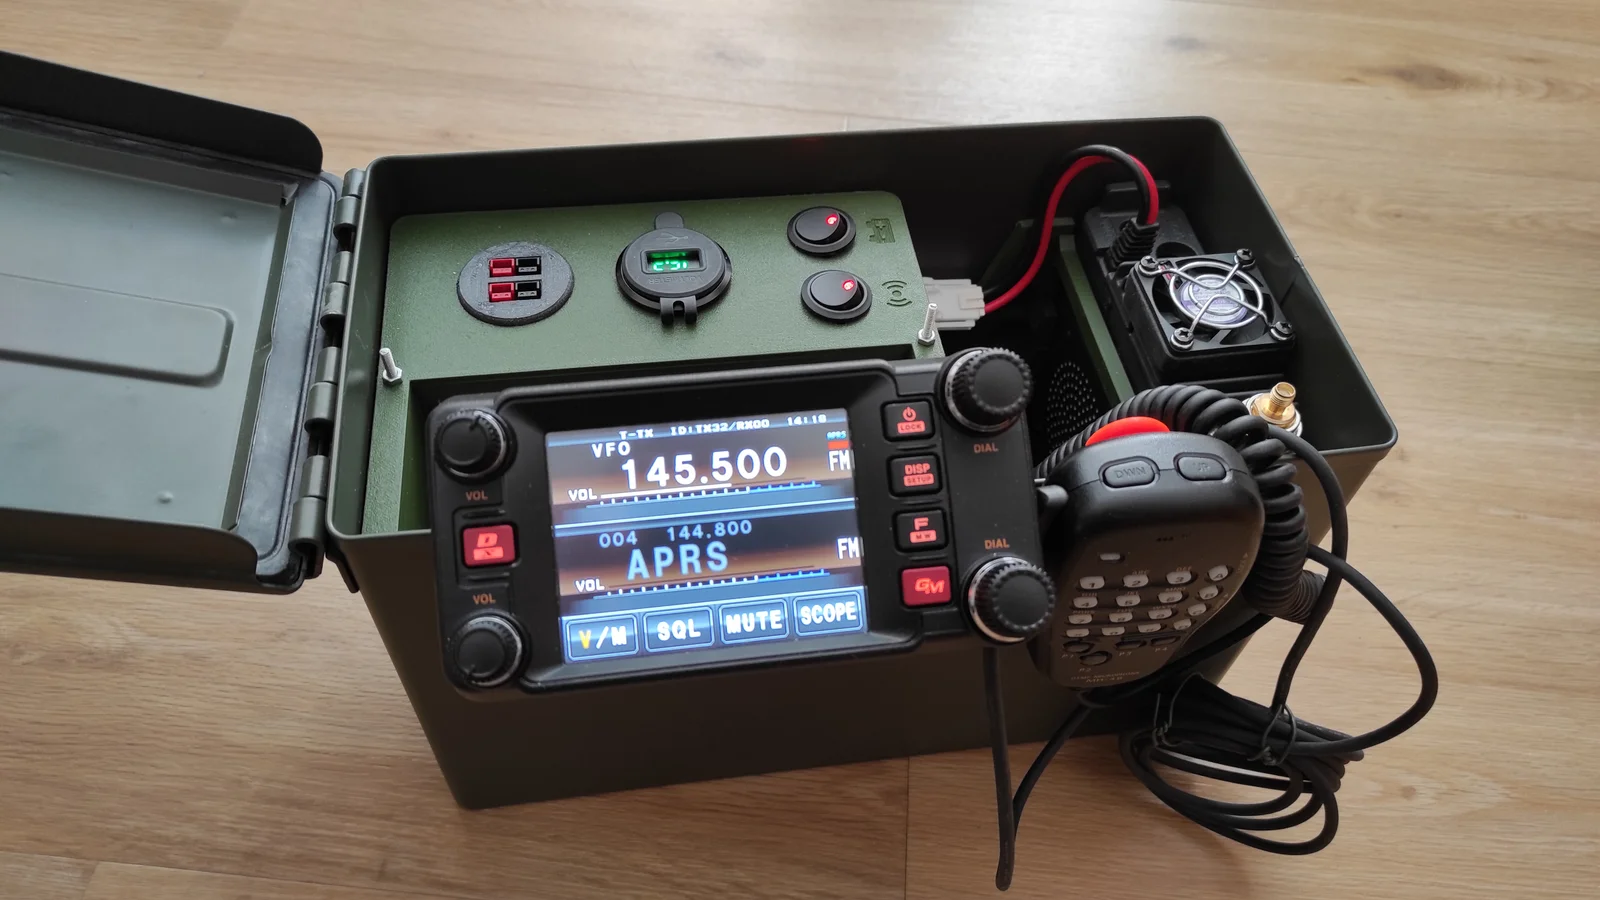
I needed a way to carry my FTM-400 around including a battery and I stumbled across some other projects that used empty ammo crates as cases for their radios.

My adaption of this concept has the following features:

  • 12V motorcycle battery
  • Panel Mount for Anderson Power Poles
  • Panel Mount with USB charger and voltage meter
  • Depending on the switch positions:
    • Battery powered transceiver & USB charger
    • Battery chargeable through power poles
    • Bypassed battery for external supply
  • Space for all parts of the FTM-400
  • Extra space for additional stuff or larger batteries
  • No drilling into the crate necessary - everything stays water proof

I have the OpenSCAD file attached if you want to adapt it to your needs, but please respect the CC-BY-SA license.

Part list:

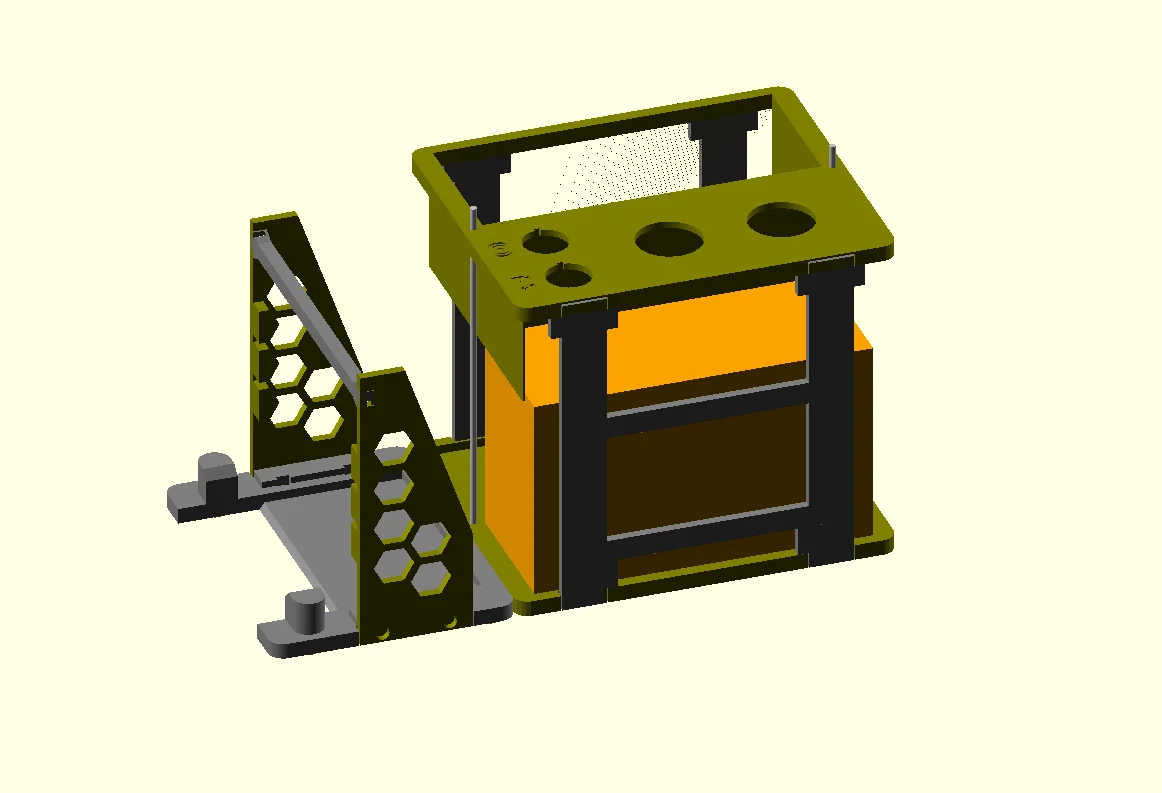
3D-printed:

Additional parts:

  • 1x empty Ammo crate (15.5x19x30cm)
  • 2x M3 threaded rod 160mm 
  • 4x M3 scew 16mm
  • 8x M3 Nut
  • 2x switch for panel mounting (mount hole diameter: 20.3 mm)
  • 1x USB charging plug for panel mounting
  • 12V Lead battery 7Ah 
  • 2x-3x Anderson Power Pole pairs if you plan to use them
  • A few cable shoes, cables (proper diameter!!) and shrink tubes for the electronics

Instructions:

  1. Print all the parts - but only one spacer.
  2. Fit the spacer below the printed bottom peaces to level the uneven bottom of the crate. Print more spacers with the correct height.
  3. Wire the electronics.
  4. Connect the battery and put it into the batbay_bottom part.
  5. Use the threaded rods and 4 M3 nuts to keep the bat bay together.
  6. Put the batbay with electronics into the ammo crate.
  7. Assemble the transceiver cage.
  8. Put the cage together with the transceiver into the ammo crate.
  9. Connect the transceiver

Read more Show less

Print spec

Formats
scadstl
Model files
12
Total size
3.2 MB
Largest file
887.3 KB

0 comments

See all