



AAA Battery Case
 Bylab-96Likes0Downloads108
Build another version of this model.
Printing Technology: FDM
Layer Height: 0.2mm
Perimeters: 4
Infill: 10%
Infill Pattern: Gyroid
Recommended Material: TPU for top and bottom cover, PETG or ABS for frame.
Supports: None
Support Type: None
Notes:
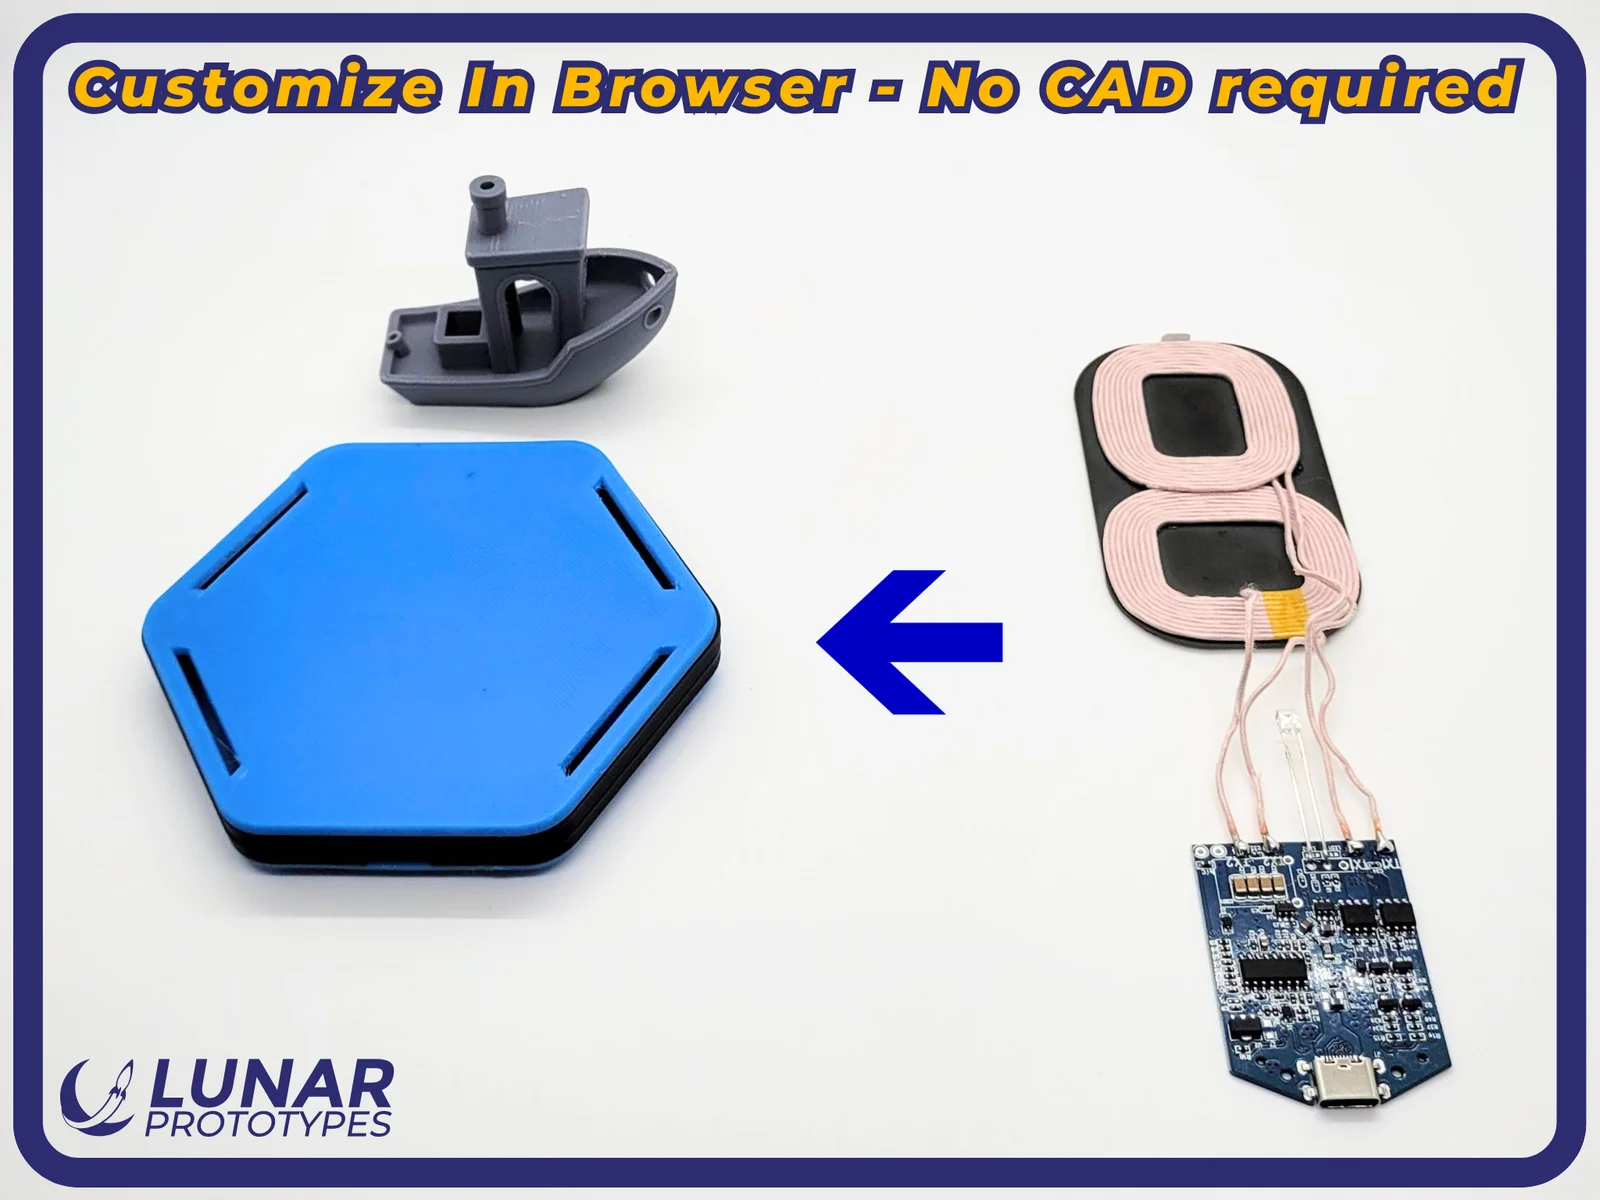
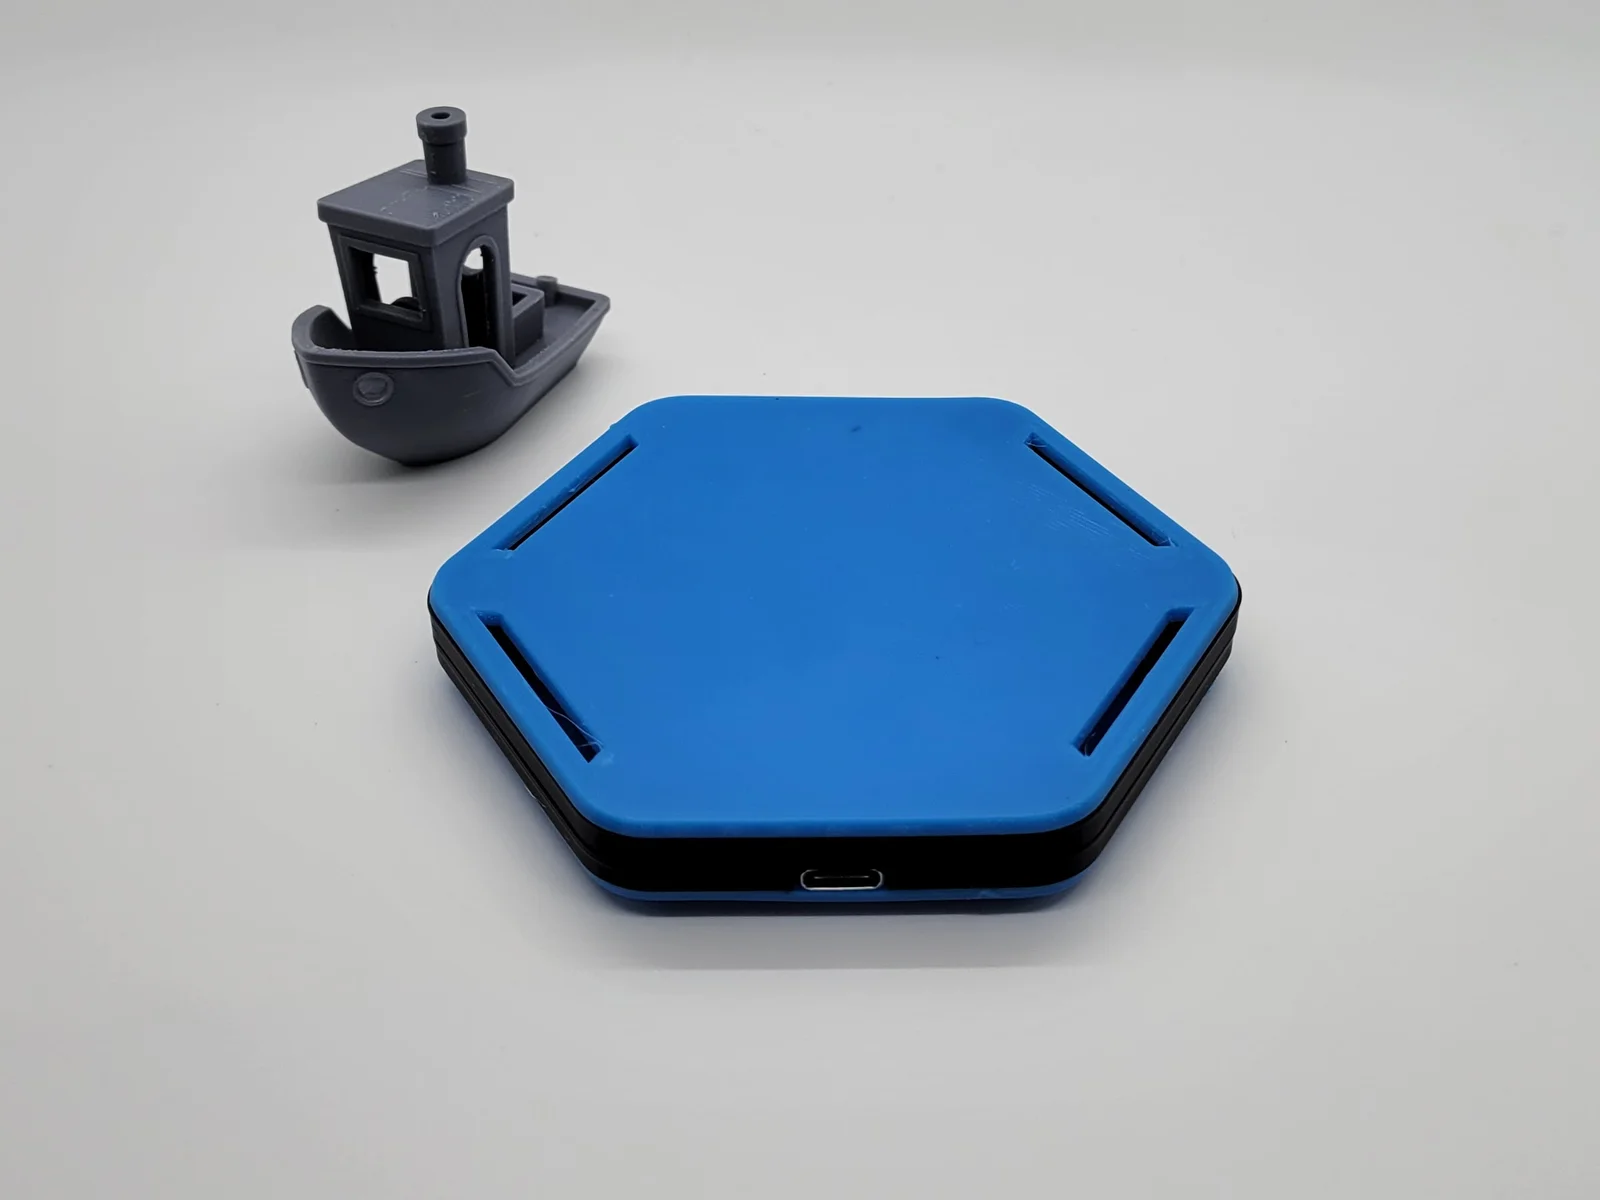
Designed as an attempt to create an LED free charging pad, this DIY design requires no screws or tools to assemble.
I understand this part may not be something you have on hand. If you decide to give this a shot, please feel free to comment with any issues and I will do my best to accommodate making this design work for you.
Clearances can be adjusted on our website. See Customization Instructions for details.
Disclaimer:
This design has been used for regular nightly charging for weeks and has had no issues; however, I make no claims about the safety or reliability of this.
Use at your own risk.
Customize your DIY Wireless Charging Pad directly on the Lunar Prototypes website:
Note: The customization system is currently in beta. We are actively refining it, and your feedback is crucial for our enhancements.
Materials Needed:
Dual Coil Wireless Charging Pad
Link to Assembly Video:
Instructions:
1. Print all pieces
2. Insert coil housing into board housing
3. Slide board through the opening in the board housing.
4. Gently press board into place with USB C side at the opening. Push LED into LED housing.
5. Arrange wires so they are on the sides of the coil board and gently press coil board into place.
6. Insert top cover so vents are on opposite sides of the USB C connector and pin is on the right. Press into place. Repeat for bottom cover.
7. Insert feet
8. Plug in and charge!
Consider joining our Patreon community as a free member to get updates and insights on the work we're doing.
Bylab-96Likes0Downloads108

 ByrjunLikes0Downloads306

 ByBasementLABLikes888Downloads1.5K

 ByleonicLikes0Downloads1.4K

 Bydenis-3dLikes0Downloads266

 ByZED4EverLikes313Downloads5.2K

 Byreinvent3dLikes0Downloads135

 BymiceciczeLikes0Downloads598

 ByfifindrLikes500Downloads4K

 Bymrfixit_324954Likes65Downloads478

 BymoonyxLikes0Downloads700

 ByVC_DesignLikes679Downloads3.6K