
Vỏ Raspberry Pi Zero 2 + Màn hình TFT 3.5in (Snap Fit, không cần ốc vít!)
- Downloads
- 156
- Likes
- 14
- Views
- 1,330
- Remixes
- 0
- Comments
- 0
Files 5 593.8 KB
- Rpi02_3.5TFT-60deg-Frame_1777627376.stlSTL · 3.6 KB
- Rpi02_3.5TFT-60deg-Enclosure-Pins-Passive_1777627377.stlSTL · 156.2 KB
- Rpi02_3.5TFT-60deg-Enclosure-HS-Passive_1777627379.stlSTL · 142.2 KB
- Rpi02_3.5TFT-60deg-Enclosure-Pins-2010Fan_1777627381.stlSTL · 152.9 KB
Make a variant with AI
Build another version of this model.
Details
- Model ID
- #357737
- Category
- Máy In 3D
- Published
- Tags
- box
- nosupport
- 3dprinting
- enclosure
- raspberrypi
- nosupports
- computer
- raspberrypicase
- custom
- raspberry
- panel
- pi
- screen
- boxes
- snapfit
- nosupportneeded
- nosupportsneeded
- snap
- console
- control
- octoprint
- rpi
- raspberrypizero
- touchscreen
- raspberrypihousing
- 3dprinteraccessory
- octopi
- nohardware
- screenmount
- tft
- pizero
- pizero2w
- tft35
- touchscreencase
- tftscreen
- rpizero
- controlpanel
- rpizero2w
- touchscreenmount
- octoprintcase
- nohardwareneeded
- rpitouchscreen
- pizerocase
- octopicase
- octopimount
- pizero2
- octoprintaccessories
- octoprintmount
Description
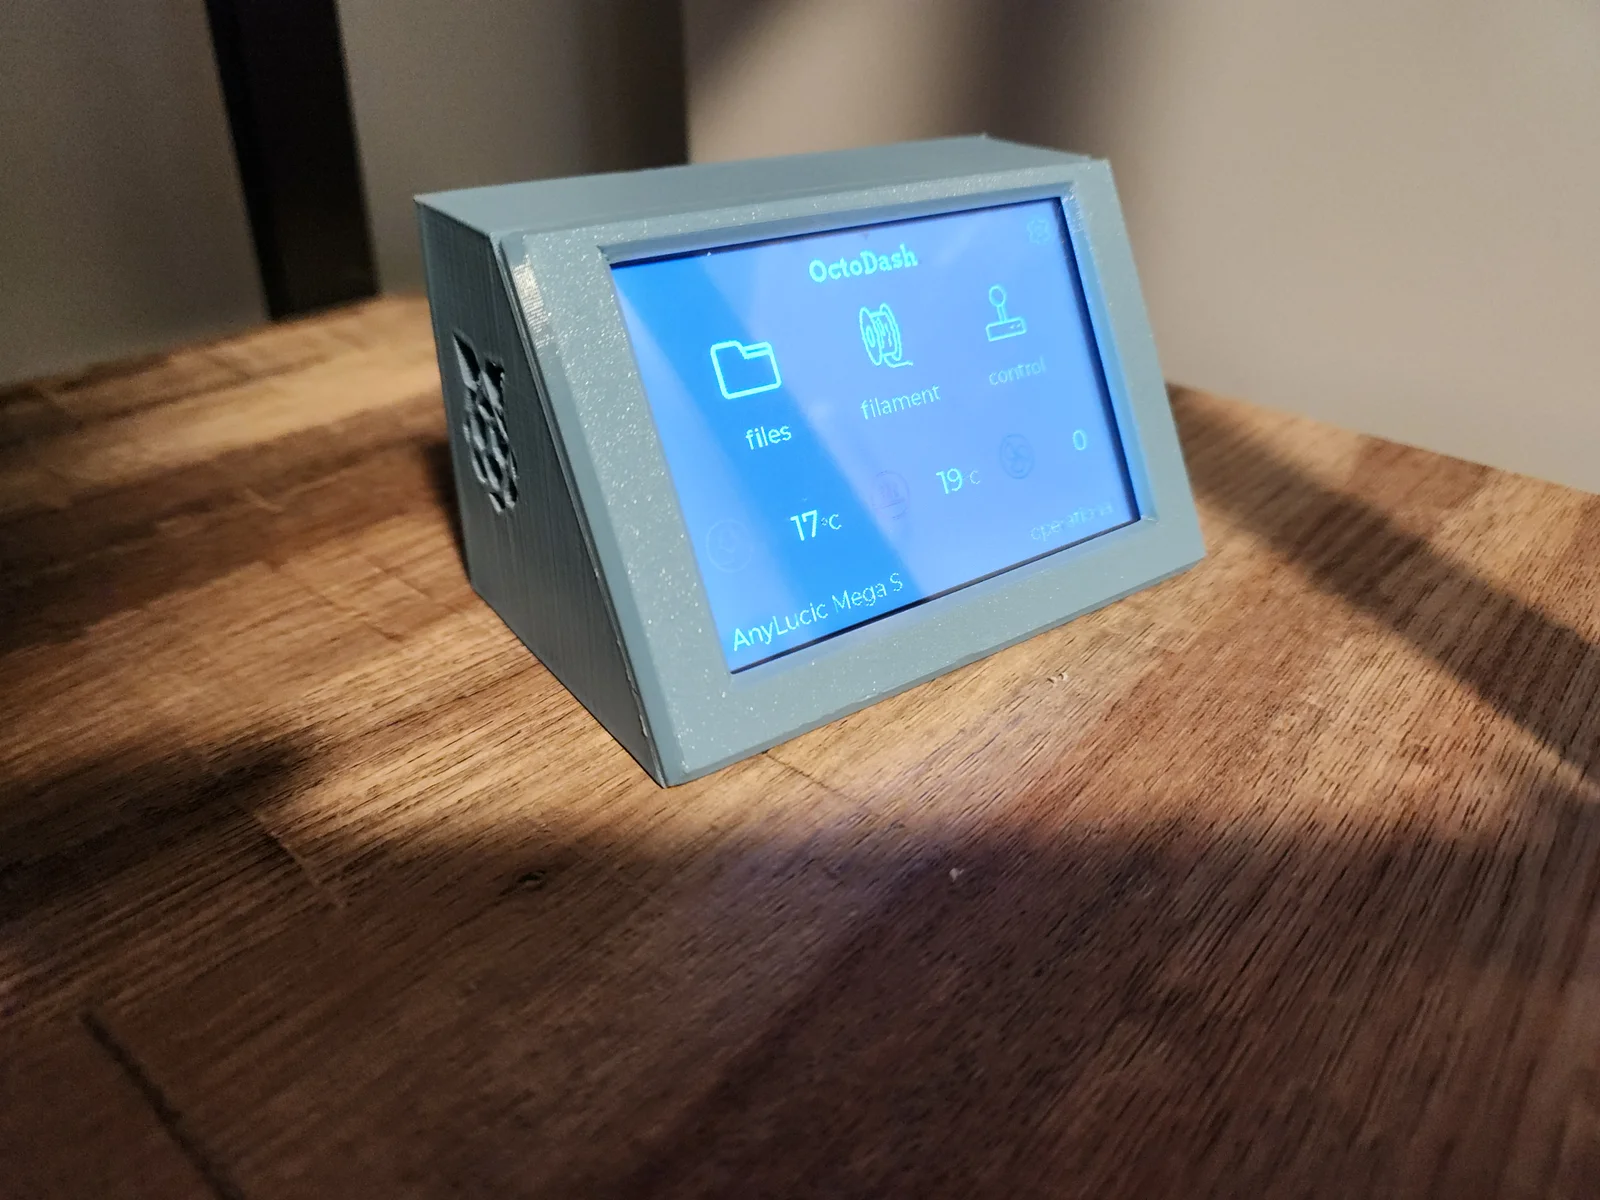
I have a great controller for my 3D printer comprised of a Raspberry Pi Zero 2 and a 3.5in TFT screen running Octoprint and Octodash. But I wanted to bring all my electronics outside my enclosure to print hotter materials. So I designed an angled HMI-like enclosure for the pair to chill outside the enclosure where it's cooler. I kept the full box shape to allow it to be wall-mounted or base-mounted. The cable entry point is located on a corner so it's accessible either way.
There are 2 parts needed for this build. The Enclosure and the Frame.
There are 2 options for the enclosure, resulting in 4 enclosure different files. The 2 options are:
- Pins - vs - Screws (to hold the Raspberry Pi)
- Passive - vs - Fan cooled
RPi Mounting Options:
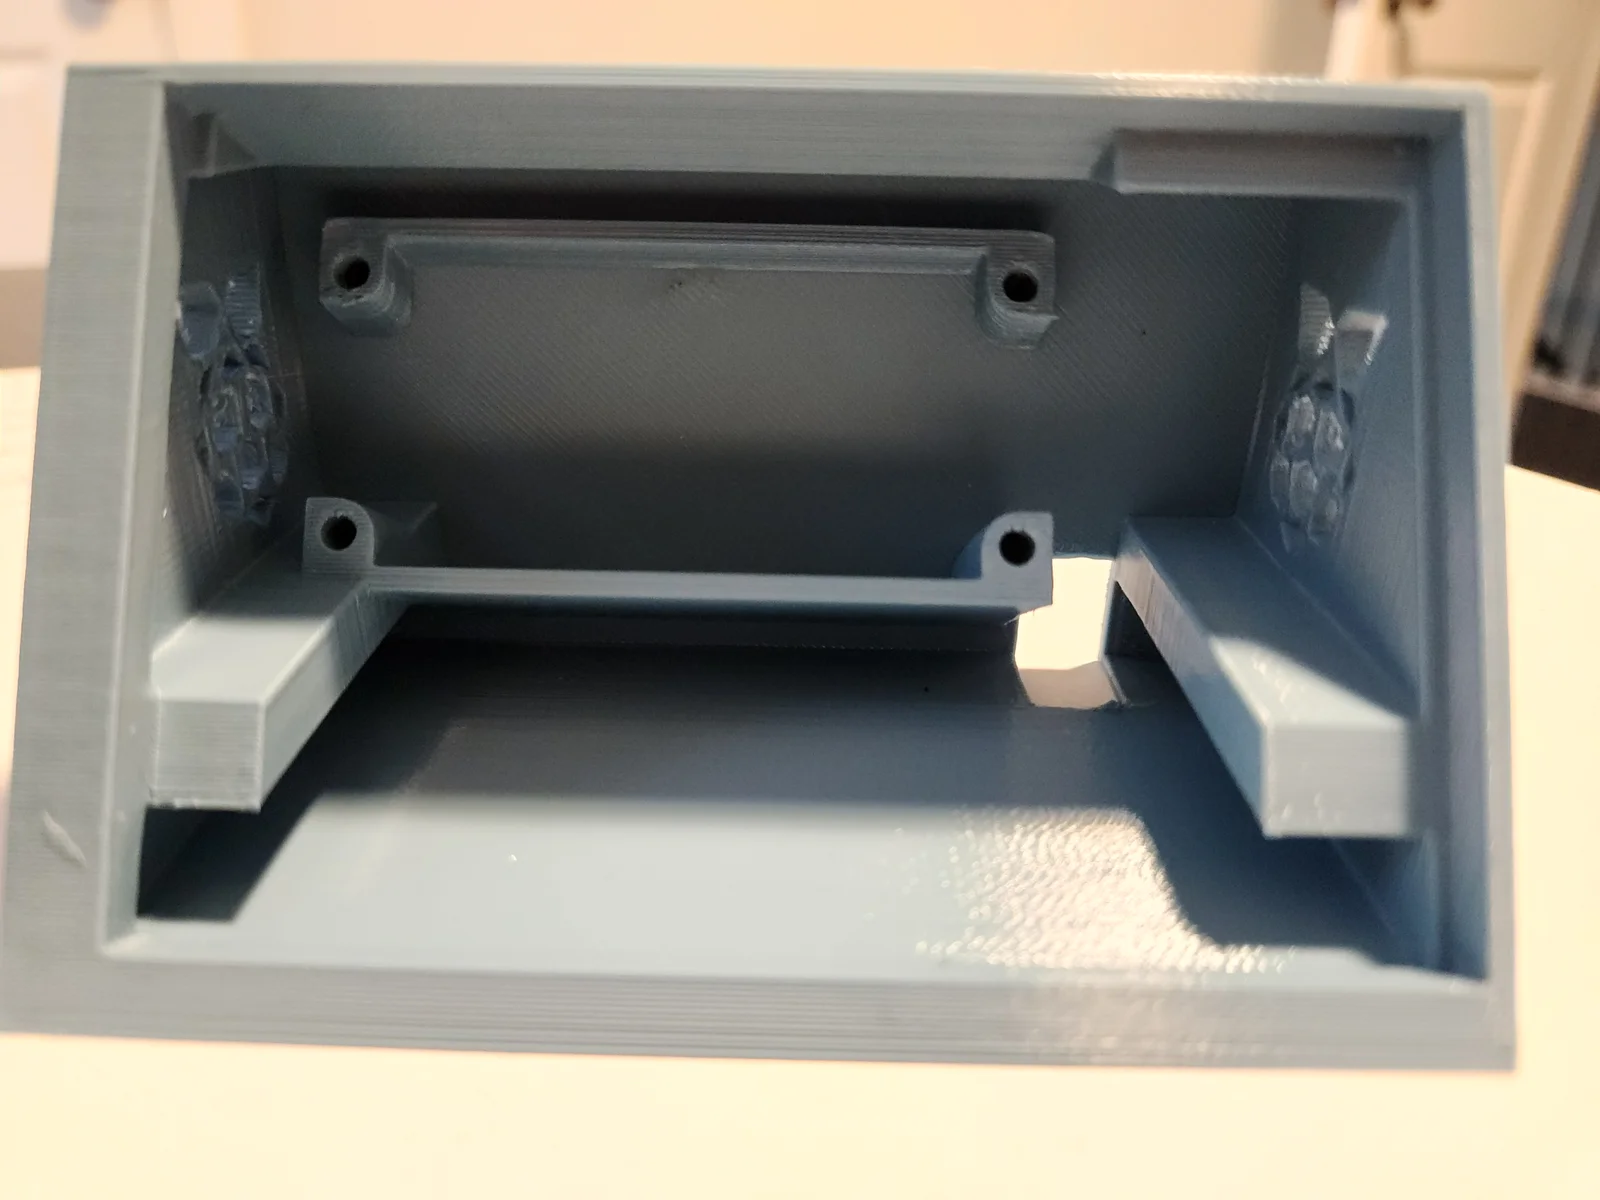
- The pins option allows you to place the Raspberry Pi Zero 2 on 4 pins built in to the enclosure. Personally, I love this option since it means the entire enclosure is hardware-free! It may be a bit hard to remove the Raspberry Pi though, so only use if you're certain you won't need to disassemble the enclosure often.
- Alternately, the “HS” option allows you to use 4x heat-set threaded inserts. The Raspberry Pi takes 2.5mm screws to hold it down, so you'd need 4x threaded inserts and 4x M2.5 screws to match them.
Cooling Options:
- The fan option allows you to use a 2010 fan to directly cool the devices inside the enclosure. I tried it with a cheap 2010 fan but it was way too loud. Buy a nice low noise one if you need to go this route.
- The passive cooling option just has 2 vents on the sides. I drew two nice stylized Raspberry Pi logos on the side that look nice and allow a little heat dissipation. If you're not keeping this in a hot place like inside a heated build chamber or a garage, you will probably be fine with this passive cooling option.
Lastly, here are the right-angle micro USB adapters I used and the TFT screen I used that plugs directly into your Raspberry Pi Zero if you have your GPIO pins installed.
Bonus: see this frame I built for the RPi02 to fit in my printer's original touchscreen window:
Anycubic Mega-S Octodash Screen Replacement
Or this Raspberry Pi Zero case I designed first, when I didn't have a touchscreen on it:
Print spec
- Formats
- stl
- Model files
- 5
- Total size
- 593.8 KB
- Largest file
- 156.2 KB
0 comments
You may also like 12 models
See all-

-

-

-
New -

-

-

-
New -
New -
New -

-