

New
Circuit Helper - Electronics Tray and Grippers
 Byreinvent3dLikes0Downloads135
Build another version of this model.
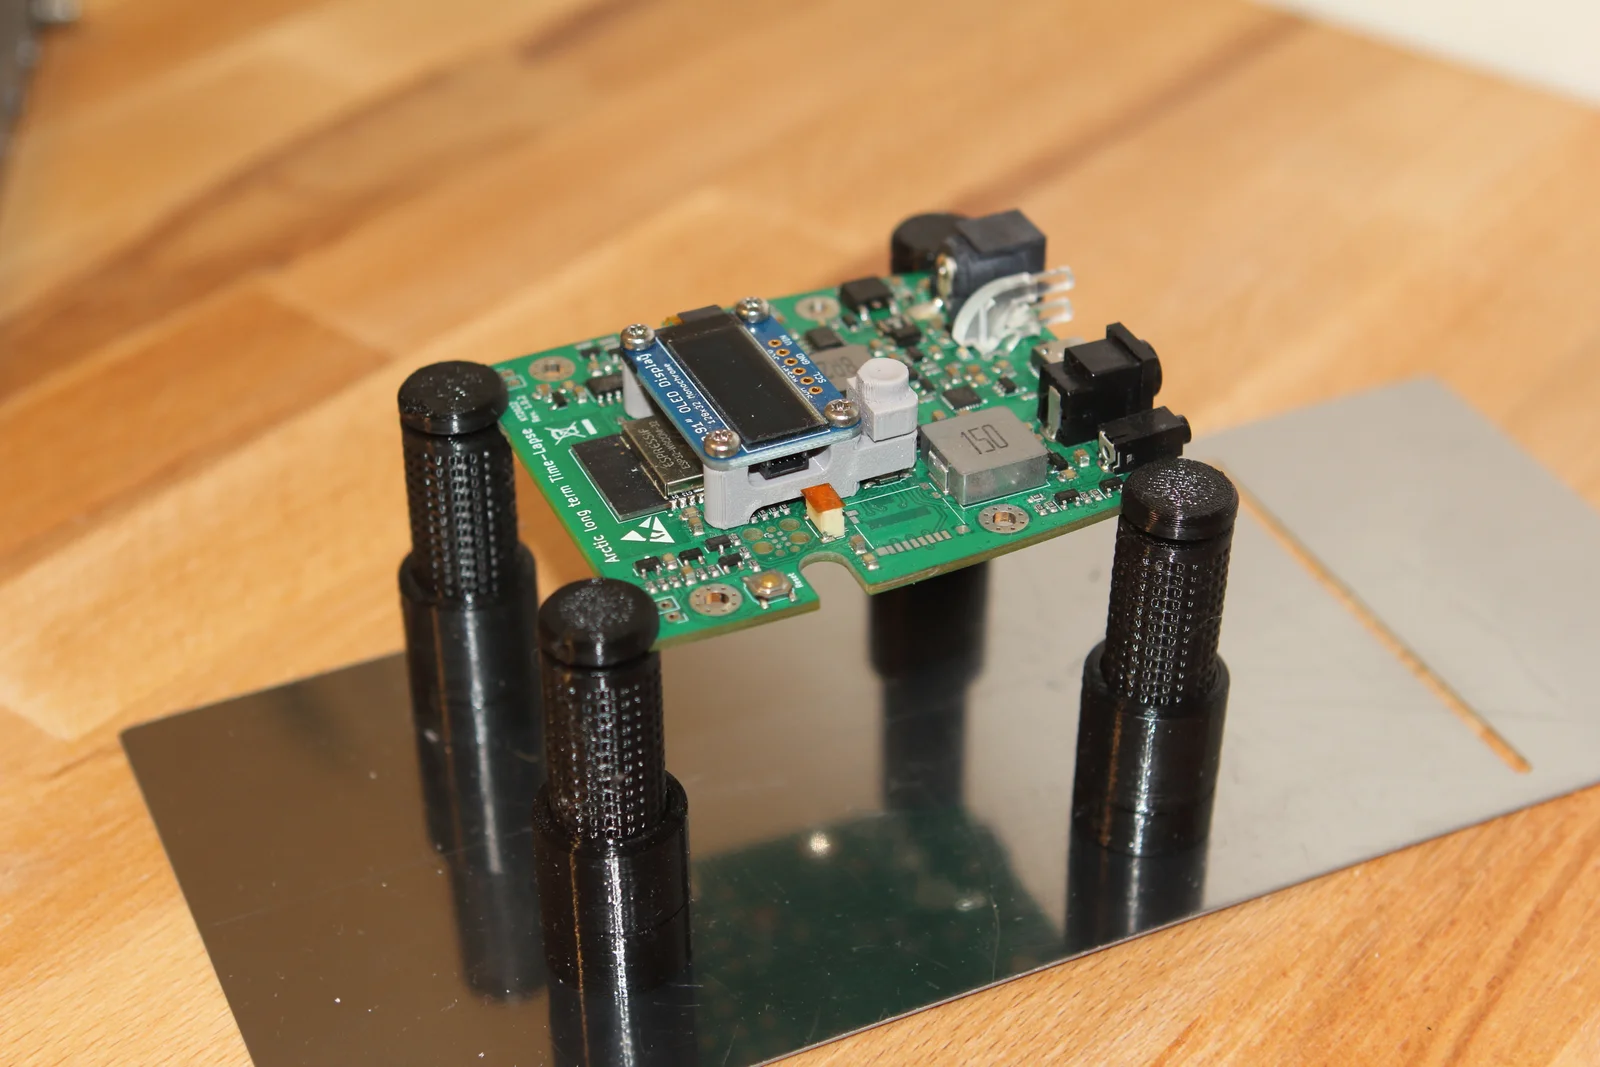
I'm a big fan of the Sensepeek PCB holder, known as PCBite, but unfortunately, they are relatively expensive for my needs. Therefore, this is my take on an affordable, high-quality PCB holder.
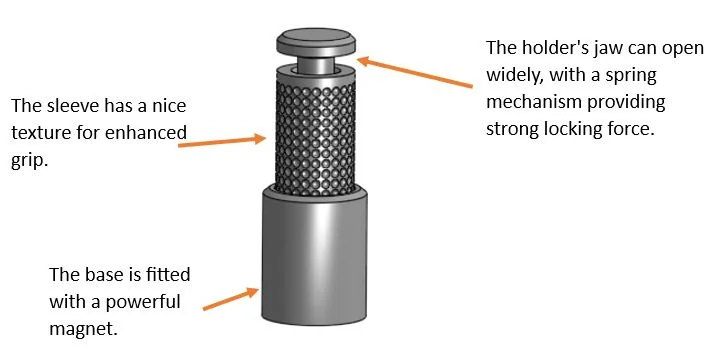
This holder is ideal for securing your circuit board during soldering, inspection, and testing. Each holder is equipped with a strong magnet at the base, which facilitates easy sliding of the PCB holder. The 'jaw' of the holder can open wide, and a spring mechanism ensures a robust locking force. Its design enables effortless repositioning, allowing it to adapt to circuit boards of diverse shapes and sizes.
For optimal results, please adhere to the following recommended print settings:
Pause the printing process when it reaches 7.6mm in height, which corresponds to layer 75 at a 0.1 mm layer height, and then insert the magnets.
For assembling each PCB holder, you will need three magnets, each 10mm in diameter and 2mm thick. Additionally, you'll need three springs, similar to those found in a pen, measuring between 4 to 5mm in diameter. Both the magnets and springs are readily available for order on Amazon
Insert the three springs into the three round holes in the base; this task can be a bit tricky. I recommend using a small screwdriver to guide each spring into its respective hole. Once correctly positioned, the springs will be held in place by the magnet.
The next step involves inserting the center pin into the sleeve, and then fitting this assembly over the springs. Carefully press them into the base until you hear them click into place.
Byreinvent3dLikes0Downloads135

 ByBrokentooth_designsLikes83Downloads455

 ByVC_DesignLikes721Downloads2.9K


 Byvc-designLikes0Downloads3.2K

 ByrjunLikes0Downloads306

 ByUpcrid3D_1585693Likes808Downloads2.1K

 BySeppoTakaloLikes960Downloads1.9K

 ByTater_364200Likes486Downloads1.6K

 ByleonicLikes0Downloads1.4K

 ByZED4EverLikes313Downloads5.2K

 ByRadekSimcik_2565160Likes65Downloads168