F3D
Ốp hông khoang điện tử họa tiết hex + mid panel hex cho Vor… 1

3 images

Máy In 3D

Ốp hông khoang điện tử họa tiết hex + mid panel hex cho Voron Zero

By Akio

Downloads
264
Likes
63
Views
1,729

Files 16 18.6 MB

  • MidPanelHex_1777303370.stlSTL · 580.1 KB
  • MidPanelHex_1777303371.stepSTEP · 6 MB
  • ModestyMeshHex_Right_1777303373.stlSTL · 118.5 KB
  • ModestyMeshHex_Right_1777303374.stepSTEP · 1 MB

Make a variant with AI

Build another version of this model.

Open Studio

Description

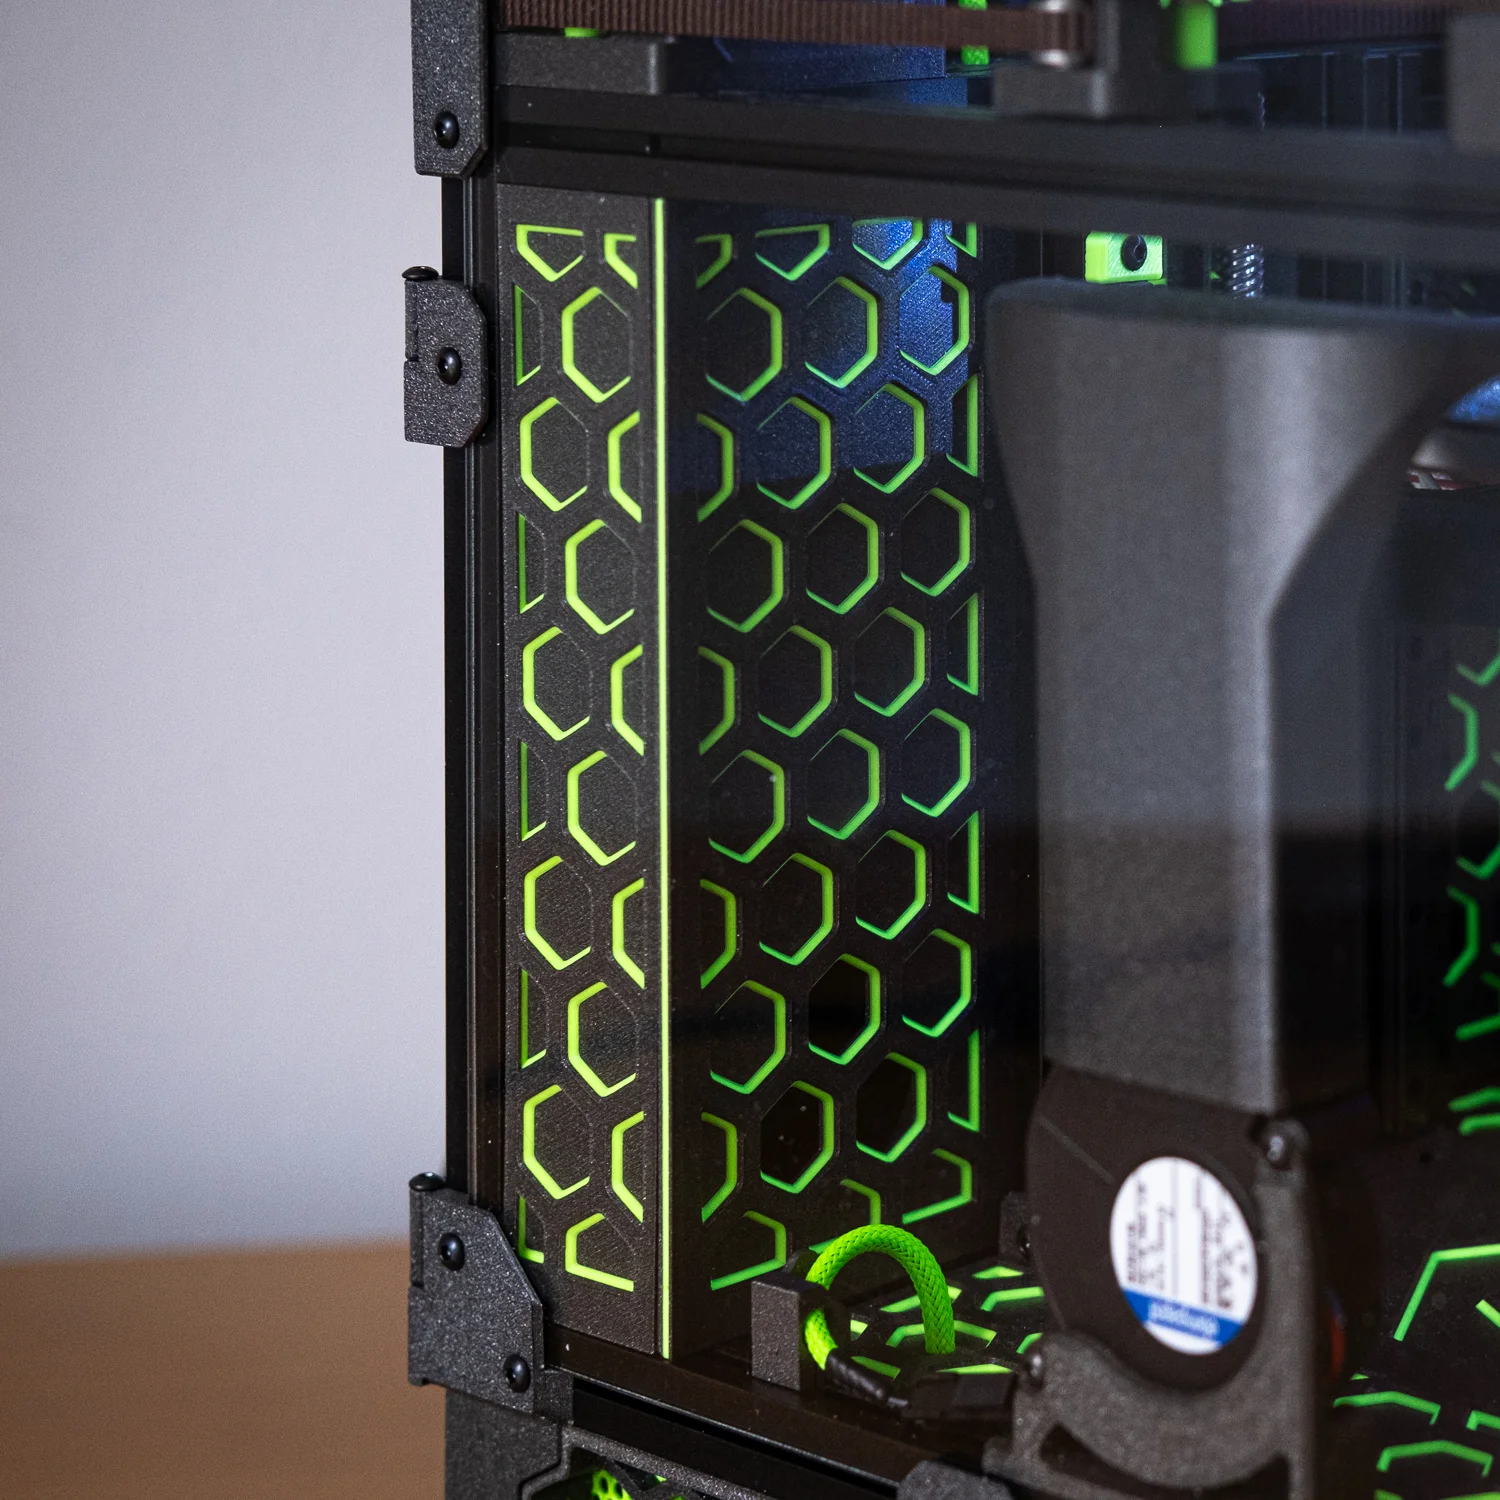
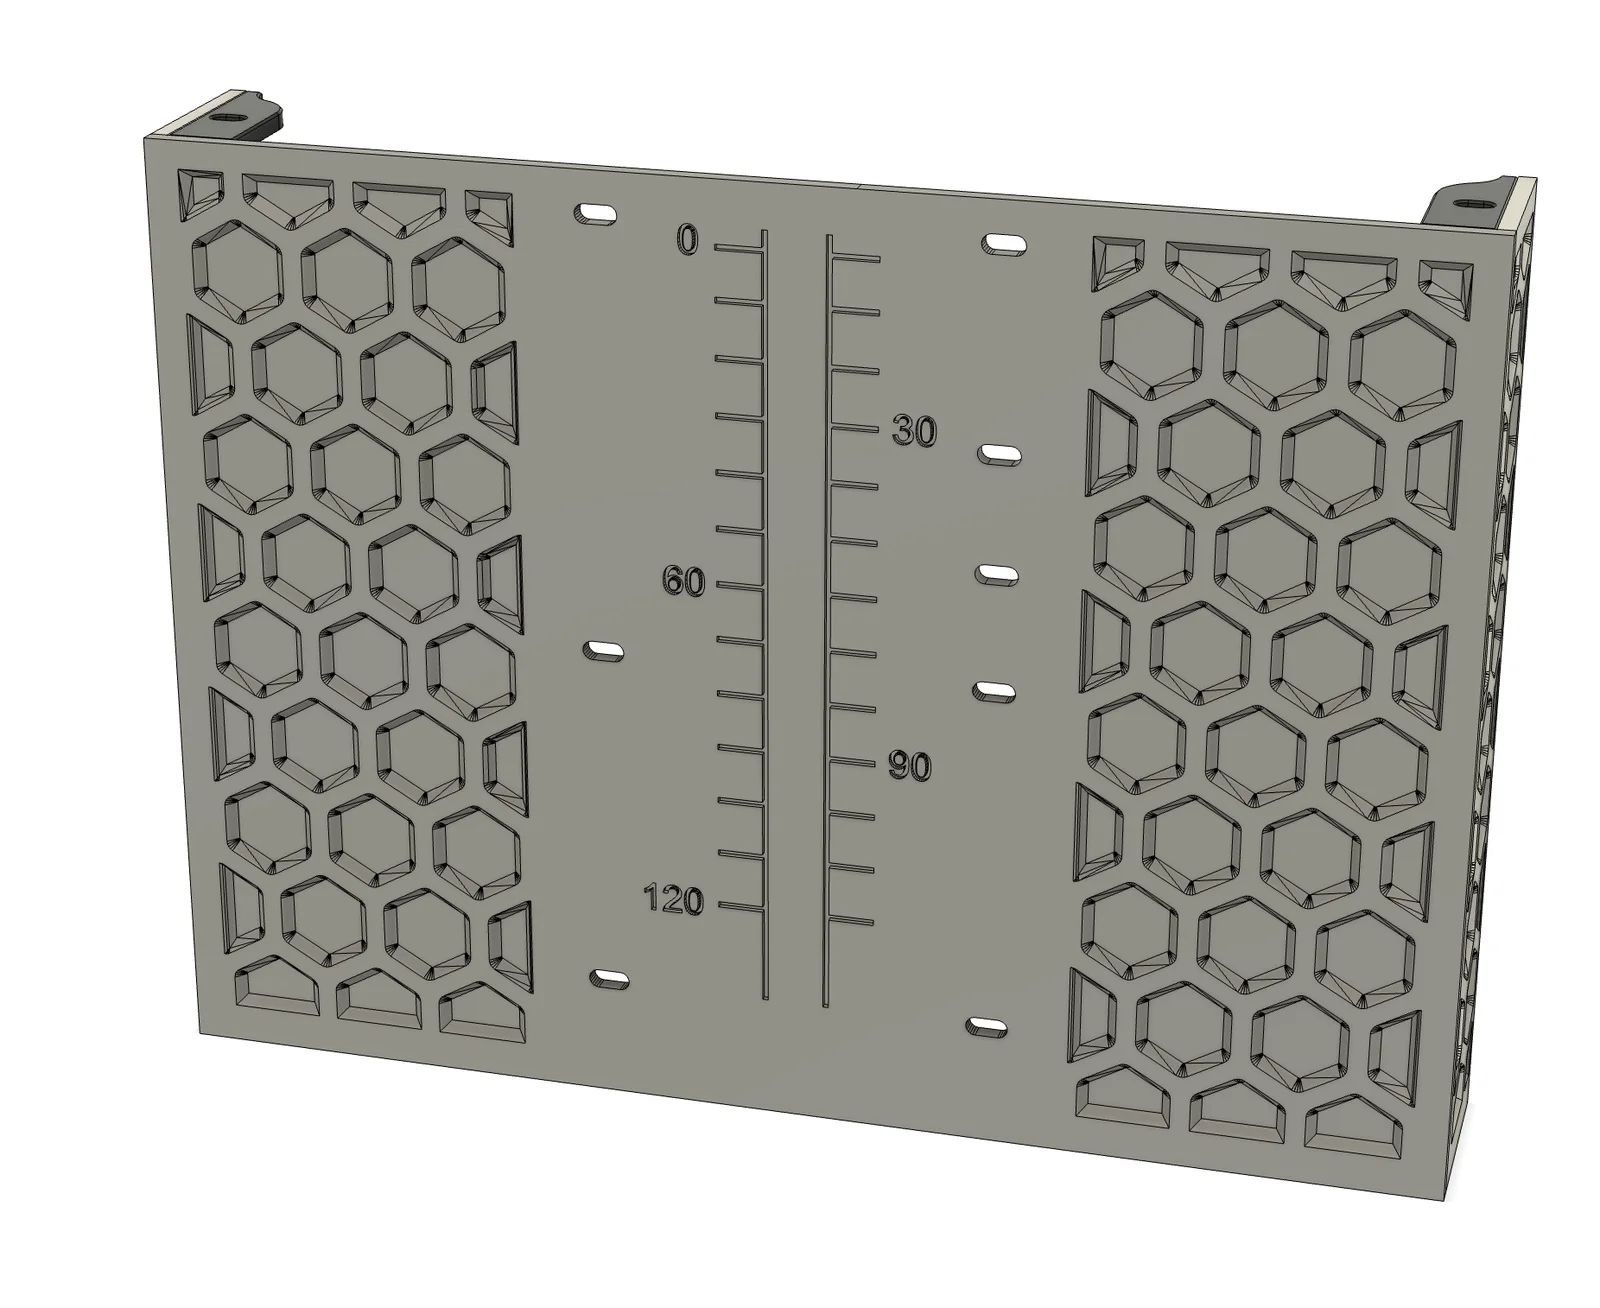
I love the design of the mid panel with hex pattern by Zen3D and wanted to have it for my V0, too. Then I found the Modesty Mesh for Voron Zero by MapleLeafMakers and thougth that these side panels for the electronics compartment would be even better if they continued the pattern from the mid panel.

When you are going to print the files you have to decide between two visual stlyes. You can print the front facing down or the front facing up.

Front facing down

This is the original style how the mid panel by Zen3D is printed. The advantage is that you can print the mounts on the back of the panel in one go. But you need do dial in your bridging settings very well, as the back of all the hexagons are bridges.

If you choose this version you need to print only:

  • MidPanelHex_IntegratedMounts.stl
  • ModestyMeshHex_Right_IntegratedMount.stl
  • ModestyMeshHex_Left_IntegratedMount.stl

Assembly

Note: it is best doing the assembly with the A/B motors removed.

  1. Mid Panel
    1. Place the mid panel in the V0 as you normally would.
    2. Screw in the screws from the back as you normally would.
    3. There are 4 additional screws for the midpanel, that screw in the top and bottom extrusion of the frame. This might mean that you will need to disassemble your frame. You will need to insert 4 additional M3 hex nuts into the frame. I you happen to have an LDO style frame you can check out this guide how to make some drop in nuts yourself: https://forum.vorondesign.com/threads/voron-0-how-to-make-your-own-drop-in-nuts-ldo-style-frames.1613/
  2. Side Panels
    1. Insert the side panels from the side. You will need to remove the acrylic panels if you already installed them
    2. The side panels are secured by one screw at the top and one at the bottom. You will need to insert 2 additional m3 hex nuts (or drop in nuts) on the left side and 2 on the right side to the frame. This might mean that you will need to disassemble your frame.

Front facing up

If you don't have your bridging settings dialed in perfeclty or if you simple prefer the looks (which I did), you can print this version. However it comes with the downside that you need to superglue the screw mounts to the panels.

If you choose this version you need to print:

  • MidPanelHex.stl
  • ModestyMeshHex_Right.stl
  • ModestyMeshHex_Left.stl
  • 2x ModestyMeshBracket1.stl
  • 2x ModestyMeshBracket2.stl

Assembly

Note: it is best doing the assembly with the A/B motors removed.

  1. Mid Panel
    1. Place the mid panel in the V0 as you normally would.
    2. Screw in the screws from the back as you normally would.
  2. Side Panels
    1. Superglue one ModestyMeshBracket1 and one ModestyMeshBracket2 to the left and to the right side panel. Be careful to align the parts as best as you can, so they sit flush. When you look at the ModestyMeshBrackets they look like an L. The bottom of the L should face forwards. You can superglue that part to the midpanel if you wish. Example - the right panel should look like this:
    2. Insert the side panels from the side. You will need to remove the acrylic panels if you already installed them
    3. The side panels are secured by one screw at the top and one at the bottom. You will need to insert 2 additional m3 hex nuts (or drop in nuts) on the left side and 2 on the right side to the frame. This might mean that you will need to disassemble your frame.
    4. If you encounter rattling or vibration of the mid panel during printing you may want to superglue the corners of the midpanel to the modesty mesh side panels (the bottom of the “L” part should offer a bit enugh surface. Please note that doing this will make it harder to remove the midpanel and modesty mesh side panels.

How to identify which panel is which?

You can place them in front of you as in the initial picture and just compare the pattern, but I added a small identifier that should make it more easy. On the bottom of each panel there are some dots that indicate if it is the left or the right panel.

Left Panel

Right Panel

Two dots on the bottom

One dot on the bottom

This mod is designed to work together with the deck panel cover that also uses the same hex pattern: Printables: Voron 0.2 DeckPanel Cover Mod

Read more Show less

Print spec

Formats
stepstl
Model files
16
Total size
18.6 MB
Largest file
6.3 MB

0 comments

See all