
Giáo Dục
Bộ Hiển Thị Cơ 7 Đoạn (Mechanical Seven Segment Display)
- Downloads
- 569
- Likes
- 146
- Views
- 6,224
- Remixes
- 0
- Comments
- 0
Files 11 5.6 MB
- camshaft_0-9_ccw_1777280106.stlSTL · 721.4 KB
- camshaft_0-9_cw_counterpart_1777280108.stlSTL · 721.4 KB
- segment_1777280109.STLSTL · 9.3 KB
- front_plate_1777280110.STLSTL · 741.1 KB
Make a variant with AI
Build another version of this model.
Details
- Model ID
- #344635
- Category
- Giáo Dục
- Published
- License
- Creative Commons — Attribution
Description
Important: There is a new version that uses only a single camshaft. You should use that version instead.
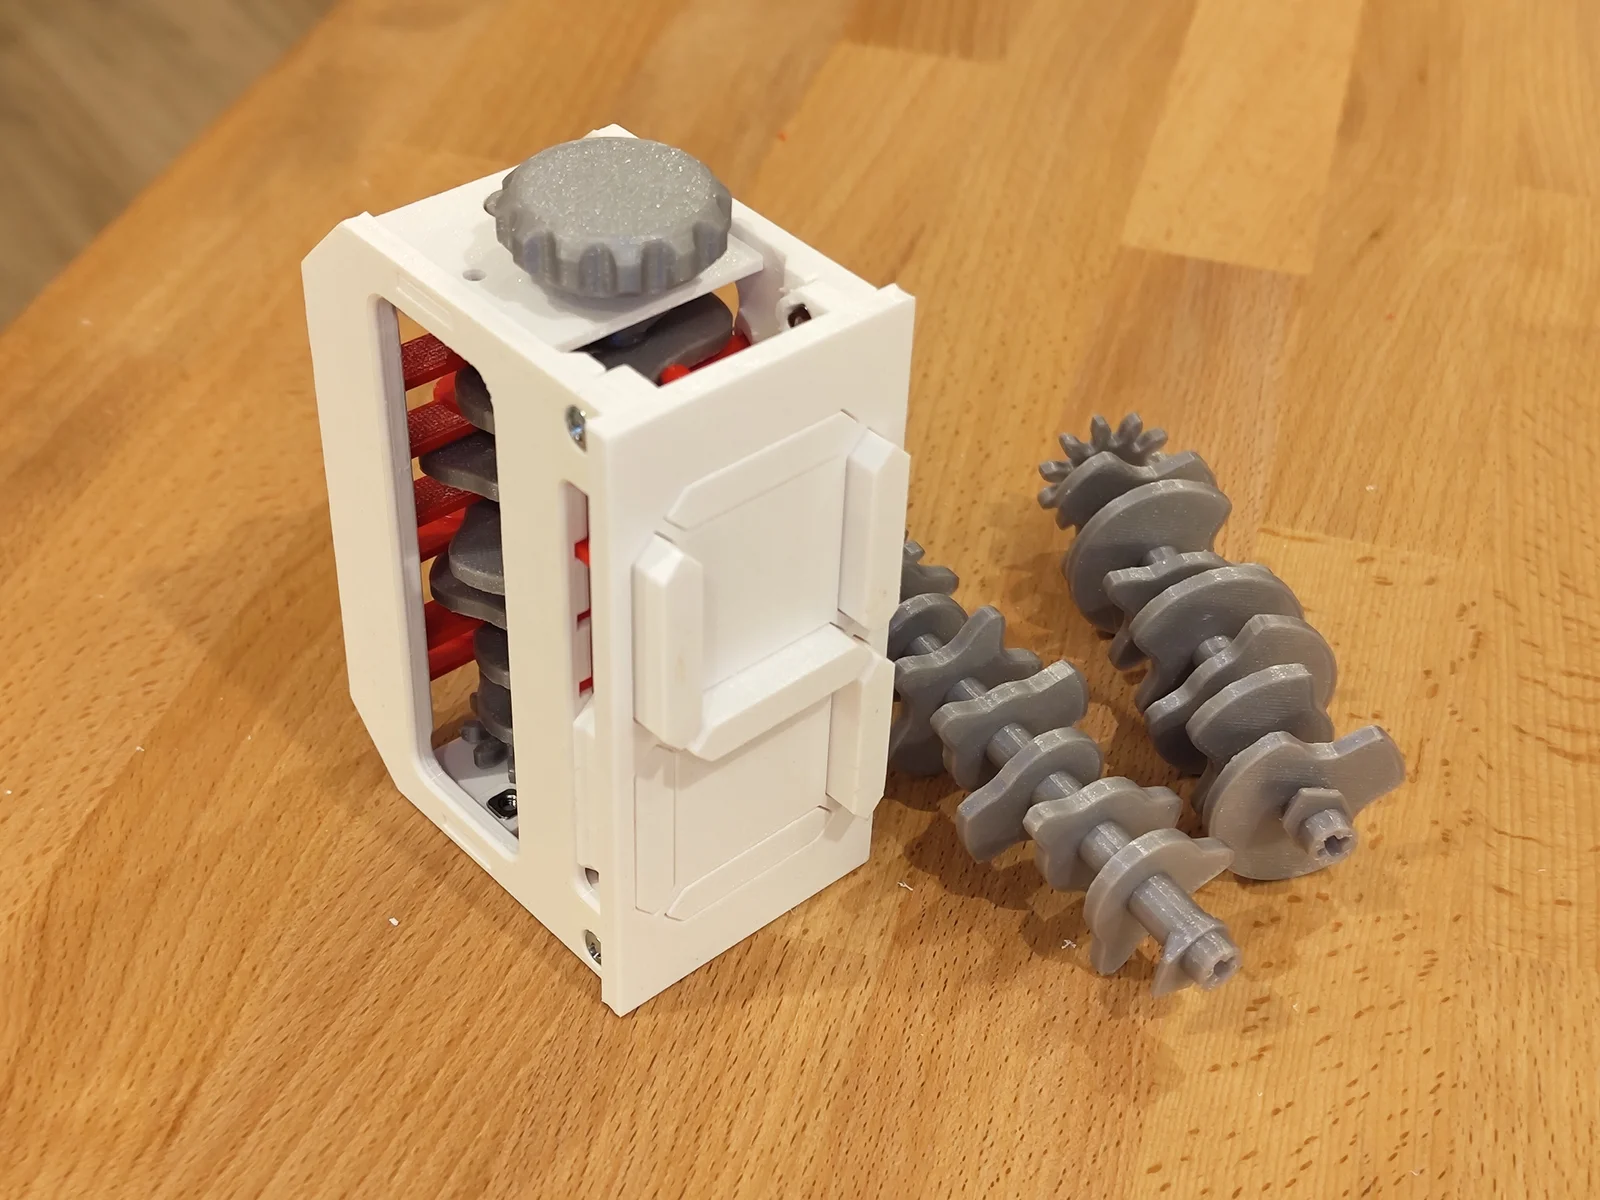
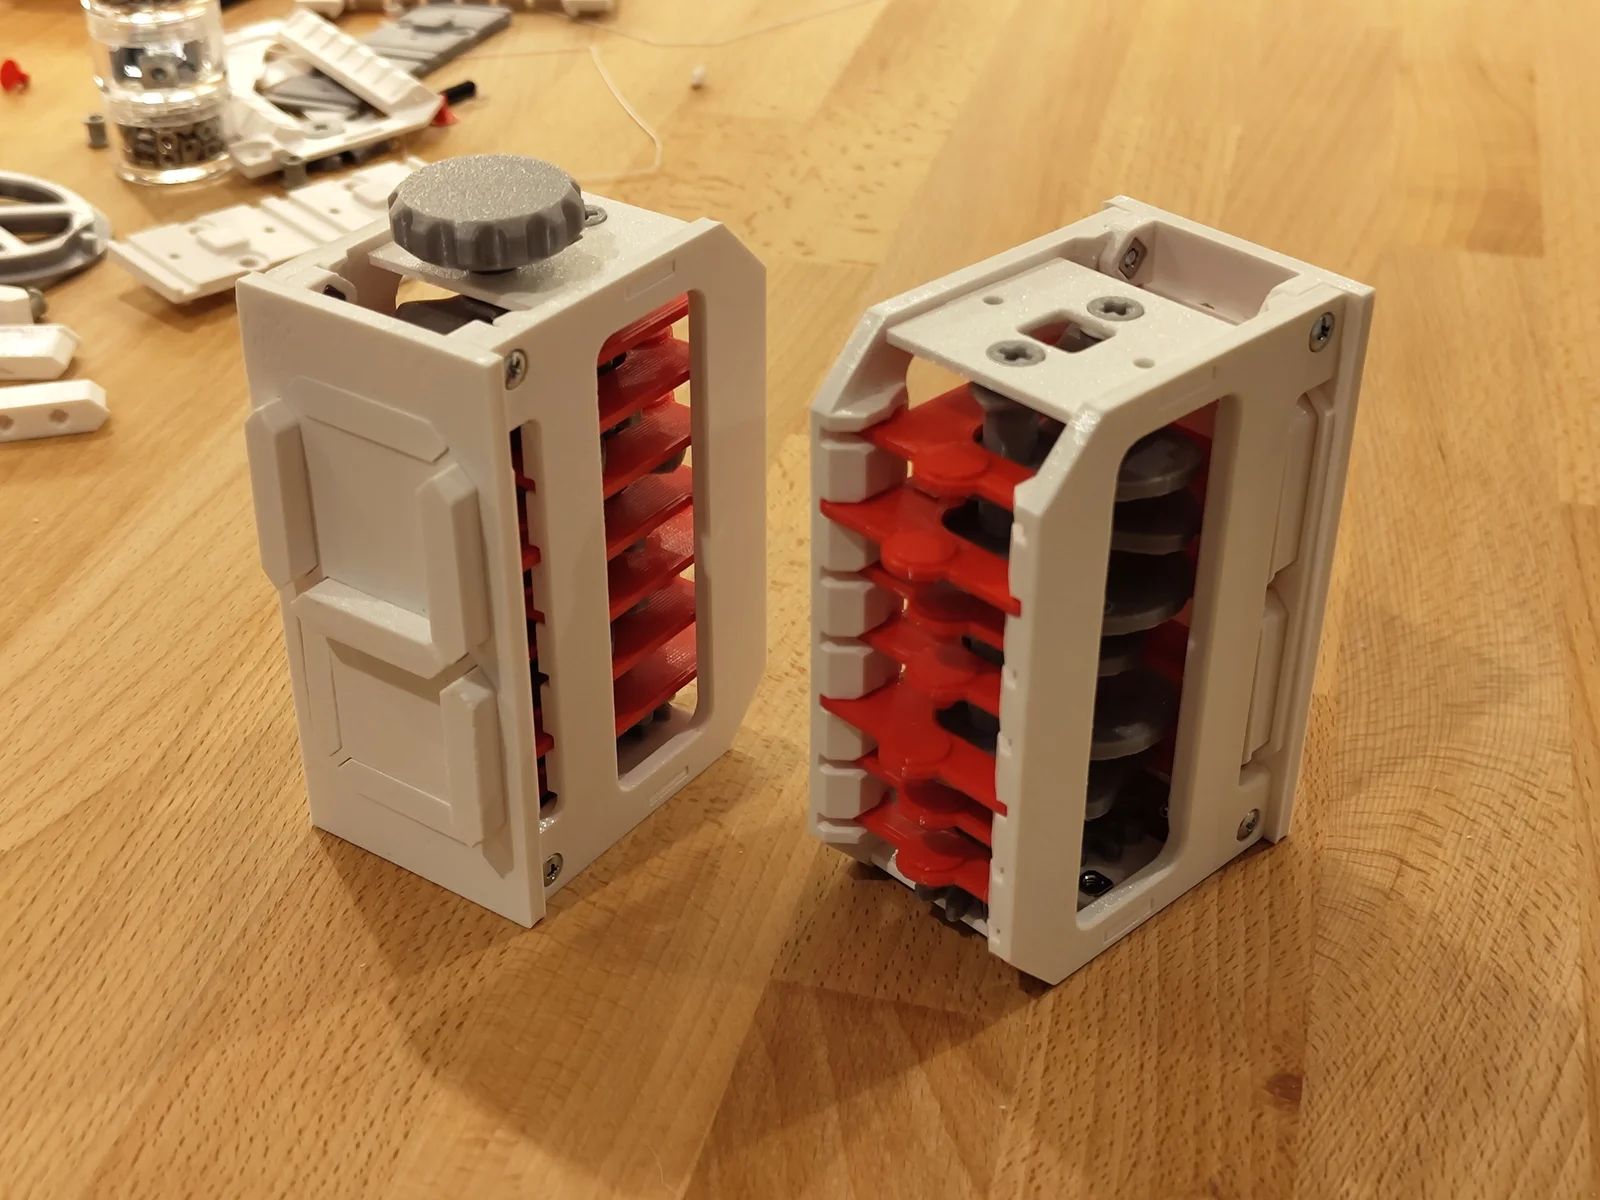
This is a mechanical seven segment display that counts from 0 to 9 using a pair of camshafts.
Non-printed parts
- 4x Square M3 Nuts
- 4x M3x6 screws (or longer)
- Plastic glue (it will work without glue, but relies on gravity and friction to keep things in place)
Printed parts
- 1x Front plate
- 2x Side plate
- 2x Bottom Plate
- 7x Segment
- 2x Pusher Right
- 2x Pusher Left
- 3x Pusher Center
- 7x Pusher Pin
- 1x Camshaft
- 1x Camshaft Counterpart
- Optional: Knob. The unit can also be driven with a Lego Technic axle
Printing
The camshafts should be printed standing up with supports (I used organic supports). Everything else can be printed laying flat without supports.
Assembly
- Insert four square M3 nuts into the front plate and glue them into place
- Put a pusher pin into each pusher plate and glue it in place.
- Connect a segment to each pusher as shown in the photo.
- Put the segments into the front plate.
- Attach the side plate on the side where the pushers don't have an opening and screw it into place.
- Place the two camshafts between the top and bottom plate and make sure that the arrows at the top of the camshafts line up.
- Insert the camshaft assembly into the unit.
- Attach the other side plate and screw it into place.
- Attach the knob
Print spec
- Formats
- stl
- Model files
- 11
- Total size
- 5.6 MB
- Largest file
- 882.4 KB