

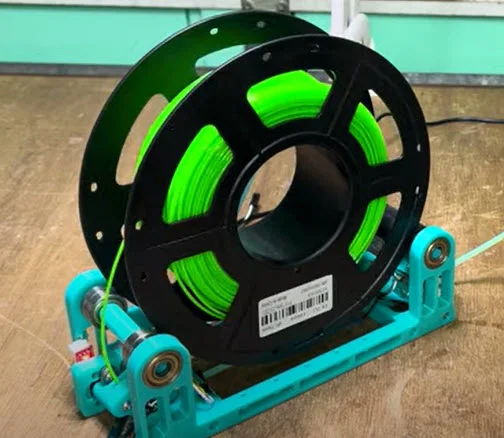
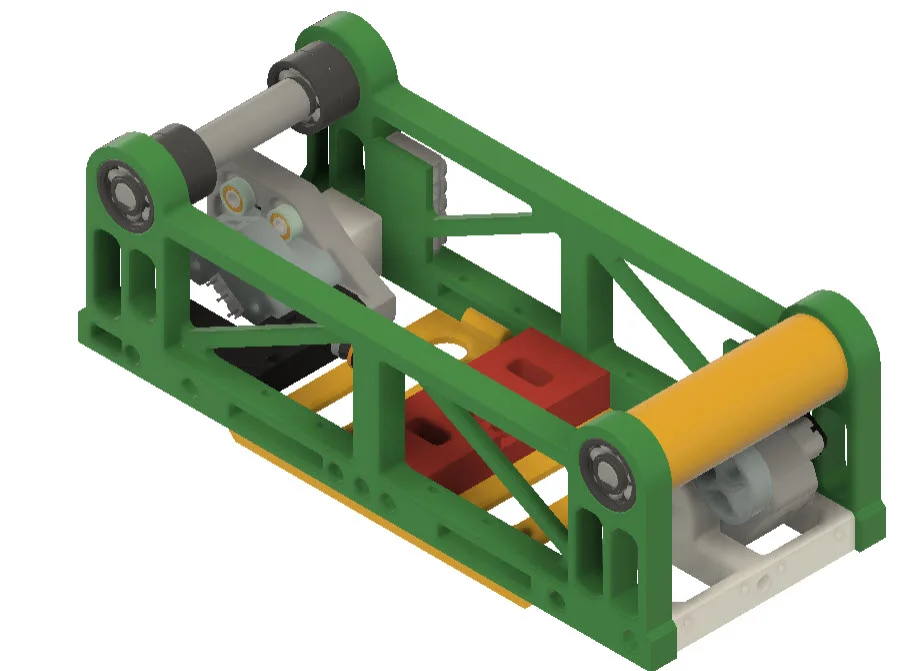


Kẹp giữ sợi Filament
 Bytinx_1344834Likes1.2KDownloads6K
Build another version of this model.
See also https://www.printables.com/model/792166-winchrack_type2-v2-for-ercf-or-tradrack-buffer (for some reason printables wouldn't allow me to make this the original)
I was impressed by this elegant and simple rewinder design, and decided to build some. I found a few minor tweaks I needed to get it as I wanted - here's the changes and build instructions…
Majority of STL's can be found here https://github.com/pure100kim/WinchRack_Type2/tree/main/V2/STLs
See this video for demo:
This video for build process:
There are also some additional videos referenced in the git repo.
The original BOM can be found in the git repo https://github.com/pure100kim/WinchRack_Type2 . Note that the links in BOM work, but will default to korean. Each time you use a link you will need to change the language and currency.
Cost per unit (especially if able to buy in bulk for several at once) comes to under AU$20 (US$13). Plus screws, ptfe and PETG.
Watch my build video for details of parts loaded here, and why - but in summary
NOTE: The original videos, and the repo. F3D file all show a LEFT mounted motor. However the STL's in the repo. have a right-mount. I've used this option, but maintained the mosfet on the left - giving a little more room.
Power socket - I've designed a simple clip on power socket if required - https://www.printables.com/model/844776-power-clipon-for-winchrack-type2-rewind-spooler (see last photo).
Bytinx_1344834Likes1.2KDownloads6K

 Byprusa-researchLikes0Downloads2.7K

 Byarhi_585078Likes64Downloads541

 ByHanzo3dLikes155Downloads414

 BydarienLikes0Downloads1K

 ByGeek5DLikes147Downloads485

 ByBrokentooth_designsLikes23Downloads407

 Byla-cave-au-chatLikes0Downloads965

 Bycrawler-3903250Likes0Downloads906

 ByvertigomakesLikes0Downloads562

 By3DSourcererLikes48Downloads377

 Byartme-3dLikes0Downloads333