



Grippy Broom Holder
 Byvc-designLikes0Downloads3.2K
Build another version of this model.
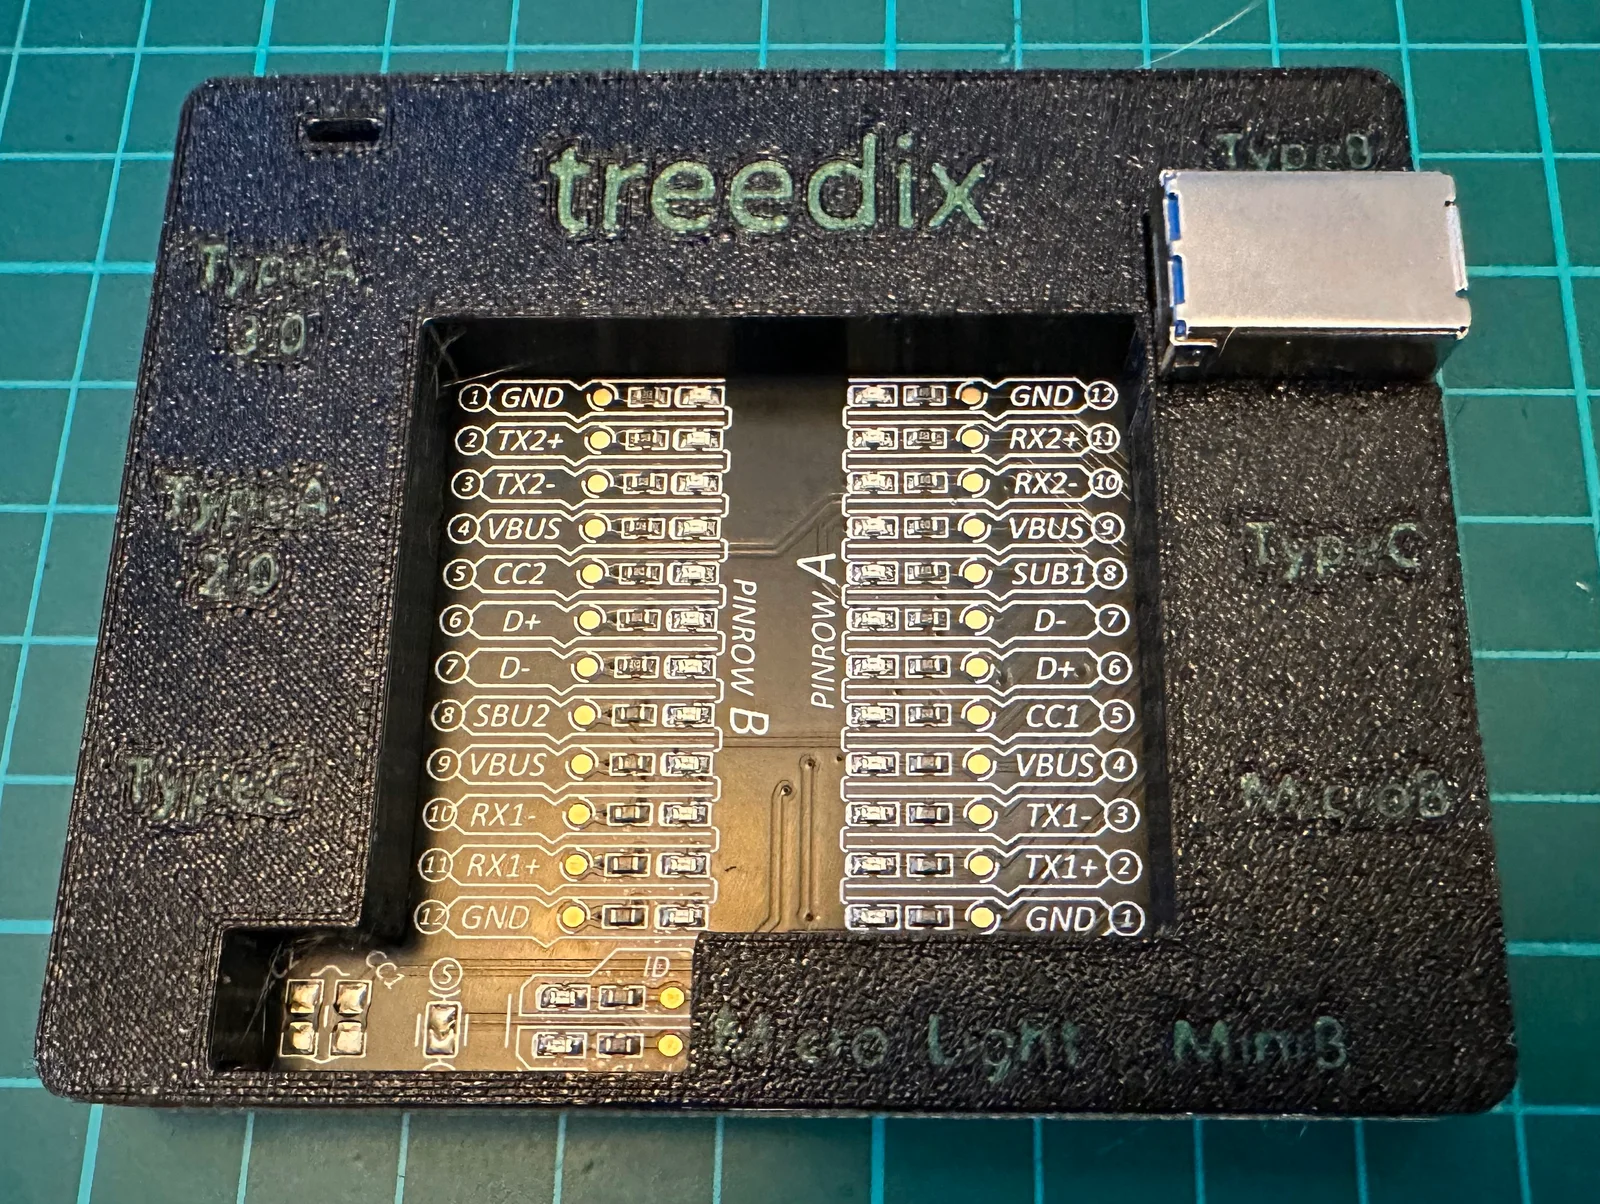
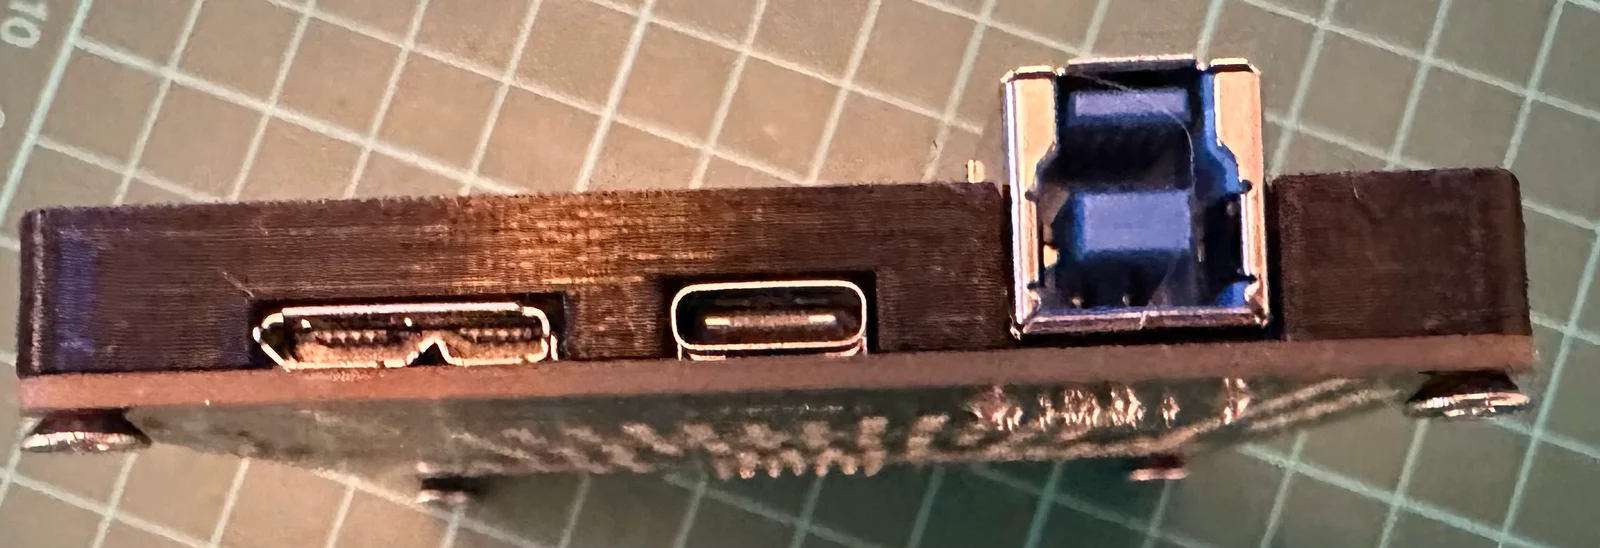
I wanted something for my tester to just clean off the lines of all the sockets. My goals were to keep the LED and test-points exposed, but I also wanted the case to be slim rather than the larger clear Perspex one Treedix sell.
My compromise was to encase all sockets, except the large USB2 TypeB one. This gave about the minimum thickness I wanted. I wanted the interior blocked off with just the test area, and I didn't want any deep holes on the side of the case to foul with cable plugs.
The screws are 3mm diameter and self-tap. I used the smallest I had available, 8mm long.
Just for my own interest, I did negative and text parts. This allows a colour change, and the use of a contrasting colour for labelling. Depending on your colours and nozzle size you may have a better or worse appearance. The model without text is included.
The .3mf contains the text, but how does the colour changing actually work in the .gcode?
Well Prusa Slicer is a little limited in this regard, so we have to adapt to the problem. The .3mf contains two colour changes at the end of a layer; consider these to be returning to the ‘default’ filament colour.
To actually have a text, or ‘ink’ colour we need to actually manually edit the .gcode and insert the M600 filament changes manually. It's not as bad as it sounds, but it does need some explanation.
We do this backwards so that the smallest number doesn't move the line for the larger number before we've found it.
You can see this by searching for M600 in the .gcode I prepared, and looking at the screenshot below.
Byvc-designLikes0Downloads3.2K

 ByKNIN_CustomLikes112Downloads438

 BySeppoTakaloLikes960Downloads1.9K

 Byrb_200934Likes48Downloads1.1K

 ByleonicLikes0Downloads1.4K

 ByZED4EverLikes313Downloads5.2K

 ByfifindrLikes500Downloads4K

 ByVC_DesignLikes679Downloads3.6K

 ByDan Schwartz SchwartzLikes744Downloads3.4K

 ByUpcrid3D_1585693Likes808Downloads2.1K

 ByWilko_SLOLikes935Downloads2K

 ByshoheiyLikes0Downloads425