

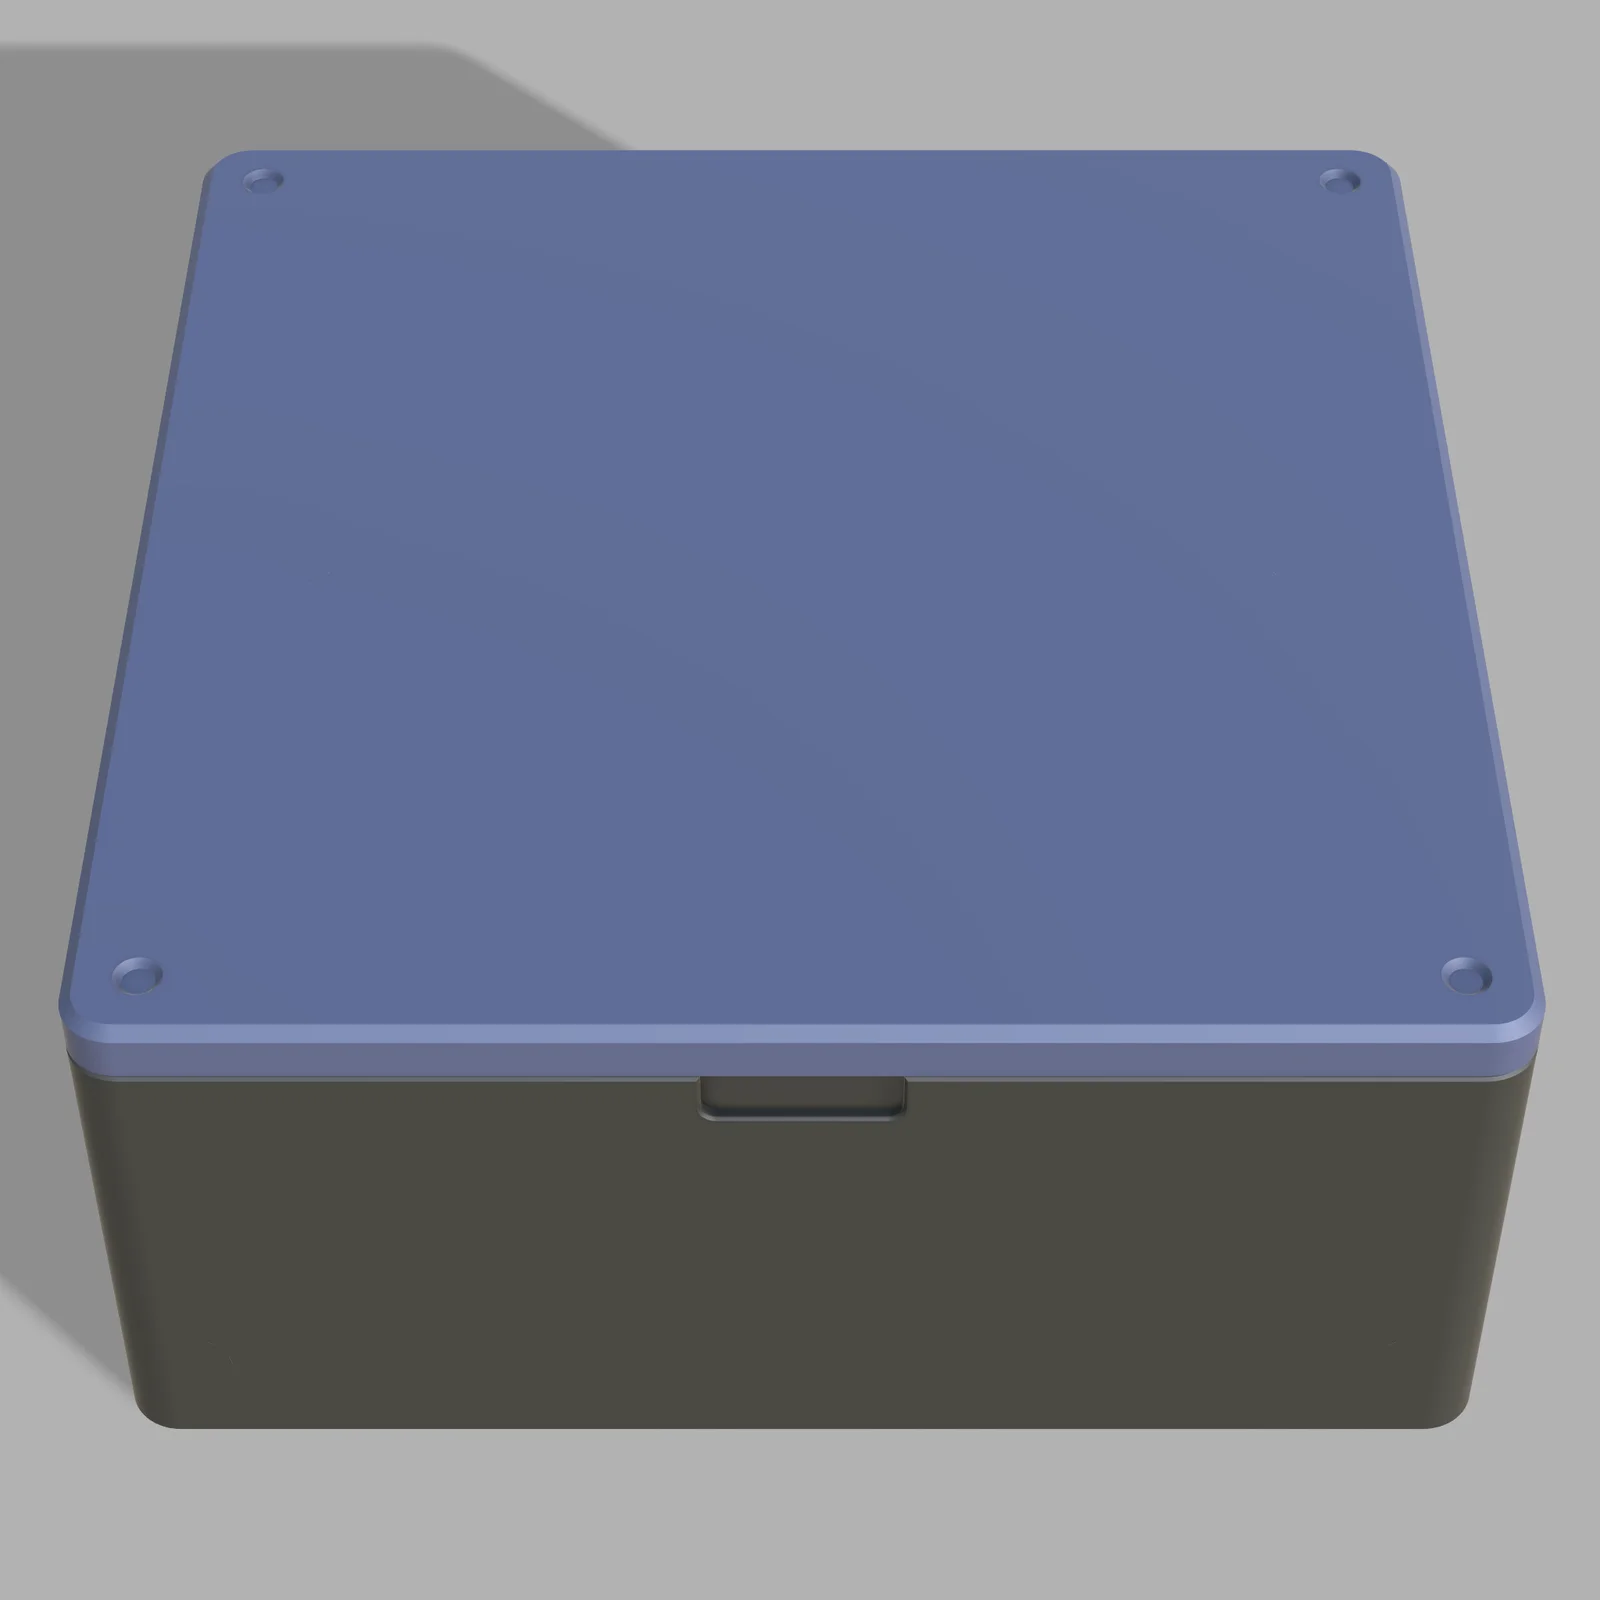


Hộp Trượt Tham Số Tùy Chỉnh – Giải Pháp Lưu Trữ Thông Minh
 ByRobertoGalloc_356815Likes549Downloads1.8K
Build another version of this model.
 Bộ Vệ Sinh Kim Stylus Máy Đĩa Than (Record Player Stylus Cleaner)ByHurricanePri_2467875 · 05/02/2026
A re-design of my previous magnetic box which seeks to address some of the shortcomings of the original. The lip has been inverted so that there is no shelf inside the box where items can get caught. Larger magnets (8mm) have been used this time for more reliable lid retention as well as better tolerances and cutouts to help prevent any glue spilling out. There's also an optional insert which allows the box to be printed out of any material while protecting the interior. Notches matching the feet have been added to the lid to allow the boxes to stack and stay in-place.
Organizational inserts are an idea I had but I couldn't figure out a set of common layouts that I was happy with. So only the basic protective insert is included for now.
For extra quality, printing outer walls first should work fine. The box has been designed with 45-degree chamfers and no significant overhangs or bridges for ease of printing. The cutouts for the feet and stacking should bridge just fine without supports.
For additional strength, three walls may be used though two should be enough for most cases. I use honeycomb infill at 20% but this is just a personal preference.
If you decide to print using a filament with a lot of shrink/warping (ABS/ASA/PC), ensure you have the correct compensation values or the tolerances may be off. The magnets should slide in without much resistance.
The examples were printed in Bambu PETG-CF for the base/lid and PETG for the insert.
The provided profiles and raw STL files expect 8x3mm magnets and 6x2mm rubber feet. These magnets and rubber feet work really well. I have seen a lot of variance in the strength of magnets off Amazon. The ones I linked worked well but any should cut it as long as they are decent neodymiums.
While the previous box was press-fit, I found this to be extremely unreliable. Especially with different printer tolerances and creep issues. The magnets must be glued in this time. I have added plenty of tolerance that should cover most printers these days. Notches have been added to try and catch any glue that seeps out.
The magnetic feet in the provided BOM are adhesive and should stick on within the cutouts on the bottom.
The insert has enough tolerance to slide in to the box. Due to layer lines and seams, it may need some help.
I have included the source CAD file for Fusion 360 for any customization, remixes, etc. Parameters are set up for just about every aspect of the box other than some features which were better off being kept fixed to avoid broken variants. I do not recommend going below a wall-thickness of 3.2mm as this aligns well with 0.4 and 0.6mm nozzles while providing good strength.
If you'd like to support my work, feel free to buy me a coffee!
ByRobertoGalloc_356815Likes549Downloads1.8K

 ByMatthew_GhostLikes350Downloads935

 ByGray_m4Likes36Downloads130

 ByUpcrid3D_1585693Likes808Downloads2.1K

 ByWilko_SLOLikes935Downloads2K

 ByfifindrLikes709Downloads1.7K

 ByGi_TLikes801Downloads1.3K

 BymindthelightLikes251Downloads386

 ByTater_364200Likes486Downloads1.6K

 BySamDesplanckeLikes197Downloads292

 Bywhilex_1739192Likes644Downloads1.1K

 ByMaxTheSpyLikes32Downloads231