



Thằn lằn cử động linh hoạt - In tại chỗ (Không cần support)
 Bycream110_291842Likes924Downloads7.7K
Build another version of this model.
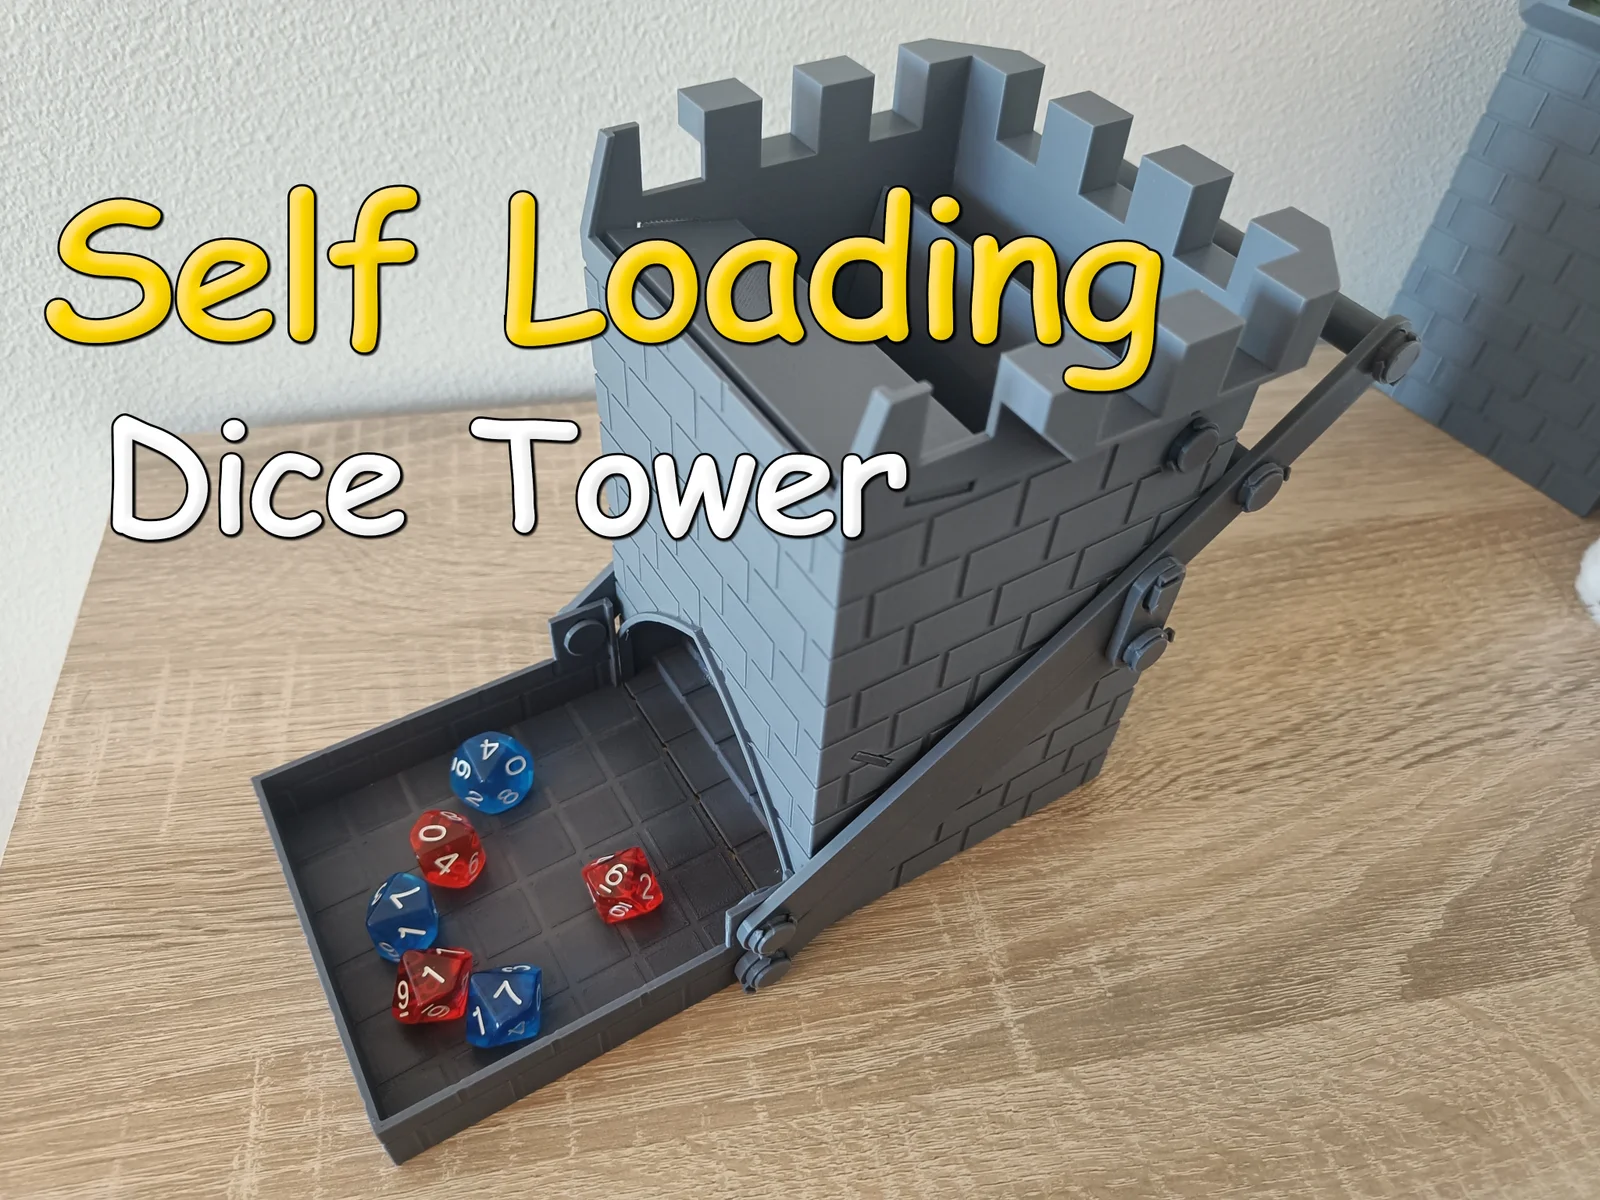
This self-loading dice tower can re-roll your dice by simply pressing the handle. Also works as a regular dice tower.
I used regular PLA for this print. No supports are needed, except for axle-main (exclude support from pinholes, see attached .3mf -files).
Doesn't require any hardware, all parts can be printed. This should be a somewhat easy project, but I made simple drawings of what should be done in what order. Please let me know in the comments if something needs more clarifying!
Attach lever-inner to axle-main and secure it with axle-retaining-pin. Make sure all parts are oriented correctly.
Attach lever-long, lever-long-2 and lever-short to tray with 3x axle-short and secure those with 3x axle-retaining-ring. The lever-long and lever-long-2 are different parts! Make sure you don't mix them up.
Place trap inside the tower. You may need to bend the part a bit, but it should snap on when placed correctly.
Attach the lever-long-2 to the tower with axle-short and axle-retaining-ring. Make sure to use the correct hole (see images).
Attach main axle from step 1 through the holes on tower, lever-long, and link. Then secure it with axle-retaining-pin. Notice the correct orientation of lever-inner.
Attach trap-door with 2x axle-short and 2x axle-retaining-ring
Attach trap like you did in step 3. Make sure that trap rests against lever-inner in a low position.
Push 2x pin-long through lever-long-2 and lever-long and secure those with 2x axle-retaining-ring.
Push the handle down and make sure that trap-door is moved to against trap-upper. Check that there are no extra parts.
If you like this model or have improvement suggestions, I would love to see make or comments! Happy rolling!
This tower was inspired by Lego Self-Loading Dice Tower v2 by Pattspatt
Like how clamps and pins work? Make your own using Set of simple pins and matching retaining rings
Bycream110_291842Likes924Downloads7.7K

 ByOnemoredaveLikes861Downloads6.9K

 Byjs14581_2767550Likes118Downloads3.3K

 Byquibeck_3353173Likes351Downloads2.1K

 Byfilament-frenzyLikes0Downloads455

 ByTheMakerStuffLikes315Downloads1.9K

 ByGoolow_295072Likes598Downloads1.6K

 ByMikWantecLikes264Downloads1.5K

 BySzvmkn_3779340Likes231Downloads1.3K

 ByHacker Man ManLikes248Downloads1.5K

 Byjeremy-sappLikes0Downloads306

 Bycentarico_3241219Likes257Downloads976