



SpoolGrid — Hệ thống ngăn kéo mô-đun tận dụng lõi nhựa Prusament
 Bydona3d_Likes456Downloads676
Remix of Giá Đựng Nam Châm Hệ Gridfinity By GabrielFerrei_551317
Build another version of this model.
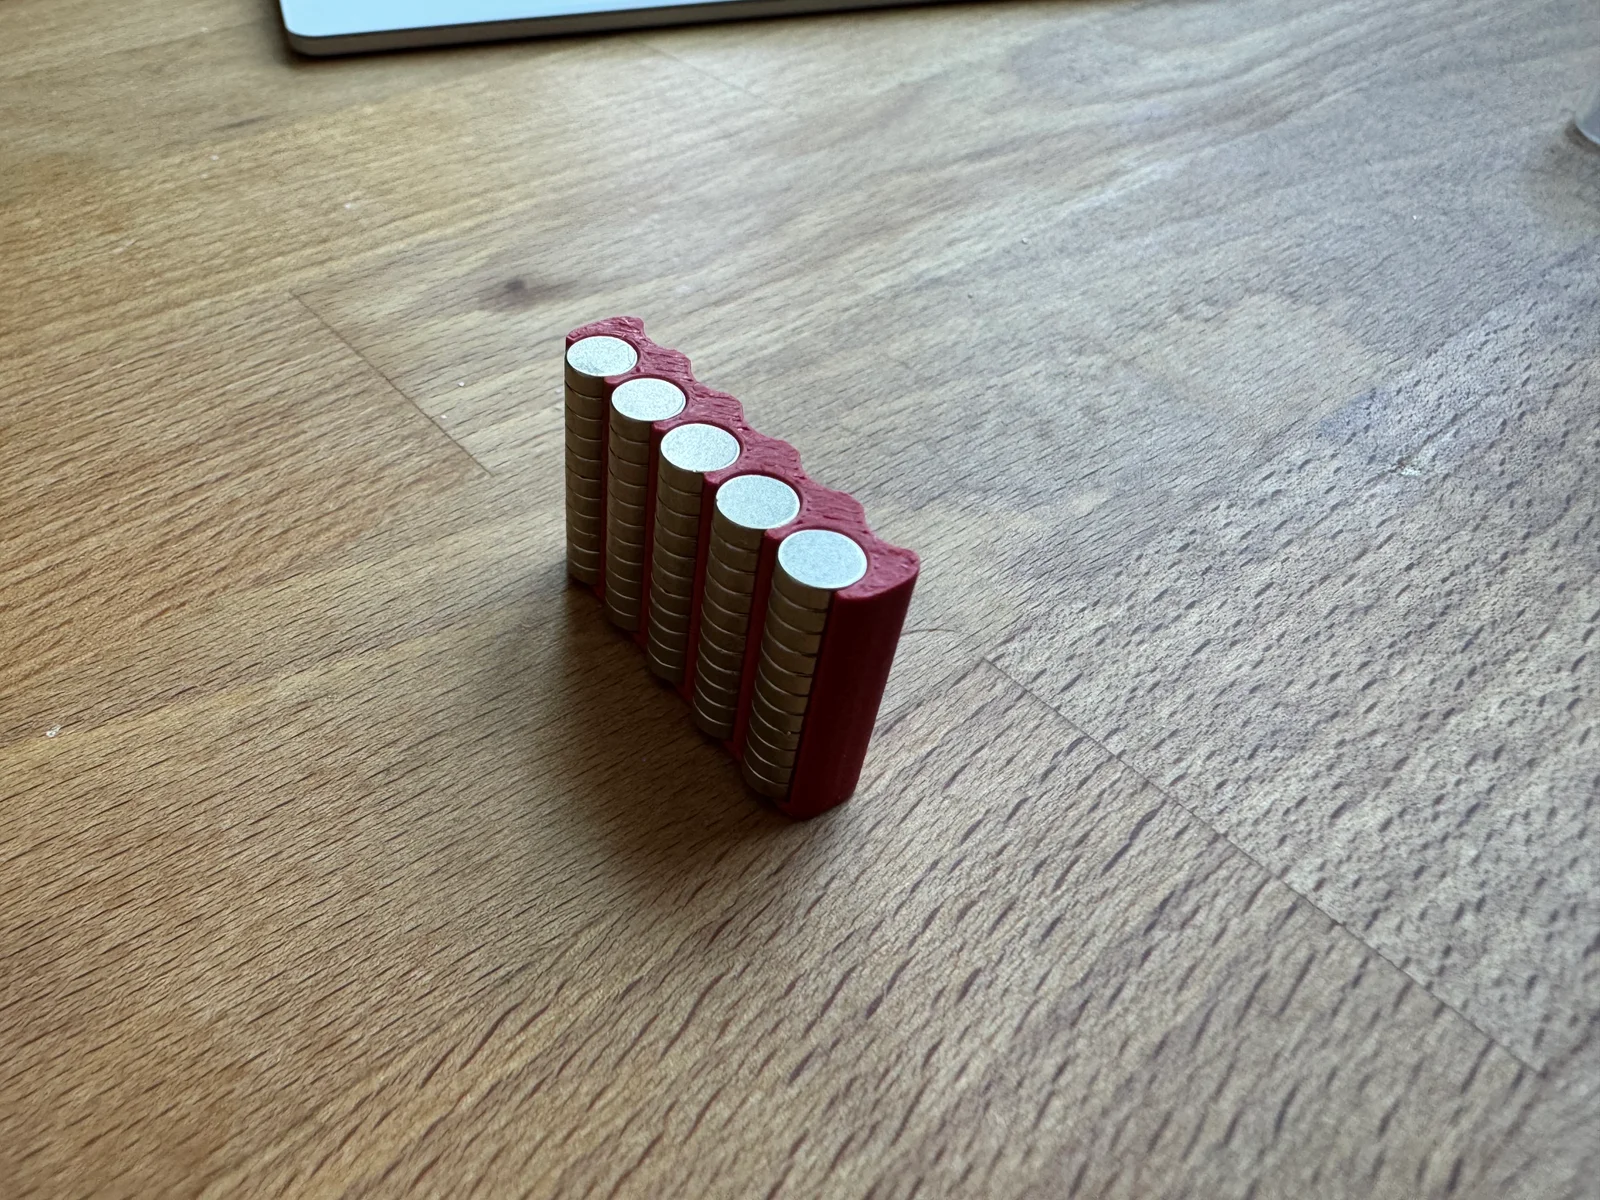
I loved the original bin for my 6mm magnets, because it stores them in a low-profile position that fits in a drawer! Shocking, I know. Some of us like clean desks (though my current desk would imply otherwise…).
However, I only have two sizes of smaller magnets handy right now: 6mm and 5mm diameter. Woe is me! The original model only support 6mm and 4mm! Whatever shall I - I just took the 4mm and cut the holes (and back-side interlock thing) a bit wider for 5mm. Works great.
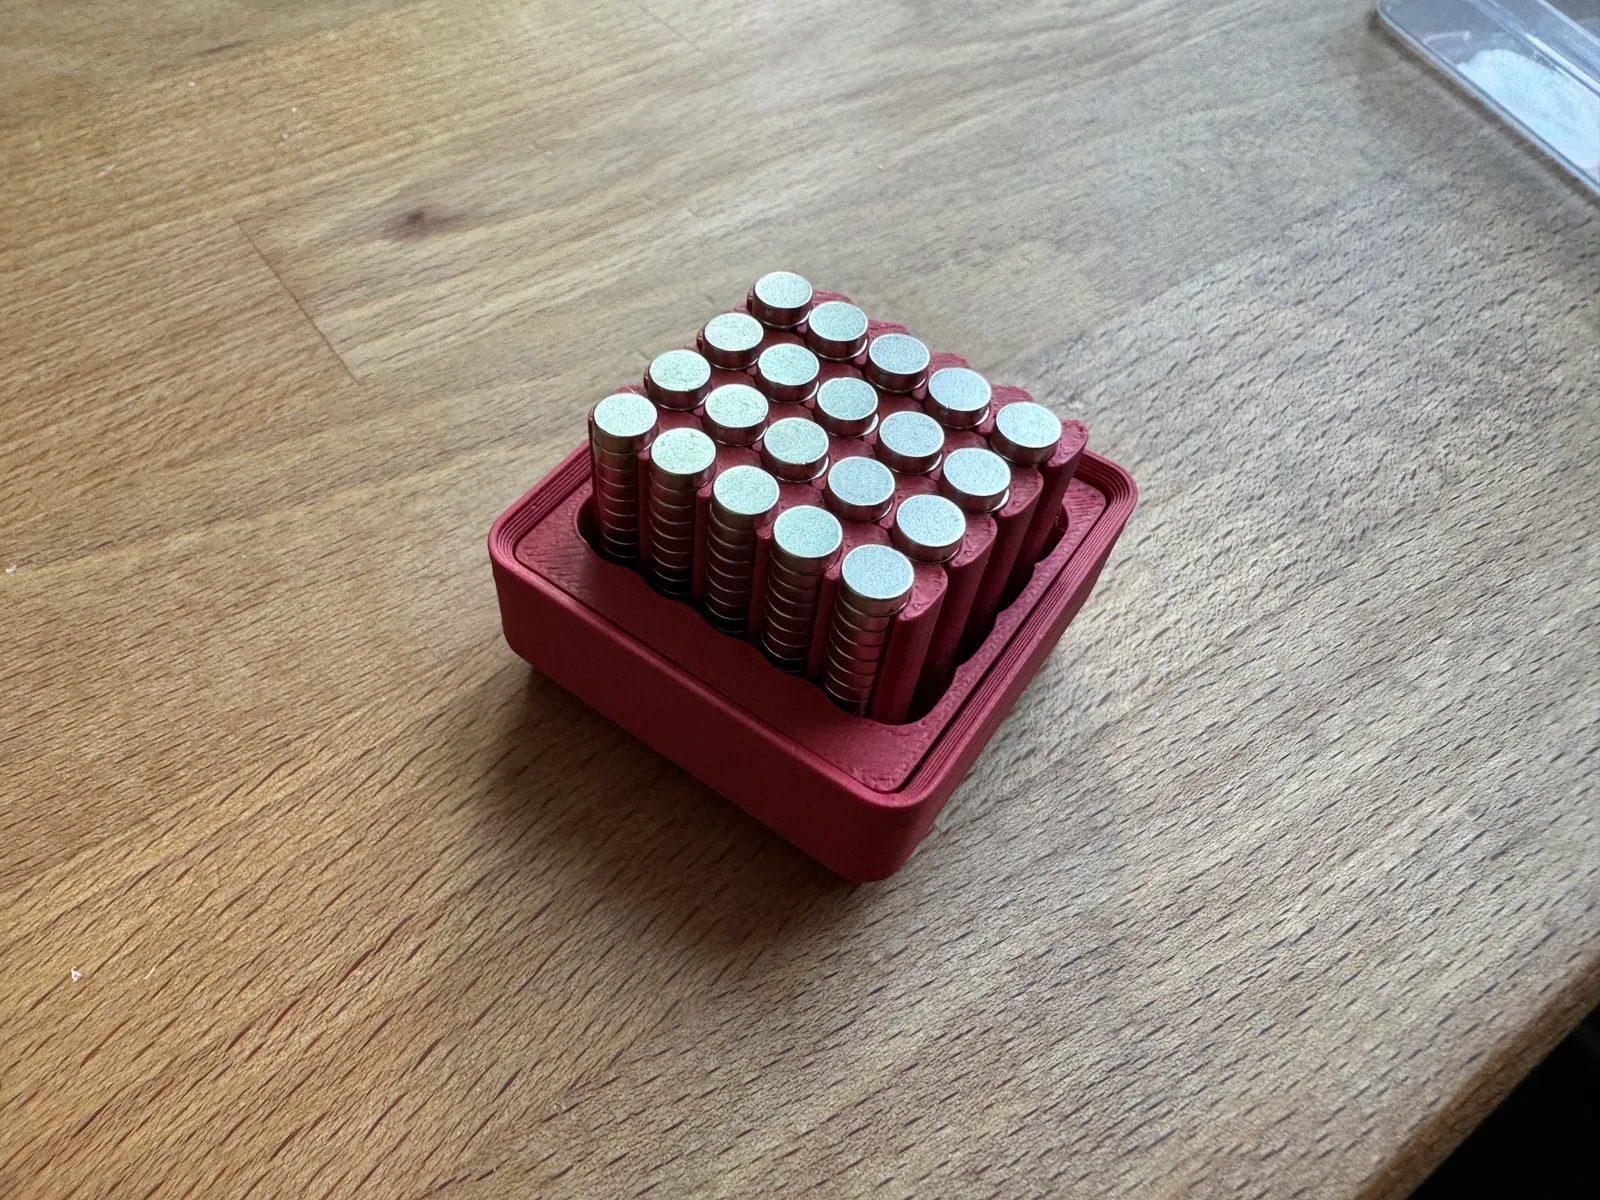
Because this is just the 4mm diameter magnet holder rack thing but cut with slightly larger holes, the only new piece you need is the one in this remix. You can use the 4mm base in the original files which fits a set of 4 of these perfectly, along with either the 1x1x3 gridfinity bin in the original or just a normal 1x1x3 bin (with no scoop and no tab) you find or generate somewhere.
Pretty much anything reasonable should work, but this is what I used (for both this remix and the original files):
Because these are relatively strong magnets, they tend to either attract or repel each other as you put them in. And if you don't get the polarities just right, you won't be able to get two “racks” as I call them to sit next to each other like in the second photo. Here's how I do that:
You can theoretically also do this by flipping with every rack, but you cannot keep all of the magnets facing the same direction. Doing so will cause the racks to want to repel each other.
If orientation is important to you, I'd recommend either printing one of the many excellent magnet dispensers out there, labeling your racks, or just making sure you have a labeled magnet or a jig set up for whatever you're using these for.
Bydona3d_Likes456Downloads676

 ByVC_DesignLikes721Downloads2.9K

 ByUpcrid3D_1585693Likes808Downloads2.1K

 ByWilko_SLOLikes935Downloads2K

 ByRobertoGalloc_356815Likes549Downloads1.8K

 ByTater_364200Likes486Downloads1.6K

 ByfifindrLikes709Downloads1.7K

 Bywhilex_1739192Likes644Downloads1.1K

 ByGi_TLikes801Downloads1.3K

 ByzeroflowLikes186Downloads1.2K

 ByMatthew_GhostLikes350Downloads938

 ByWolf_115355Likes513Downloads8.4K