
F3D
Giá đỡ BLTouch cho Ender 3 (Ender 3 BLTouch Mount) 1

6 images

Máy In 3D

Giá đỡ BLTouch cho Ender 3 (Ender 3 BLTouch Mount)

By LudvigBroome

Downloads
2,827
Likes
132
Views
8,844
Remixes
1

Files 3 217.2 KB

  • BLTouch-Mount_NEW_1777031473.stlSTL · 62.1 KB
  • BLTouch-Mount_OLD_1777031473.stlSTL · 61.7 KB
  • BLTouch-Mount_1777031474.stpSTP · 93.4 KB

Make a variant with AI

Build another version of this model.

Open Studio

Remix versions 1

See all 1 remix

Description

Special features

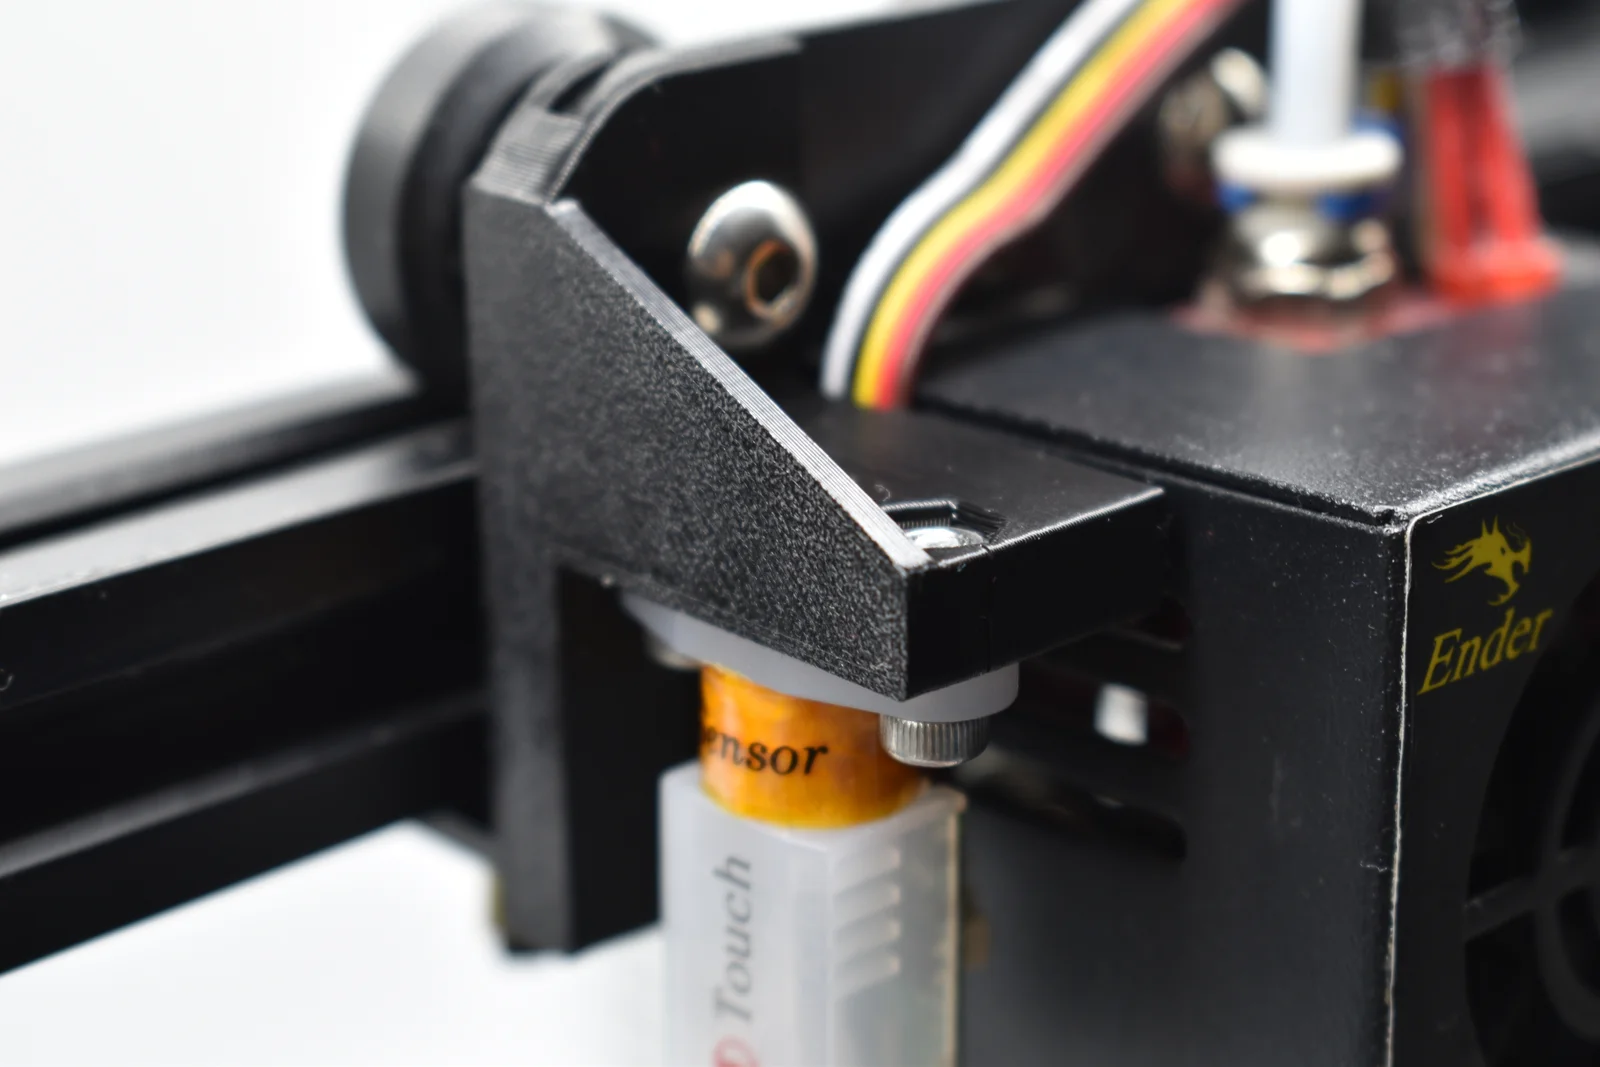
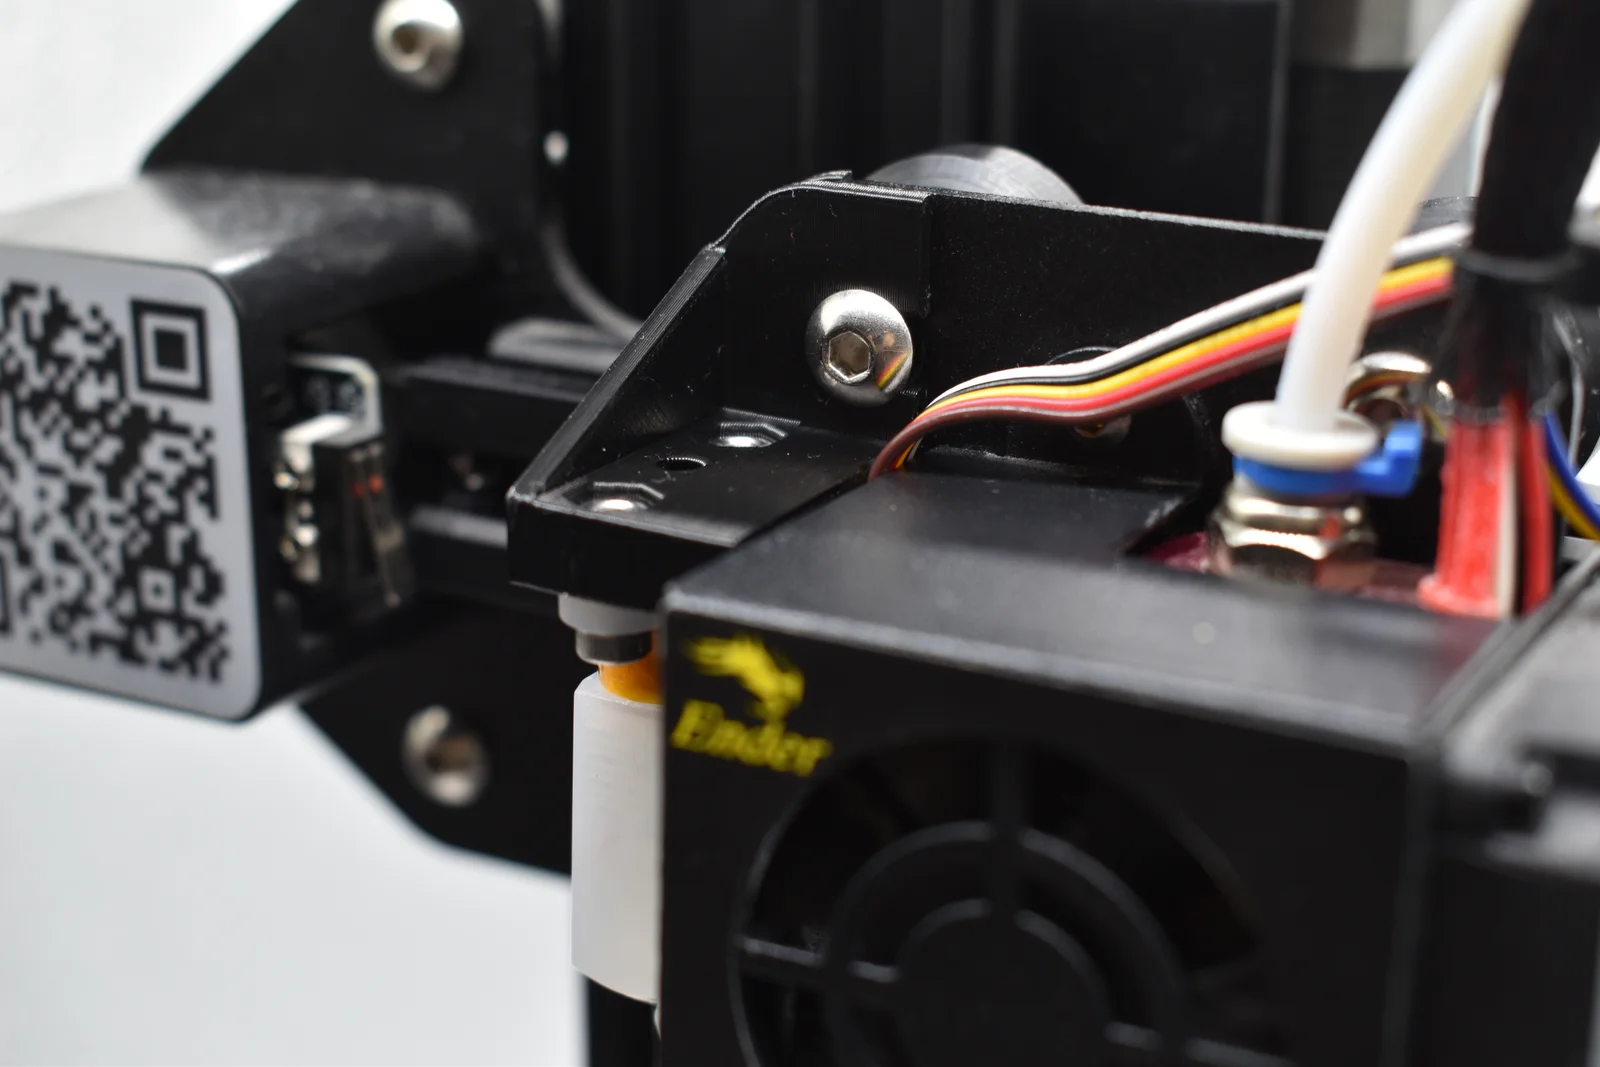
  • The Extruder Fan Cover can be removed independently (no need to also remove the BLTouch mount), thus maintaining the probe Z offset
  • Optimized cable placement.
  • Small and sturdy design.

Updates 

3 February 2023 - Lowered the mount by 1.5 mm for more optimal BL-Touch height

Part list

  • BLTouch-Mount (1x)
  • M3n nut (2x)
  • M3x8 screw or longer (2x)

Assembly instructions

Step 1 Nut insertion

  • Insert the two M3n nuts in the BLTouch-Mount.
  • Pull the nuts with a screw to ensure proper insertion.

Step 2 Ender 3 preparation

  • Using a wrench and an allen key, unscrew the top left screw enough to slide the BLTouch-Mount in.

Step 3 Mount installation

  • Install the BLTouch-Mount by sliding it in to place. 
  • Secure it in place by tightening the previously untightened screw. 

Step 4 BLTouch preparation

  • Slide the BLTouch wire through the slot in the picture.
  • Align the holes on the BLTouch with the ones on the mount.

Step 5 BLTouch installation 

  • Secure the BLTouch with the two M3x8 screws. 
  • If you encounter any extruder-wobble, adjust the eccentric nut on the bottom wheel with a wrench.

Step 5 Probe offset

  • Change the probe X offset to -44.0.
  • Change the probe Y offset to -5.0.
  • The offsets can also be applied in the printer's configuration.h file (marlin).

Please post a make if you liked the model!

Read more Show less

Print spec

Formats
stlstp
Model files
3
Total size
217.2 KB
Largest file
93.4 KB

0 comments

See all