


Đôi cánh Hermes, sứ giả của các vị thần
 ByOldLadyLikes876Downloads2K
Build another version of this model.
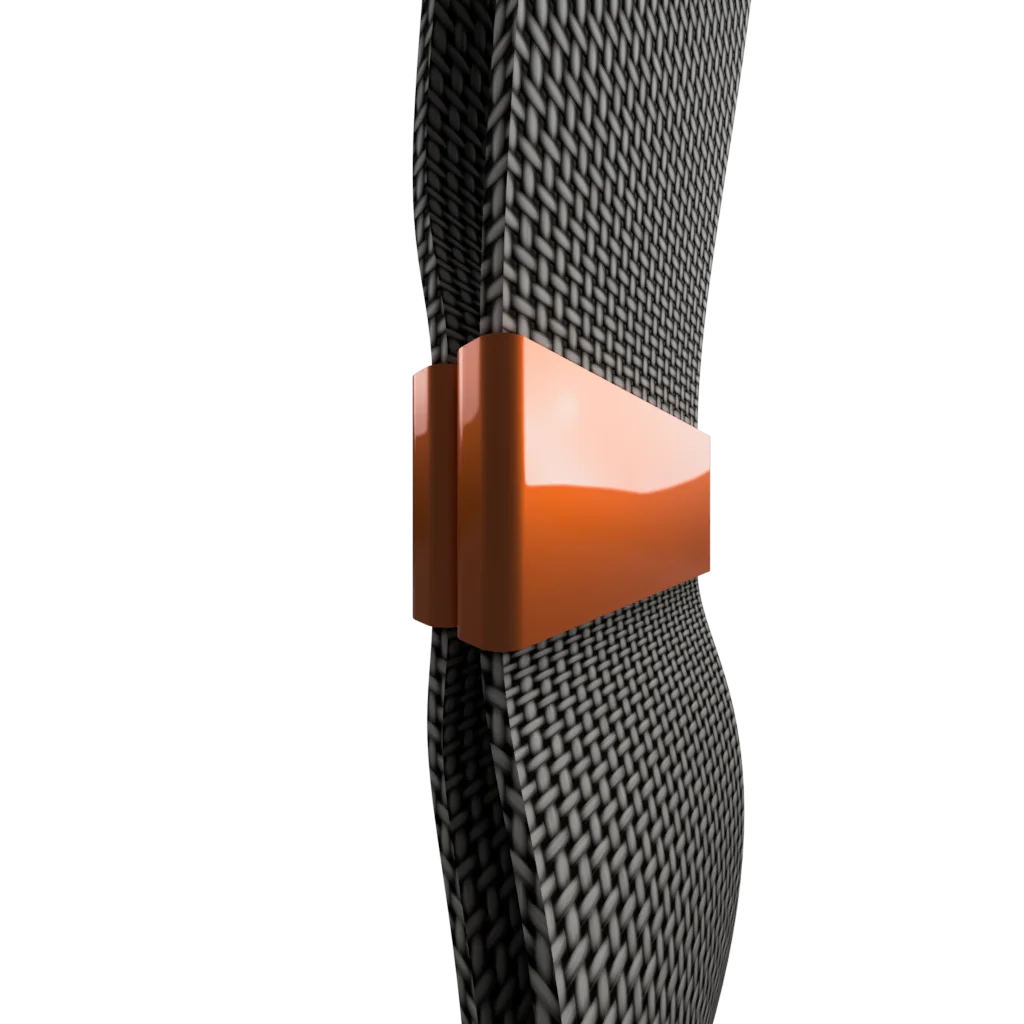
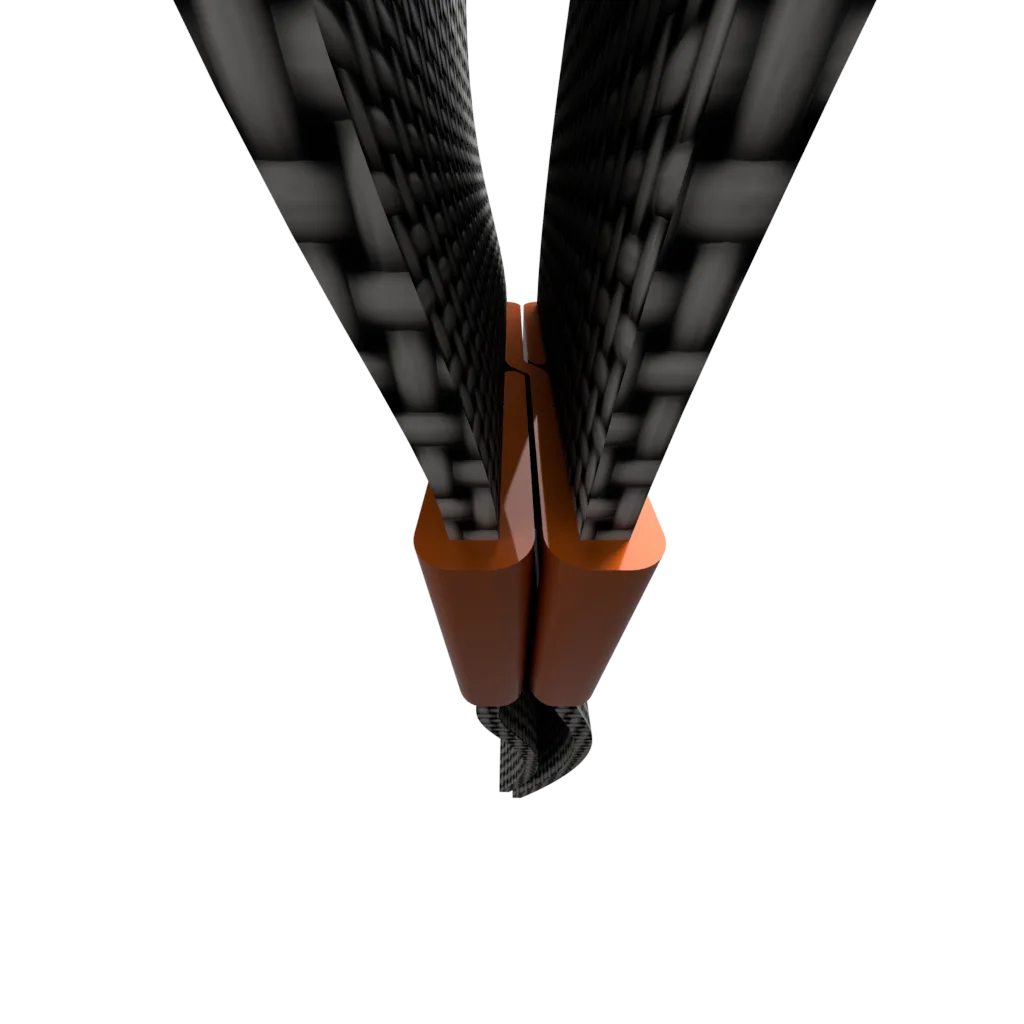
I am providing all required information and probably way too much for a simple clip . I recommend to read at least the installation and removal recommendations if you only intend to use the ready to print GCodes. Otherwise you should probably go through the other chapters.
The clip is made mostly for a clean and minimal design with thin wall. It is working fine for thin and not too large strap. This is tested successfully up to 25 mm strap but not sure how it will work with larger or heavier straps.
Please read the Installation & Removal chapter below if you are not too sure how to proceed to use this clip.
If you need a stronger strap you should probably look into this other design.
The clip is designed to be printed using the spiral vase mode feature. The .88 mm wall will give a perfect 2 juxtaposed lines perimeter with a .4 mm nozzle and .1 mm layer height. The spiral vase mode and .1 mm height will give a perfect print rendering with no seam. You can use ready to print files (3MF and Gcode for Prusa Mini) and I am also providing the parametric design to customize the clip.
The following ready to print design are provided. Refer to Parametric design chapter for custom design. 3MF files are provided and Gcode are also provided for both Prusament PETG PLA.
Strap Width
Strap Thickness
Clip Lenght
18 mm
1 mm
8 mm
20 mm
1 mm
10 mm
22 mm
1 mm
10 mm
24 mm
1 mm
10 mm
26 mm
1 mm
12 mm
I am providing the parametric design in Autodesk 360 Fusion format in case you want to print a customized clip. You can easily customize the clip by editing the design parameters. The parameters you can modify are as follow.
Parameter Name
Default
Description
StrapWidth
20 mm
This is the strap widht the clip is designed to fit. An addition tolerance gap will be automatically applied (refer to ToleranceGap value).
StrapThickness
1 mm
This is the strap widht the clip is designed to fit. An addition tolerance gap will be automatically applied (refer to ToleranceGap value).
ClipLenght
10 mm
This is simply the clip size. Adjust as desired.
Parameter Name
Default
Description
WallThickness
0.88 mm
.88 is designed for a perfect 2 juxtaposed perimeter lines with a .4 mm nozzle with a .1 mm layer height using PrusaSlicer
ToleranceGap
0.2 mm
This is the gap between each fold, 0.2 is providing a very thin gap. The value can be adjusted depending on the printer tolarance
This is recommended to print with PETG but PLA will work too. This was tested successfully with Prusament PETG and PLA.
0.10mm DETAIL setting.The removal and installation is not easy but this guaranty a perfect holding and no risk of loosing the clip.
It is recommended to start with the fixed strap and continue with the dangling strap with the same procedure.
You can follow the installation instructions in reversed order to remove the clip. Again the removal is not super convenient but it is made so to avoid unintended removal and loosing the clip.
Start by folding the dangling strap from the second to the first fold and out and then do the same with the fixed strap.
ByOldLadyLikes876Downloads2K

 ByDevis_1367119Likes416Downloads2K

 ByFC2M3DLikes200Downloads1.3K

 ByVinors3DLabLikes949Downloads2.1K

 ByJKDUOVP25Likes95Downloads222

 ByremingtonLikes162Downloads557

 By2viewsLikes391Downloads389

 ByNorkkon_252760Likes76Downloads211

 ByMAVERICKLikes67Downloads181

 ByL1arParadoxLikes0Downloads183

 BypfmlLikes41Downloads162

 ByGQincLikes77Downloads137