

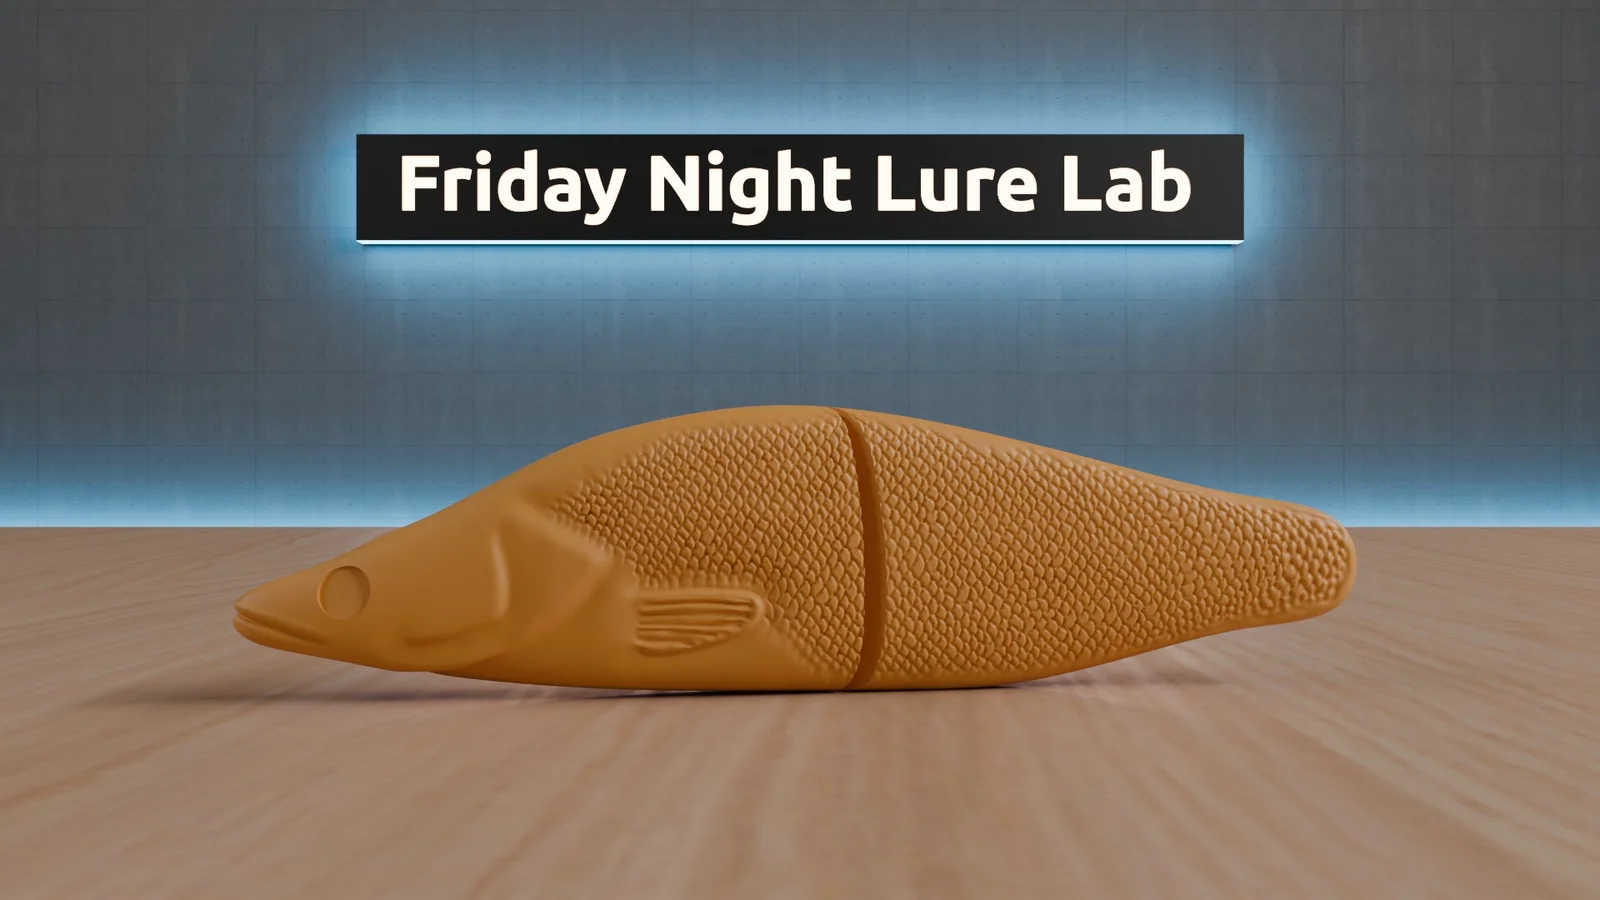


Kẹp giữ gậy golf cho túi đựng gậy
 ByCubaLibreee_2869176Likes125Downloads1K
Build another version of this model.
Required for assembly:
Printing instructions:
If you use Orca Slicer, download the 3mf file, change the printer and filament to what you have and you should be fine.
Print orientation: 120 degrees on the X-Axis
Layer height: 0.2 mm
Wall Generator: Arachne
Wall printing order: Inner/Outer/Inner
Wall loops: 3
Infill: 20% (If you are using lead for weight or a fillament heavier than PLA consider reducing the infill)
Infill pattern: Gyroid
Minimum infill threshold: 0
Outer wall speed: 60 mm/s
Support: Tree(manual), On Build Plate only
Using support painting, set the highlight angle to 60-70 degrees, enable “on overhangs only”, and use the paint bucket tool to fill the highlighted area on the belly
You need to add a couple of pauses to embed the weight into the lure. If you used the same print orientation and layer height as mentioned above then the pauses will be:
Front piece pause 1: Layer 73 at 14.6 mm. Insert 2 balls
Front piece pause 2: Layer 212 at 42.4 mm. Insert 4 balls
Back piece pause: Layer 205 at 41 mm. Insert 2 balls
Assembly:
Using the stainless steel wire, create 5 twist wires that are 15 mm long, these will be the line tine, two hook hangers, and two extra that are required in the next step
There are many videos on YouTube showing the process of making twist wires, if you want me to make a video let me know, or join my discord server and get support from the community.
Create two additional twist wires but this time before you twist them, insert another twist wire inside the loop. This will form the connection points between the two sections.
Cut the wire to length (15 mm).
Using super glue, glue in the line tie and the two hook hangers.
Optional: Paint the lure with your favorite lure pattern.
Glue in the eyes.
Give it a couple of clear coats.
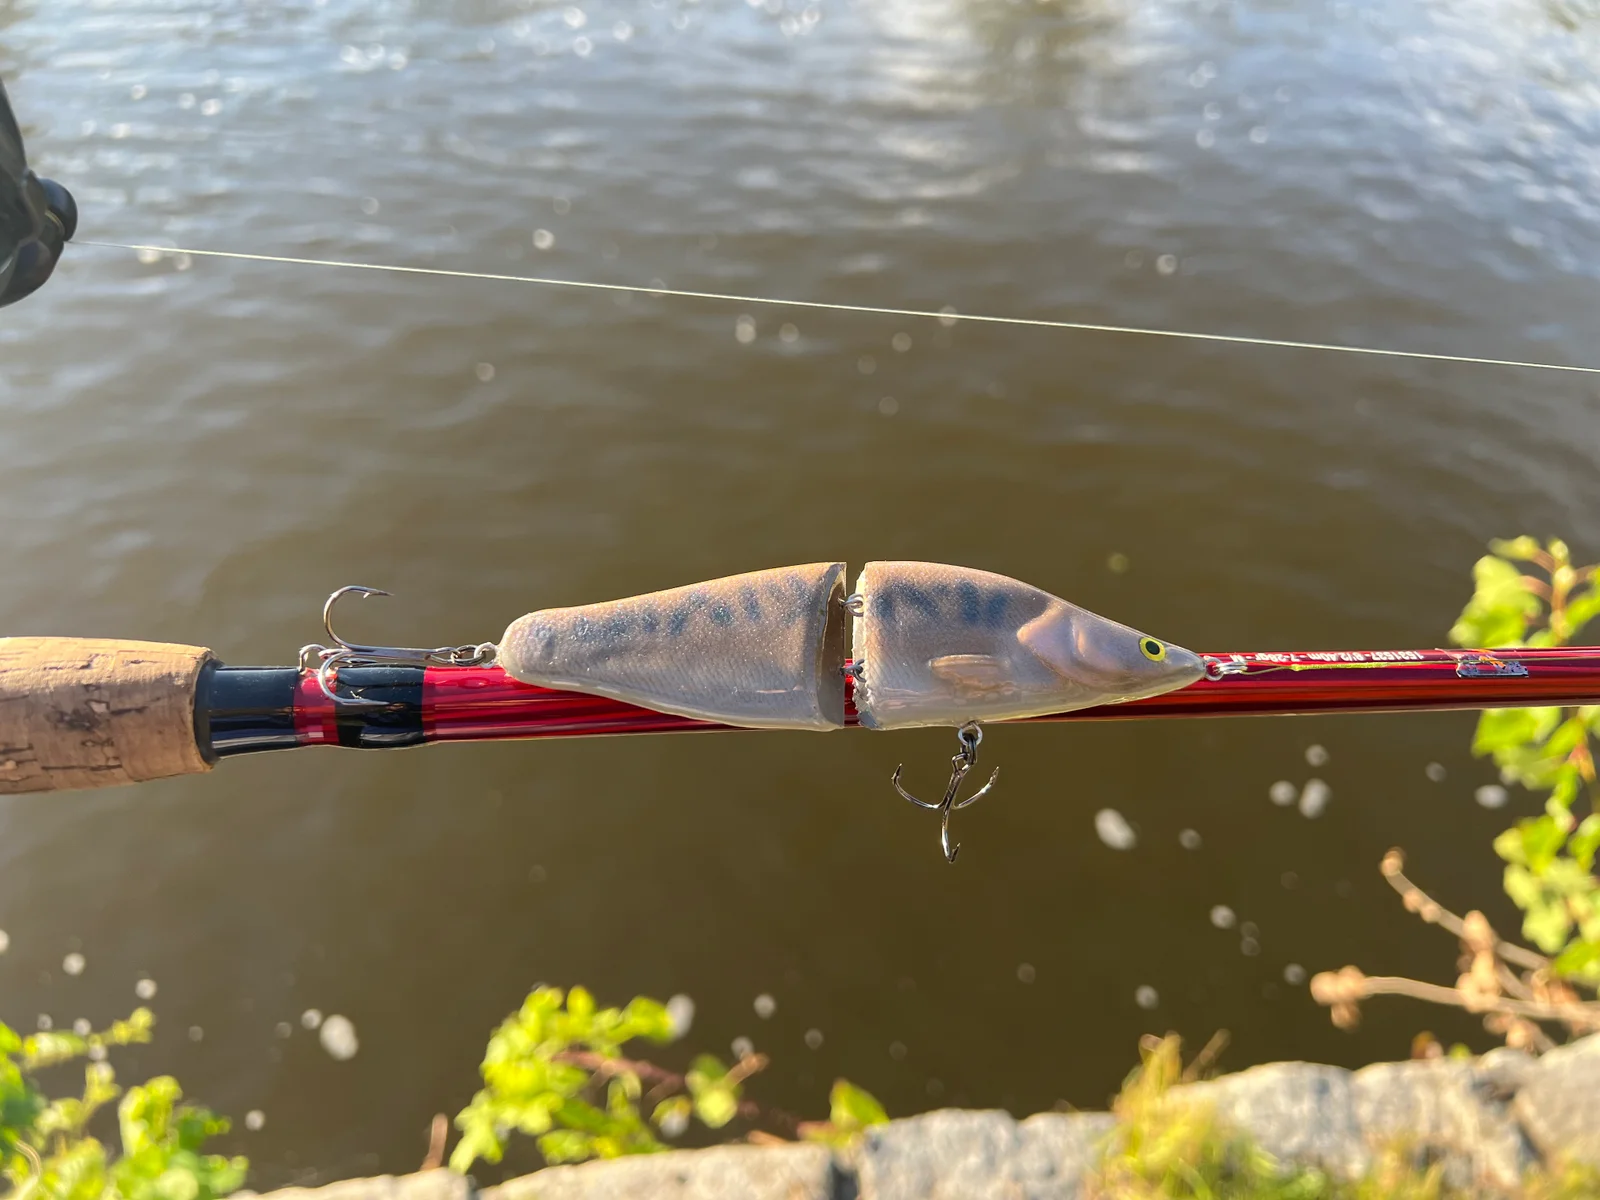
Glue in the double twist wires to the front piece and make sure the eyelets of the twist wires are vertical. Once the glue sets, glue in the other end of the twist wires into the back piece, this time making sure the eyelets are horizontal.
Put on some hooks and enjoy your brand new lure.
Want to watch how it's made?
Want to see t in action?
Join my discord server for discussions related to 3d printed fishing projects: https://discord.gg/qmRwEuvpnC
If you want to support my work, consider joining my club or buy anything related to 3d printing using my affiliate links:
International: https://www.awin1.com/awclick.php?gid=404404&mid=21809&awinaffid=1565514&linkid=2790717&clickref=printables
ByCubaLibreee_2869176Likes125Downloads1K

 ByXDr4g0nXLikes198Downloads828

 ByGerhard_48223Likes240Downloads470

 ByBillRichardsLikes32Downloads387

 ByKorriLikes60Downloads615

 ByTarzLikes28Downloads581

 ByMachaki_1134160Likes36Downloads369

 ByMauroVanDerG_4110408Likes378Downloads2.7K

 By3DGearSupplyLikes26Downloads447

 ByMFTuningLikes153Downloads1.8K

 ByJKMCZLikes3Downloads41

 ByMaverick0197Likes161Downloads1.3K