



Bộ sưu tập 11 nhân vật mô hình Mecca Chameleon in 3D vui nhộn
 ByZED4EverLikes313Downloads5.2K
Build another version of this model.
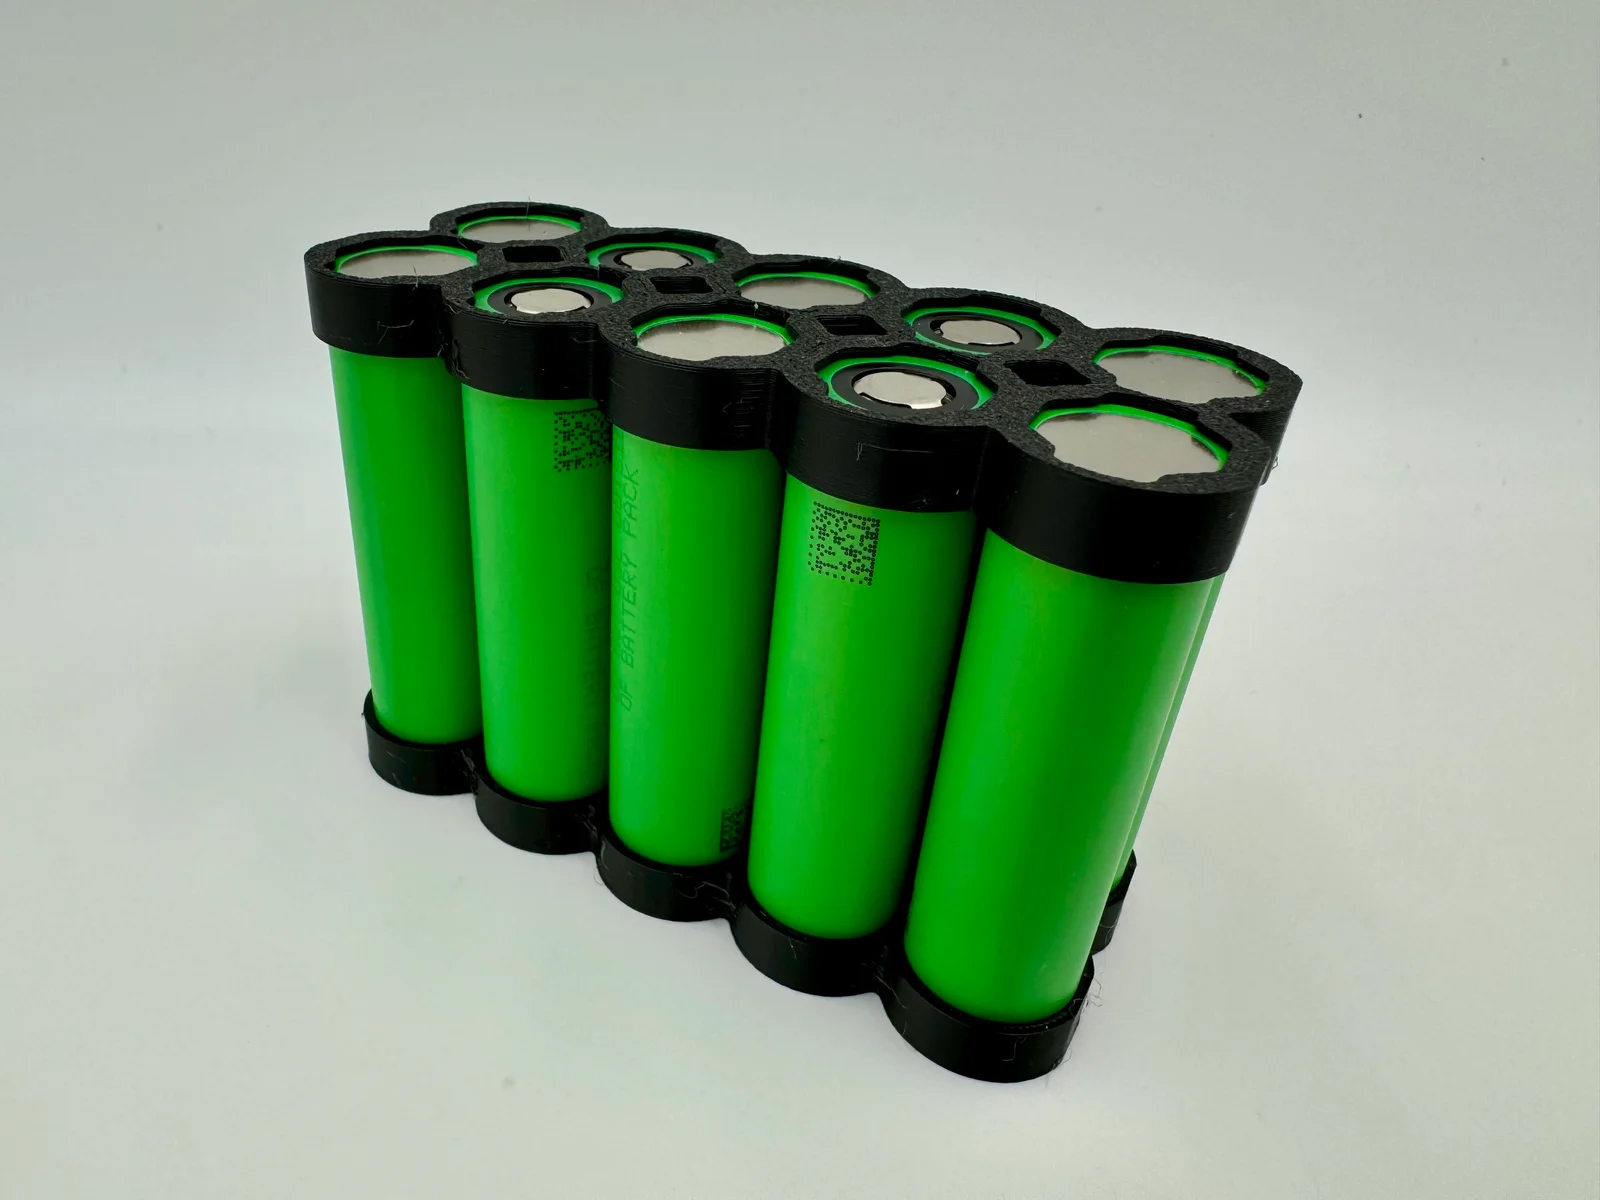
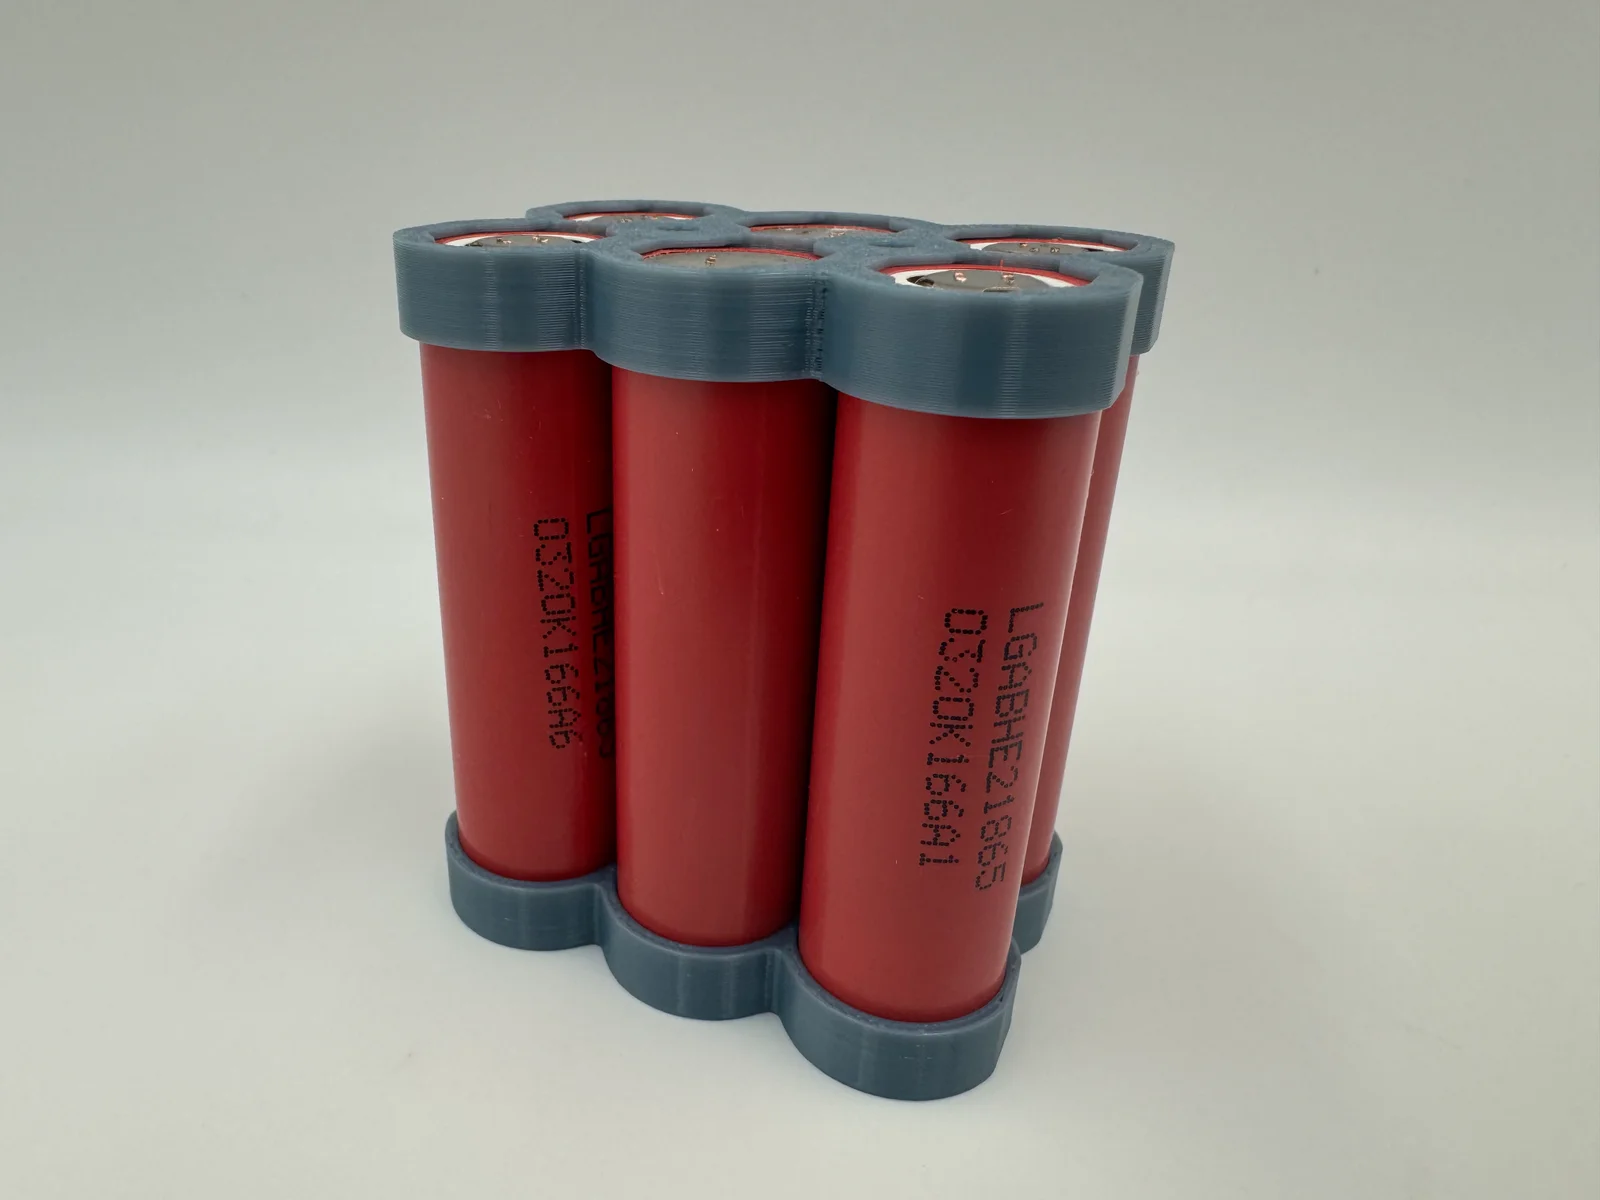
I was fixing my Ryobi One+ battery and on the way to making a Ryobi specific spacer I made some generic ones in a few different sizes. They use metal inserts so they can be securely connected.
You will need M3 inserts and M3x8mm screws to complete the model.
As these are fairly thin to fit in compact spaces they tend to go on in one piece but not come off in one. Be mindful of the heat generated by your application of these and use an appropriate plastic.
I don't mind making other sizes on request if I have time.
One side of each set of spacers has longer posts. This is where you should install the inserts.
Before connecting the two sides poke a hex wrench or other tool through the holes in the other half to remove the supports.
I like to poke the screws through the wrong way after to ensure they will go through, then poke them through the correct way just to ensure they will go through after assembly.
When you come to installing the two halves together, insert the batteries individually in one half, then press the other half on with a flat object that fits wholly across the spacer.
Now the batteries are installed and the two halves connected, connect the posts with M3x8mm screws.
ByZED4EverLikes313Downloads5.2K

 ByVC_DesignLikes271Downloads753

 ByfifindrLikes500Downloads4K

 Bymrfixit_324954Likes65Downloads475

 Bylab-96Likes0Downloads104

 ByDan Schwartz SchwartzLikes744Downloads3.4K

 ByBrokentooth_designsLikes83Downloads450

 Byvc-designLikes0Downloads3.2K

 ByUpcrid3D_1585693Likes808Downloads2.1K

 ByAdam Záhořák ZáhořákLikes39Downloads258

 ByWilko_SLOLikes935Downloads2K

 ByshoheiyLikes0Downloads425