



Build your Own Lightsaber With Interior Parts
 By3d-eLikes0Downloads334
Build another version of this model.
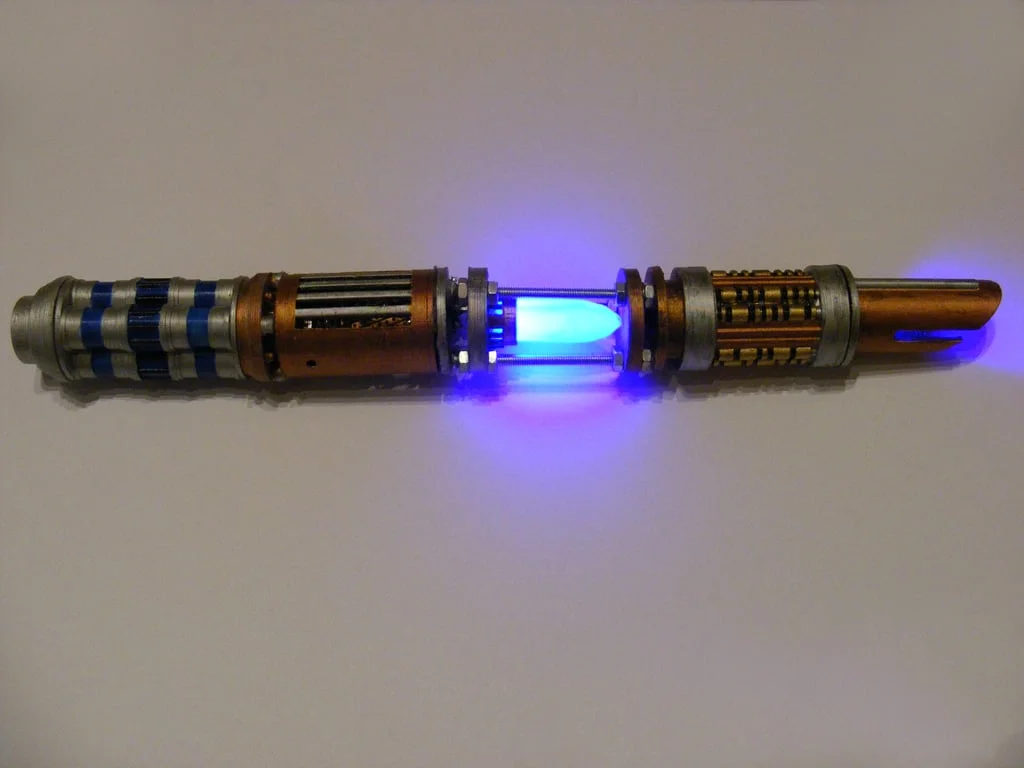
This is a decorative lightsaber with space for working LED's
Building instructions: Please read the instructions carefully before printing. Please ask if there are questions.
All parts should be printable laying down and without supports
Print all parts from 1-12 with a common diameter (e.g: 40mm, Adjust the height of a piece if neccesary) Attention:
Measure the diameter of the Crystal holder opening, and print the crystal so that it fits inside. Measue the inner diameter of the Beam Chamber End and print the diffuser accordingly
Now you should have all the parts laying in front of you. Paint them now if you want to.
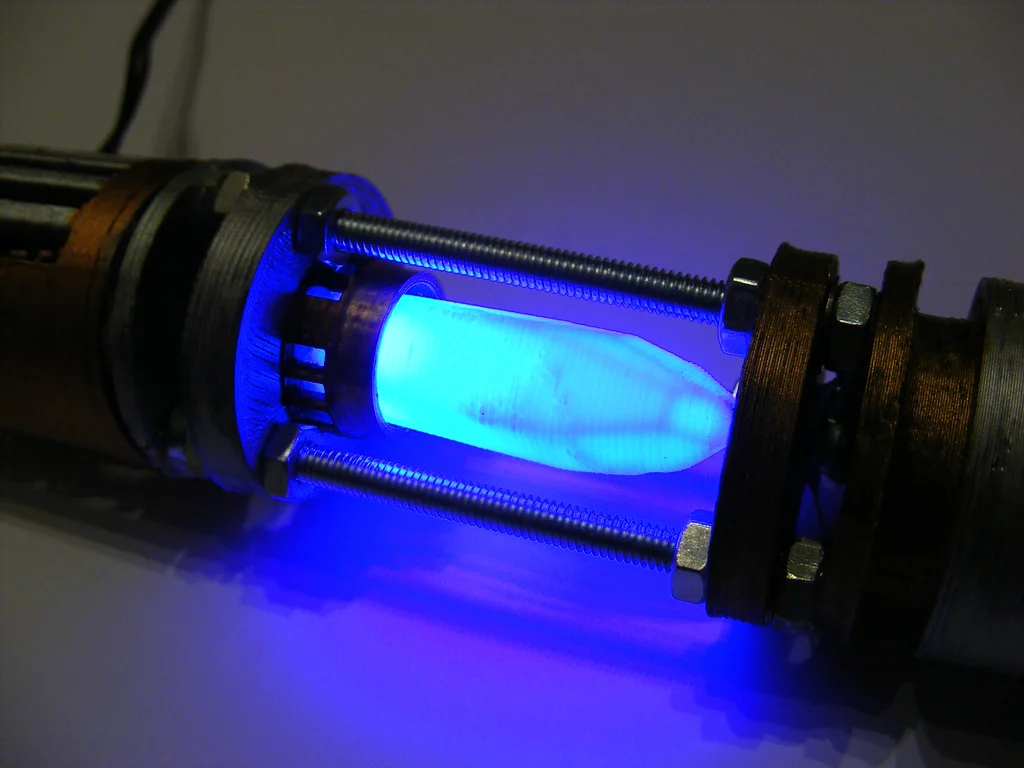
Insert the LED's into the diffuser and the crystal holder (the legs of the LED go into one hole each). Glue them so they dont fall out. Now insert and glue the Crystal into the holder.
Then, solder wires onto the legs of both of the LED's
Use the screws nuts and washers to asseble the crystal holder (use the photos for orientation)
The wires of the diffusor LED should run internally to the screws. You need to solder/ attach a wire to a screw (remember where positive and negative is) and solder wires onto the opposite side of the screws.
Calculate your needed resistor here: http://ledcalc.com/
Feed the power supply wire through the side hole in the Circuitry Container and solder the resistors and power supply wires accordingly.
Glue everything together and plug your lightsaber in.
By3d-eLikes0Downloads334

 Bybonzai000Likes716Downloads16.8K

 ByFotisMintLikes340Downloads2.5K

 Bypapyskull_3946746Likes152Downloads513

 BykylichLikes0Downloads287

 BySuegLikes0Downloads290

 ByPhotographer_2934209Likes1Downloads8

 ByDameonSmith_2985786Likes1Downloads13

 ByElLosteaux_2411981Likes40Downloads81

 ByjaztermarealLikes127Downloads463

 Bypokon_nurdspaceLikes429Downloads1.8K

 ByZabricot200_1688175Likes8Downloads189