
F3D
Flow Test cho PrusaXL với PrusaPLA 1

3 images

Máy In 3D

Flow Test cho PrusaXL với PrusaPLA

By CrashCash_542834

Downloads
139
Likes
9
Views
1,011

Files 1 1.5 MB

  • FlowTest_PrusaPLA_1776755792.gcodeGCODE · 1.5 MB

Make a variant with AI

Build another version of this model.

Open Studio

Details

Model ID
#321522
Category
Máy In 3D
Published

Description

GCode File Description: Flow Calibration for Prusa XL with Prusa PLA

This GCode file is specifically designed for calibrating the material flow (flow rate) on a Prusa XL 3D printer using Prusa PLA filament. The purpose of this file is to determine the optimal extrusion multiplier to ensure the best possible print quality.

GCode File Features:

  • Material: Prusa PLA
  • Printer: Prusa XL
  • Temperature: First Layer 230°C, other Layers 225°C
  • Bed Temperature: 60°C
  • Profil: 0.20mm STRUCTURAL @XLIS 0.4

Notes:

  • Ensure that the printer and filament are set up correctly (e.g., correct nozzle height, filament diameter).
  • Repeat the test as needed to achieve consistent and precise calibration.
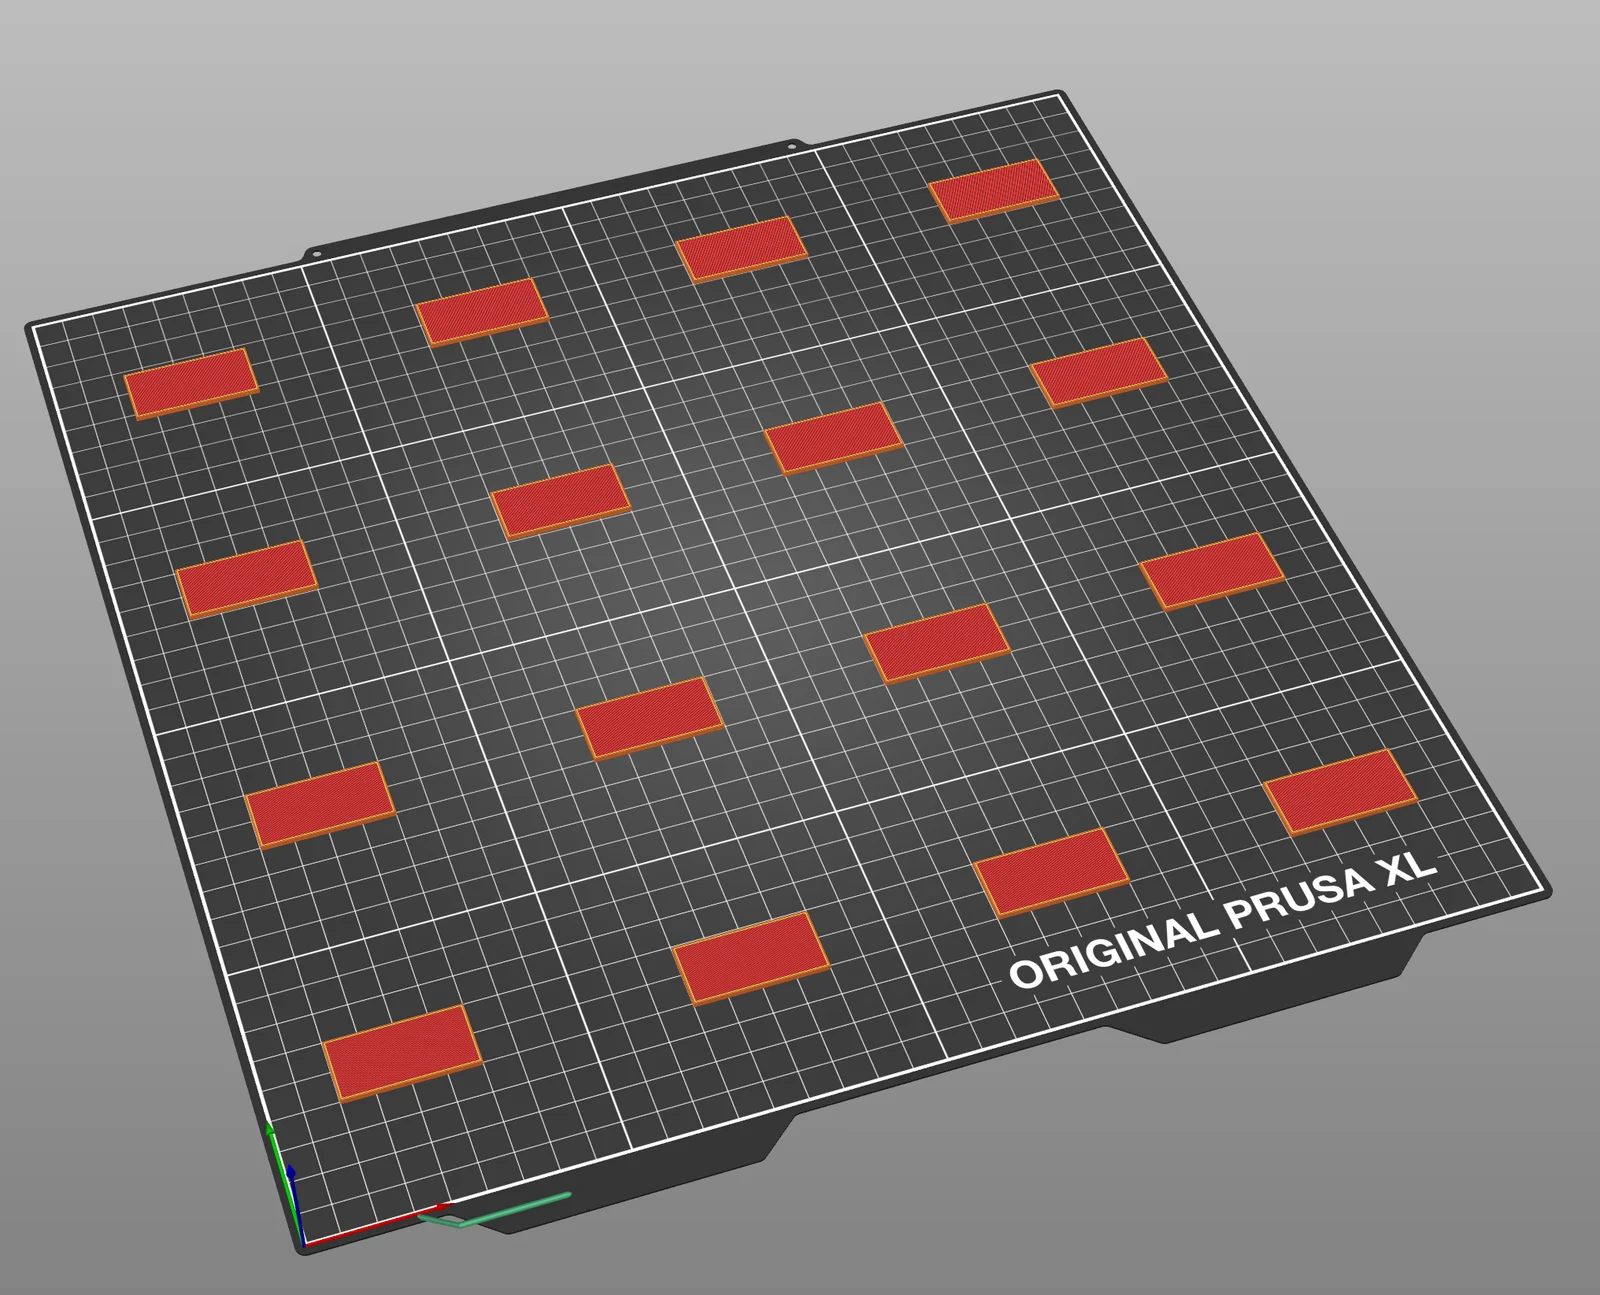
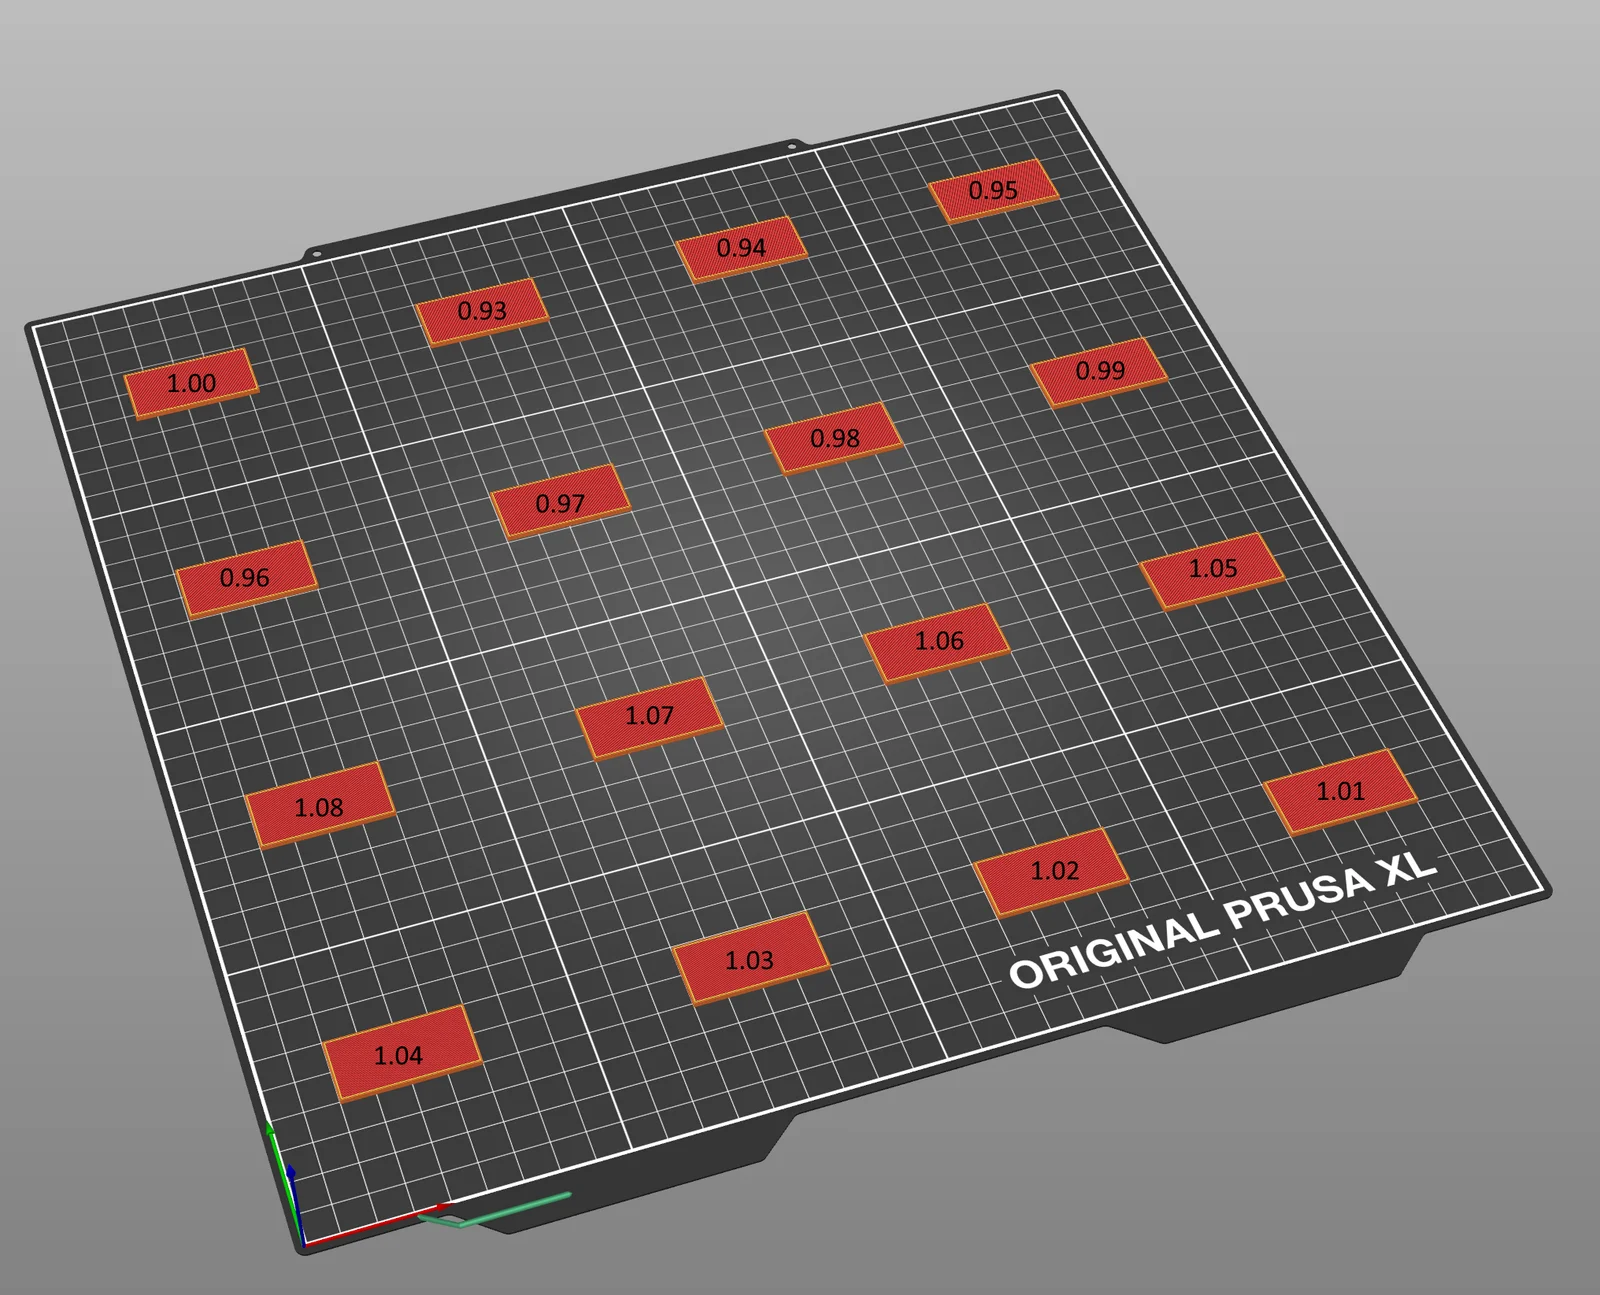
  • The GCode file prints 16 plates one after the other with different flow settings. The respective setting can be read from the picture in the appendix, an engraving in the objects themselves was deliberately not made so that the result is not falsified. 

Flow Rate Verification:

  1. Print the GCode File: Begin by printing the provided GCode file on your Prusa XL.
  2. Mark the Test Pieces: Once printed, mark each plate with a number using a marker; it’s recommended to label them with numbers ranging from 93 to 108.
  3. Visual Inspection: After removing the test pieces from the print bed, visually inspect them for any signs of over-extrusion (excess filament at the corners) or under-extrusion (gaps between layers).
  4. Acoustic Inspection: In addition to visual checks, you can conduct an acoustic inspection by scratching each test piece perpendicular to the printed lines using a sharp object (e.g., a flathead screwdriver). The piece that produces the least noise likely has the fewest irregularities.
  5. Final Adjustment: Finally, input the corresponding flow value into the filament settings in PrusaSlicer based on the best-performing test piece.

This GCode file helps you to optimally adjust the flow of your Prusa XL for PLA, resulting in even layers, better dimensional accuracy, and overall higher print quality.

Read more Show less

Print spec

Formats
gcode
Model files
1
Total size
1.5 MB
Largest file
1.5 MB

0 comments

See all