NOTE: LINKED PRODUCT CHANGED HOLE SPREAD
Kudos to V1E forum member Pebble who gave me the heads up that the makers of the drag chain seem to have modified their design. My mount hole spread distance was 9.2mm, but the chain product shipping now has a mount hole spread distance of only 8.0mm. I don't know exactly when this happened, but as of August 24, 2024 it was discovered. Accordingly, new mount variations are now added to the listing. See notes in the file download area.
Important note:
The upper mount part listed as “upper B” (which operates like an “arm” to anchor the drag chain to) can be printed either as oriented, or mirrored in your slicer, in order to accommodate whichever direction your wiring comes in from. As downloaded (without mirroring) it is set for having your wiring come in from the X-max (right) side, and looping over from the middle, back “toward” the X-max side. If your wiring comes in from the X-min (left) side, then please mirror the “Upper B” part in your slicer, in order to have it work correctly. Check your LR3's layout and get a mental picture to make sure that part is being printed with the right direction in mind. If you're not sure, let me know and I can try to help.
Design purpose:
I really like the LR3. It is a truly impressive design. My specific situation is such that I have needed to make a few minor tweaks to the plan.
The normal plan is for clever use of the vac hose — having it serve as the cable guide for the router’s power cord and X axis wiring. However, since my dust collection hose comes down from overhead, I’ve had to install a drag chain for guiding the power cord and X axis wiring. Since that is outside the normal plan, I had to design up a handful of printed parts to mount the drag chain. I now have my designed parts printed and installed. If anyone else would benefit from the designs and wants them, here they are.
Printing
- Print as oriented.
- No supports needed.
- I printed with the same slicer settings as most of the LowRider parts call for.
Assembly/installation
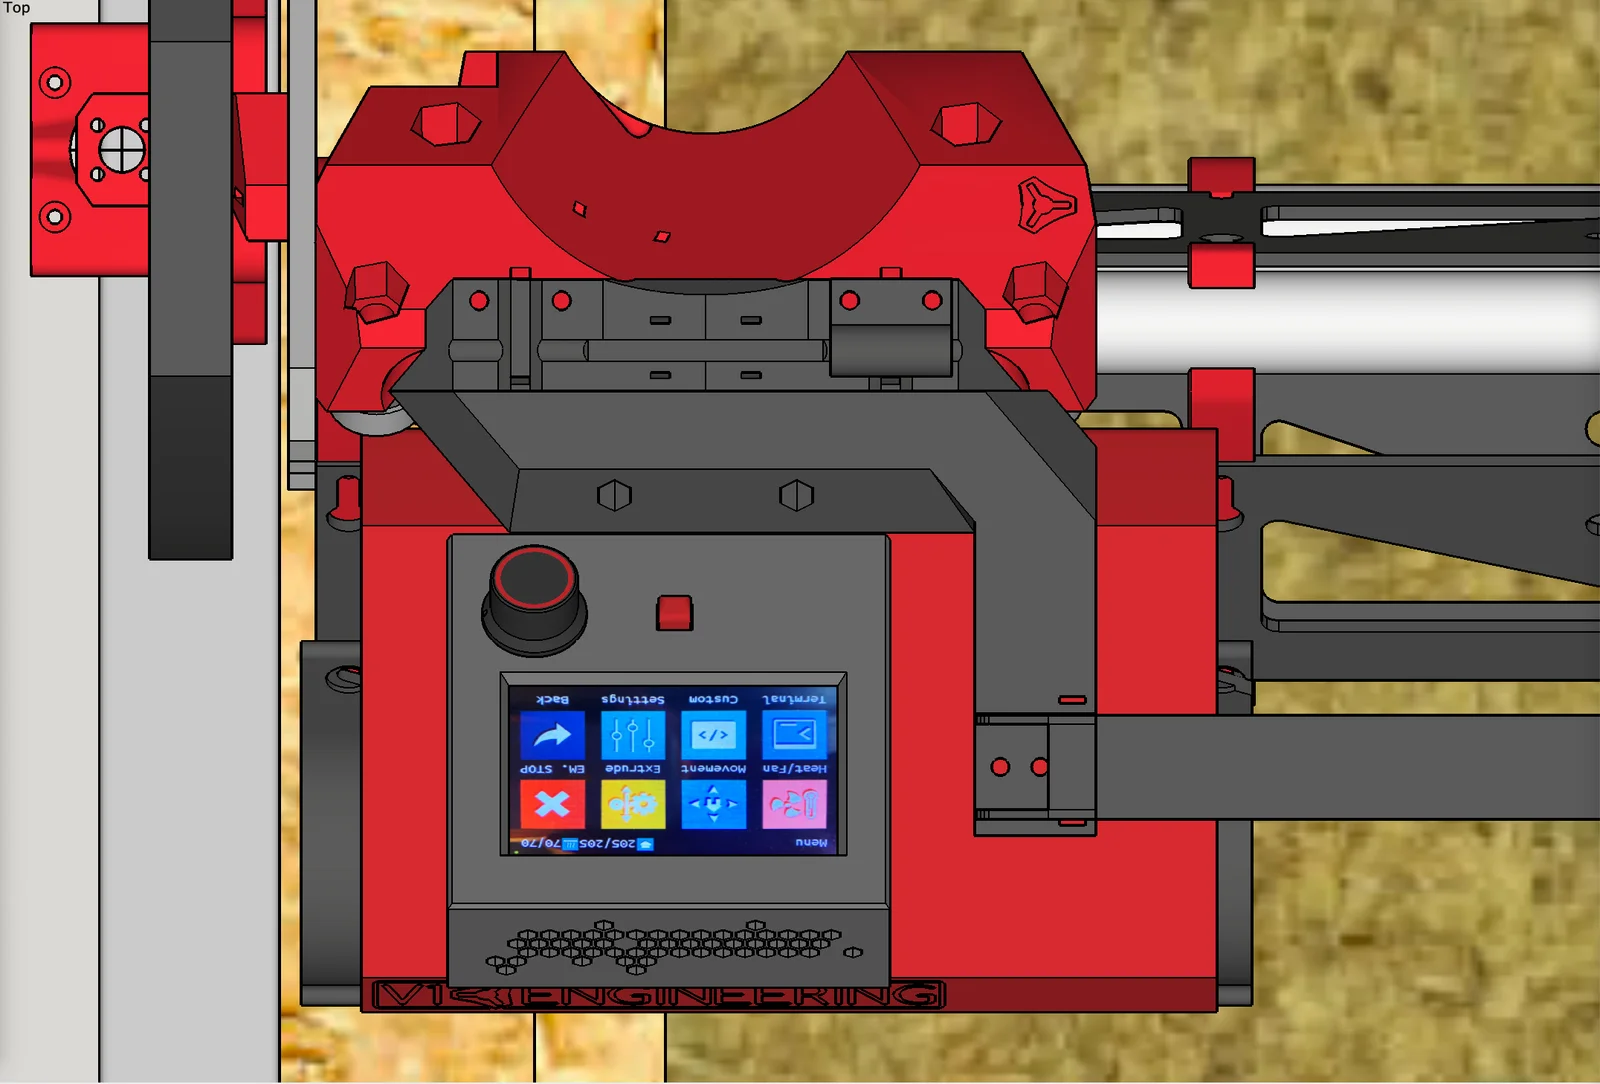
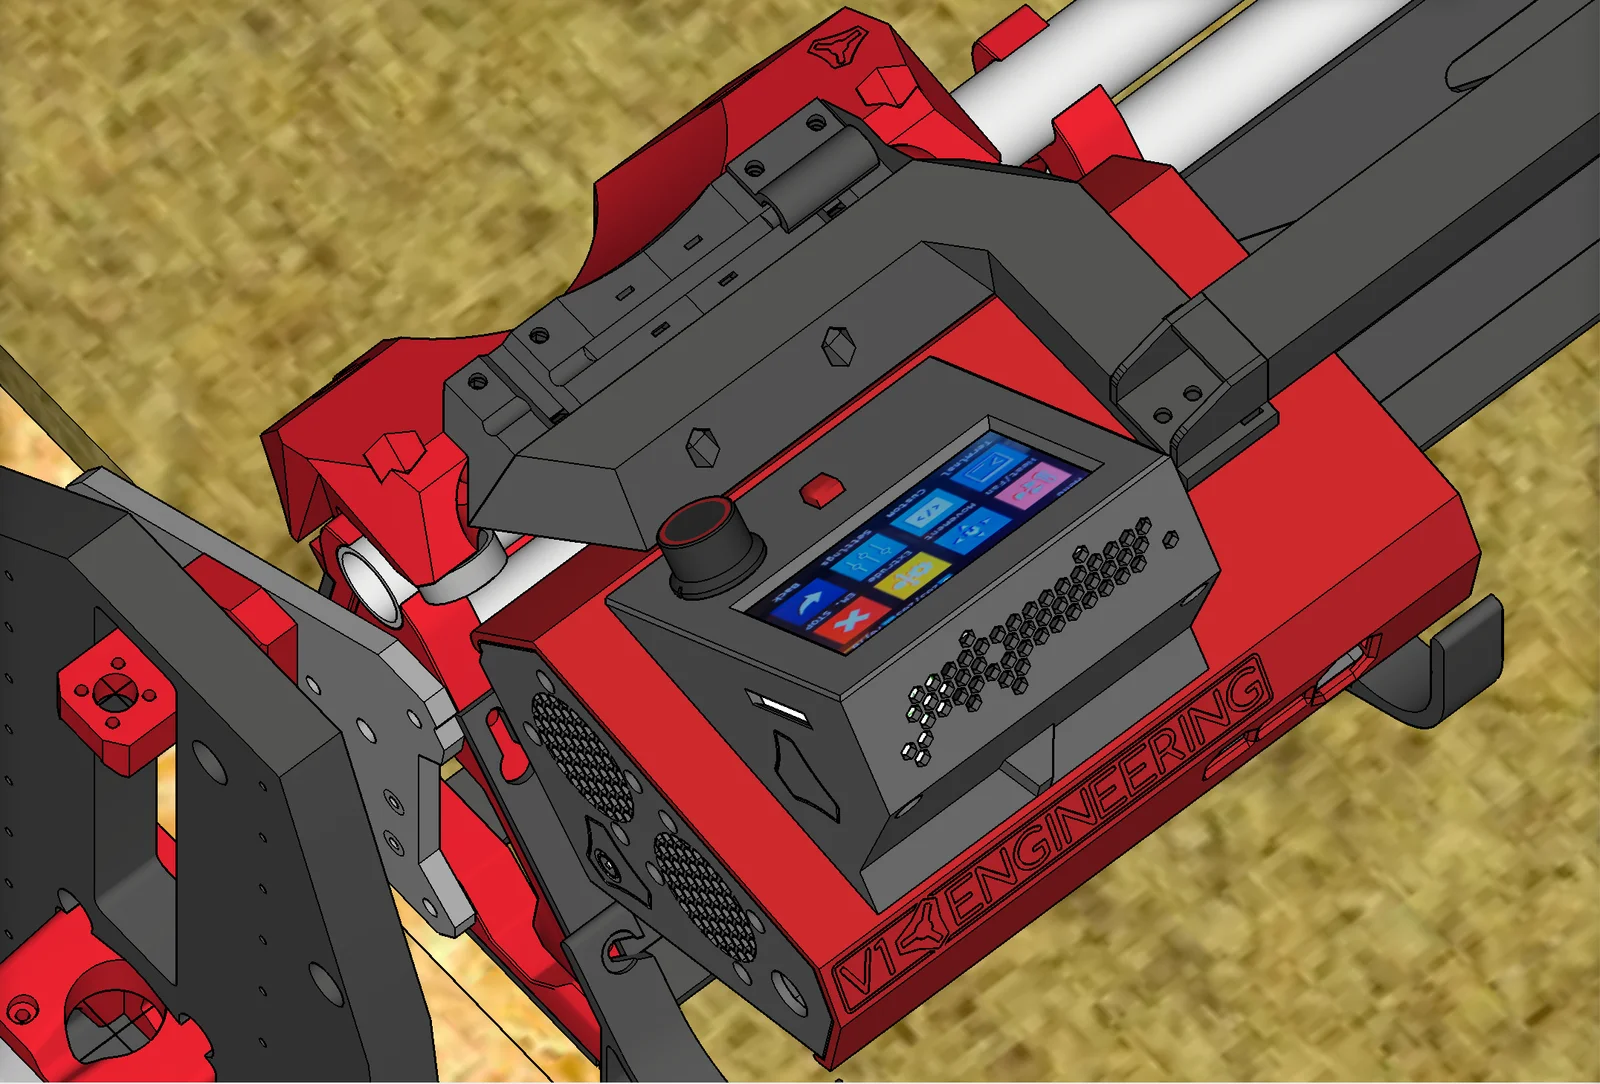
- The upper mount prints in two pieces ("upper A" and “upper B”), which have capture slots for M4 nylock nuts (fill these first), and are to be attached to each other with two (2) M4 x 20mm screws. Note: The “upper B” part comes in your choice of short version or long version. Use the short one if you can (if it does not collide with whatever control box case you have in use). If you must use the long one to keep from it hitting your control box, then be aware that the long one will collide with your YZ plate on the end where the drag chain fully extends, and thus you will need to cut a little notch out of your YZ plate to prevent the collision.
- Once the “upper A” and “upper B” parts are together, attach the upper mount to the top of the LowRider Core using two zip ties, which pass through zip tie slots in both the upper mount and the top of the Core. Tighten them down.
- Using two (2) M4 x 8mm screws, and using the part named “clamp for Makita router AC cord,” attach your router's power cord tightly against the upper mount. (I have a Makita, but the same setup may work for you no matter what make of router you have.) Be careful not to use screws that are too long here as they would cut into your Core's top.
- Using two (2) M4 x 10mm screws, attach the upper end of your drag chain to the end of the upper mount. I added nylock nuts underneath.
- On one or two of your existing "hose-hanger" parts, around the center of the beam, loosen the M5 screws holding them in place, and add on the printed lower mounts (on top of your existing "hose-hanger" parts). Note: You could print two as I did, using one to screw down the lower end of the drag chain, and using the other to attach a zip tie further stabilizing the drag chain. If your existing screws for the "hose-hanger" parts (presumably M5 x 30mm) are not long enough now that the new parts are added, then you will need longer screws (longer by 5mm or so). If you used ¼" material for your LR struts, it is likely you will need longer M5 screws.
- Tighten the screw(s) to secure the "hose-hanger" part(s) and lower mount(s).
- Attach the drag chain to the lower mount(s).
- Slide your LR Core through the full range of motion on the X axis and make sure you have the proper length of drag chain.
Change log
- August 24, 2024 — It was discovered that the makers of the (linked) drag chain seem to have modified their product design. Kudos to V1E forum member Pebble who gave me the heads up. My original mount hole spread distance was 9.2mm, but the chain product shipping now has a mount hole spread distance of only 8.0mm. Accordingly, new mount variations have now been added to the listing. See notes in the file download area.
- Added a “short-throw edition” of “2b.LR3 CABLE CHAIN MOUNT (upper B-2 long).stl” —this was requested by Steve (geojettson) because was mounting his drag chain to the upper part of the gantry. His request was for a remix of the “B-2 long” while his napkin sketch of what was desired was drawn on an image of the shorter mount:
- October 9, 2022 - some update was done, but I think it was only editing the description.
- June 9, 2022 - initial upload of files. (I think this is the date. I added this change log way after the fact, so I'm not positive.)
My PayPal tip jar: https://paypal.me/design8studio
Various LowRider 3 CNC remixes:
View all my models and remixes on Printables:
*Amazon product links are affiliate links.




 ByfifindrLikes500Downloads4K

 ByVC_DesignLikes679Downloads3.6K

 ByDan Schwartz SchwartzLikes744Downloads3.4K

 Bychubbs8697_2027893Likes585Downloads1.7K

 Byquibeck_3353173Likes965Downloads1.9K

 ByRungeKuttaLikes229Downloads1.2K

 ByEadubsLikes228Downloads1.3K

 ByJeremyVillalo_760366Likes68Downloads767

 ByZED4EverLikes313Downloads5.2K

 Bykjus_448782Likes314Downloads673

 BySchmitzBertLikes95Downloads629

 ByNathanKun_342409Likes132Downloads590