



Mô hình Rick Roll QR Code Prank - Bảng mã QR troll bạn bè độc đáo
 ByvojtagrecLikes289Downloads900
Build another version of this model.
Welcome,
If you enjoyed my model, please consider supporting me by sharing your make and leaving a like. For information, filament tests, and much more, all about 3D printing, feel free to check out my homepage or join my Filament Deal Channel. Check out my models :)
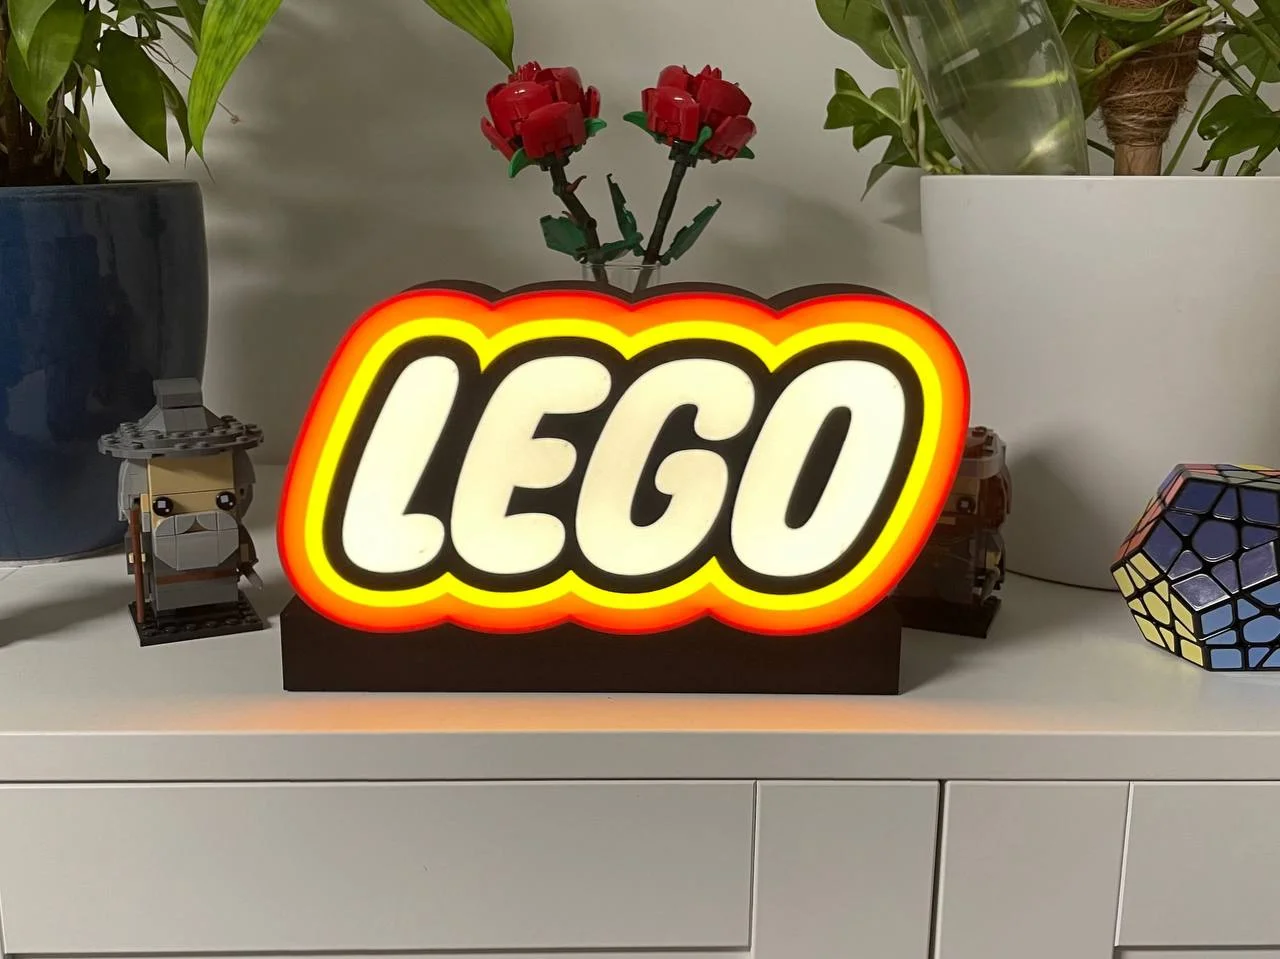
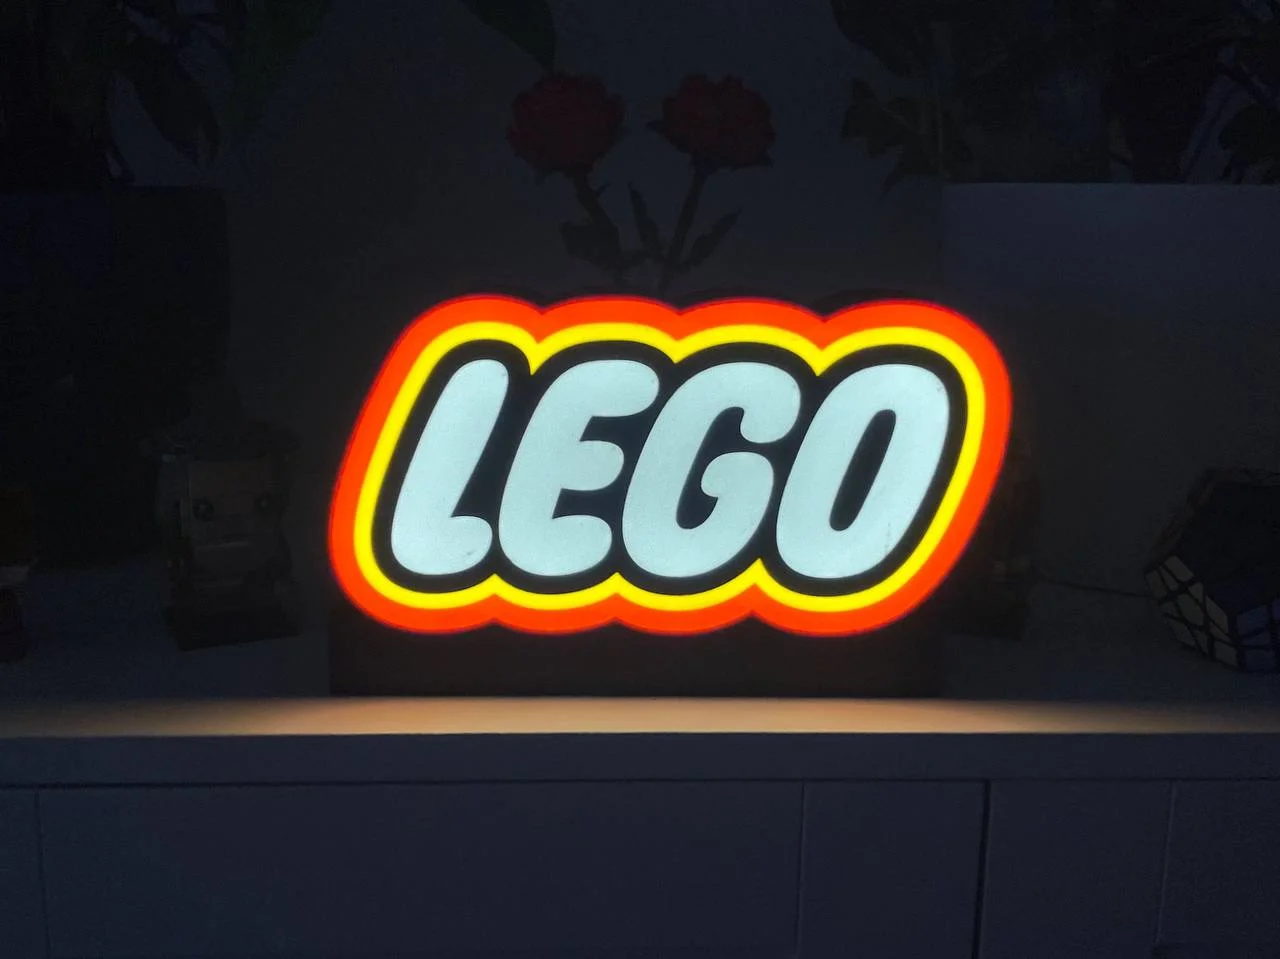
I redesigned the famous Brick logo as a lightbox. I didn't stop with just the box; I also made a perfectly fitting base for it. This allows you to store a microcontroller inside and use a USB-C socket in the back to connect it.
This is the first of a series inspired by this Logo design. Stay tuned and follow for more 😉
Printed LED guide for widths up to 10mm.
The LEDs are guided directly from and into the base.
The base can be secured with a self-adhesive door bumper.
A common USB-C socket can be used to power the lightbox.
Nice looking light box!
For Material
Use the material you prefer. I used PLA:
For LEDs
There are many options available. I made multiple boxes: with programmable RGB LEDs and an ESP32, and with pure cold white COB LEDs. Both versions run on 5V via USB-C. If soldering isn't your thing, you can use the LED set from Bambulab, which includes everything you need, including a remote control.
There are three plates you need to print. Starting with Plate 1 and Plate 2, these are the essential parts of the whole thing. Plate 1 is the logo with the box walls. Be careful and clean the nozzle and print bed before starting the print. Plate 2 is straightforward to print; it's just the lid/back plate of the box.
Plate 1 and 2 are the light box and lid.
Plate 3a is designed to fit a USB-C socket. You can purchase it from Amazon*, AliExpress (here* or here*), or any other retailer.
The base is split in 2 parts, so no support is needed
Optional:
Step 1:
Guide the LED strip and/or power cable through the holes in the back part of the base. If you don't need to solder anything, you can assemble the base. It should press-fit. Be gentle! This step can be skipped if you're certain.
Step 2:
Glue the LED strip in place. Use the guide to align the LED strip parallel to the edge.
Step 3:
Now it's time to test the LEDs to ensure they work properly.
Step 4:
Let's prepare the lid. I recommend covering the inner part of it with aluminum foil or tape. This will reflect the light and achieve an even light distribution.
You'll need the lid, a gluestick an aluminum foil
Apply glue.
Pay attention, which side is matte and which on is shiny.
You want the shiny one to reflect. Press firmly.
Let it dry a bit, then use a sharp knife or your fingernail to cut it around the inner edge.
Step 5:
If everything works fine, put the lid in place and double-check if everything works again (better safe than sorry). Now glue the base and lid to the box.
Step 6:
Have fun! Enjoy your creation!
If you like my work, you can support me here, via Ko-Fi or Patreon. Please leave a comment or share your makes 😁.
*) when you use this link and buy something, I earn a small commission in return. You don't have to pay anything extra and support my work.
I appreciate your support!
If your interested in selling the printed models DM me.
ByvojtagrecLikes289Downloads900

 ByDrewmundLikes833Downloads4.6K

 ByHowler117Likes27Downloads346

 ByVojtechSkals_4144903Likes50Downloads246

 ByFastRaccoon_718321Likes461Downloads1.5K

 ByGIVEMHEVNLikes1Downloads14

 ByvexanixLikes168Downloads1.3K

 ByIvoLikes196Downloads1.1K

 Bynonoobybut_3307010Likes364Downloads1K

 ByawelshmanLikes74Downloads136

 ByDorn6_3545870Likes13Downloads116

 ByS1m3DLikes74Downloads115