
F3D
Case cho BTT Octopus V1.1 1

5 images

Máy In 3D

Case cho BTT Octopus V1.1

By TheEG

Downloads
165
Likes
15
Views
2,031

Files 7 8.6 MB

  • Octopus_Box_Parts-Back_1776683221.stlSTL · 50.3 KB
  • Octopus_Box_Parts-Bottom_1776683223.stlSTL · 1.3 MB
  • Octopus_Box_Parts-Front_1776683224.stlSTL · 148.9 KB
  • Octopus_Box_Parts-Top_1776683225.stlSTL · 428 KB

Make a variant with AI

Build another version of this model.

Open Studio

Details

Model ID
#317713
Category
Máy In 3D
Published

Description

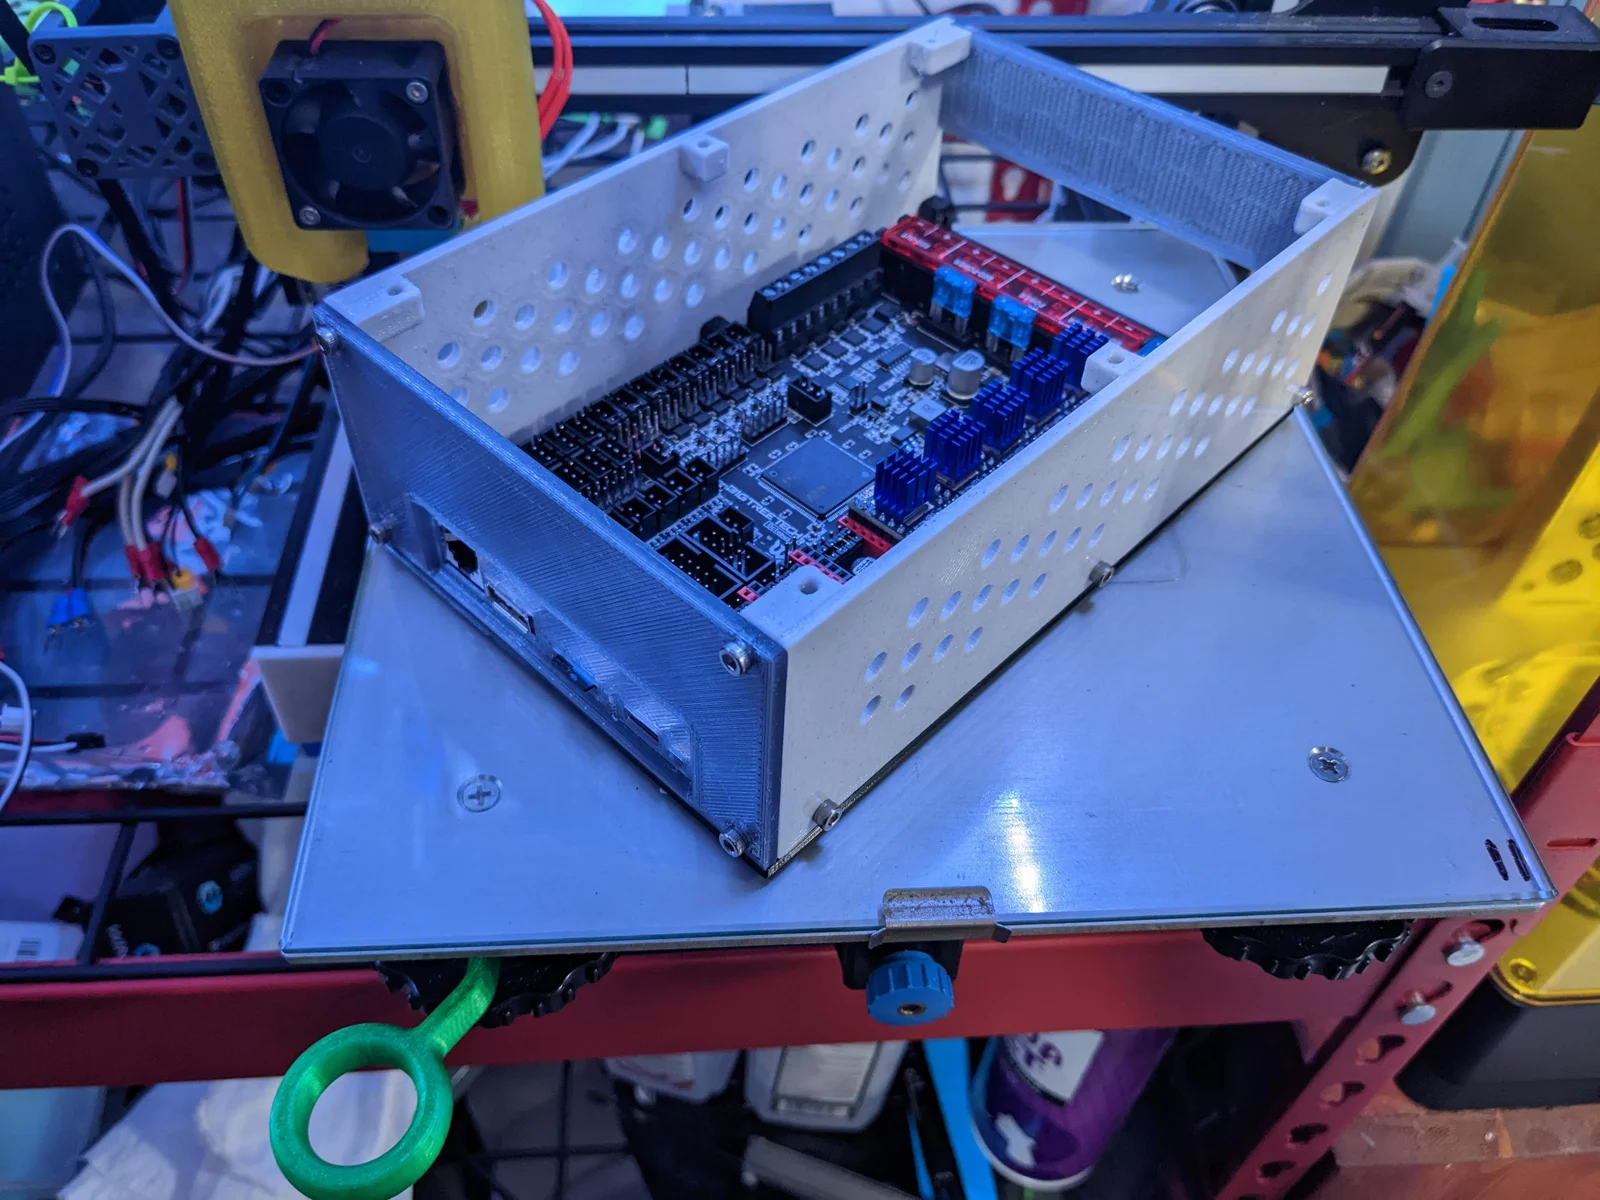
This is a case to house a BTT Octopus v1.1 control board. It would probably also work for a v1.0 board and possibly the pro.

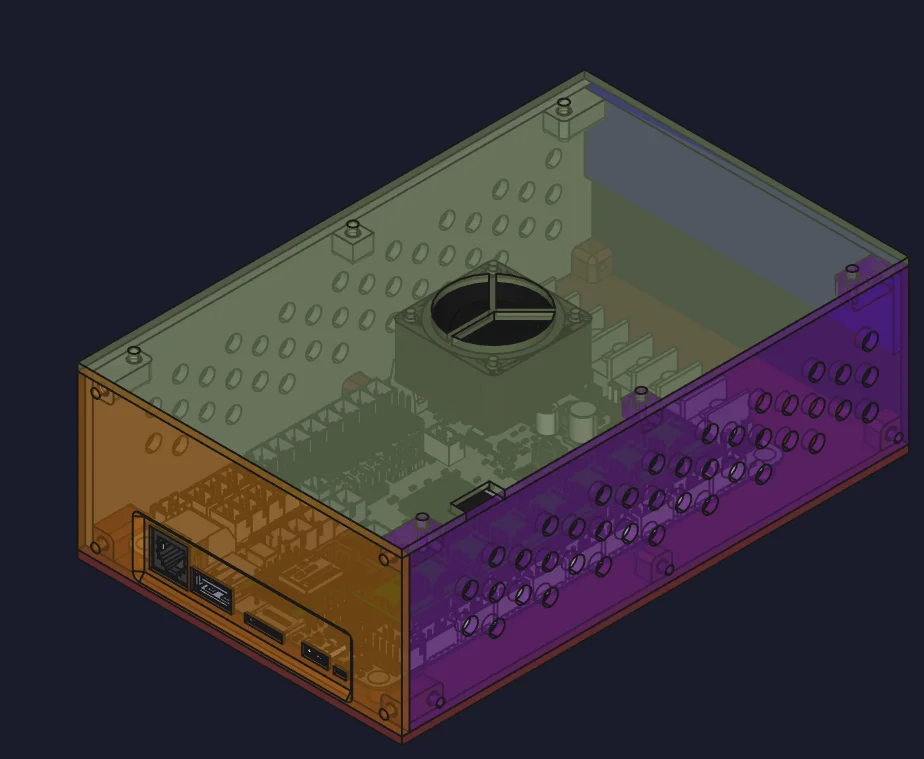
This is a large case with room around the board for wires! In order to make it easier to print on my Ender 3v2, I designed this to be modular. Each side is printed separately and held together with m3 screws.

The top has a place to mount a 40x40 fan, such as a 4010 or 4020 (pictured). 

Additional Materials

You will need the following screws to assemble this box:

  • 18 8mm long m3 screws. You could use button head screws if you want a lower profile on the outside.
  • 4 23mm long m3 screws for a 4020 fan or 4 13mm long m3 screws for a 4010 fan. I only had 25mm screws, so I used m3 nuts on each of the 4 screws to serve as a spacer.
  • 4 3-4mm long m3 screws to secure the Octopus board to the bottom.

Printing

  • Printing should be done with0.2mm layer height, or otherwise make sure that the top faces for the sides, front and back are actually 3mm.
  • Bottom, Left and Right should be printed so that the protrusions face up away from the bed.
  • Back can be printed on either large face, but you may wish to have your bed side facing outward.
  • Front must be printed with the inside face down to the bed.
  • Top should be printed so that the holes the fan screw into face up away from the bed.

Assembly

  • This was printed using a 0.8mm nozzle so the tolerances should be loose enough for a standard print setup. However, you may need to drill some of the holes out that the screws pass through anyway.
  • Start with bottom, secure left and right to it with 3 screws each long the bottom
  • Secure back to the top side of right and left
  • Secure front to right, left, and bottom
  • Secure top to right and left

2024-09-14: Added a variant for a top that might fit a 120mm fan. This is by request and completely untested.

Read more Show less

Print spec

Formats
stl
Model files
7
Total size
8.6 MB
Largest file
3.2 MB

0 comments

See all