

Large file collection DIY
Ăng-ten Yagi 70cm kèm SDR (RTL2832)
Remix of Bộ linh kiện antenna YAGI di động (Portable YAGI antenna components) By Vincentim_605686
- Downloads
- 126
- Likes
- 42
- Views
- 1,742
- Remixes
- 0
- Comments
- 0
Files 25 26 MB
- 70cm_Yagi_Antenna_1776671884.3mf3MF · 403.6 KB
- 1_v10_1776671886.stlSTL · 81.5 KB
- 2_v10_1776671887.stlSTL · 105.7 KB
- 3_v10_1776671888.stlSTL · 141.8 KB
Make a variant with AI
Build another version of this model.
Details
- Model ID
- #317156
- Category
- DIY
- Published
Description
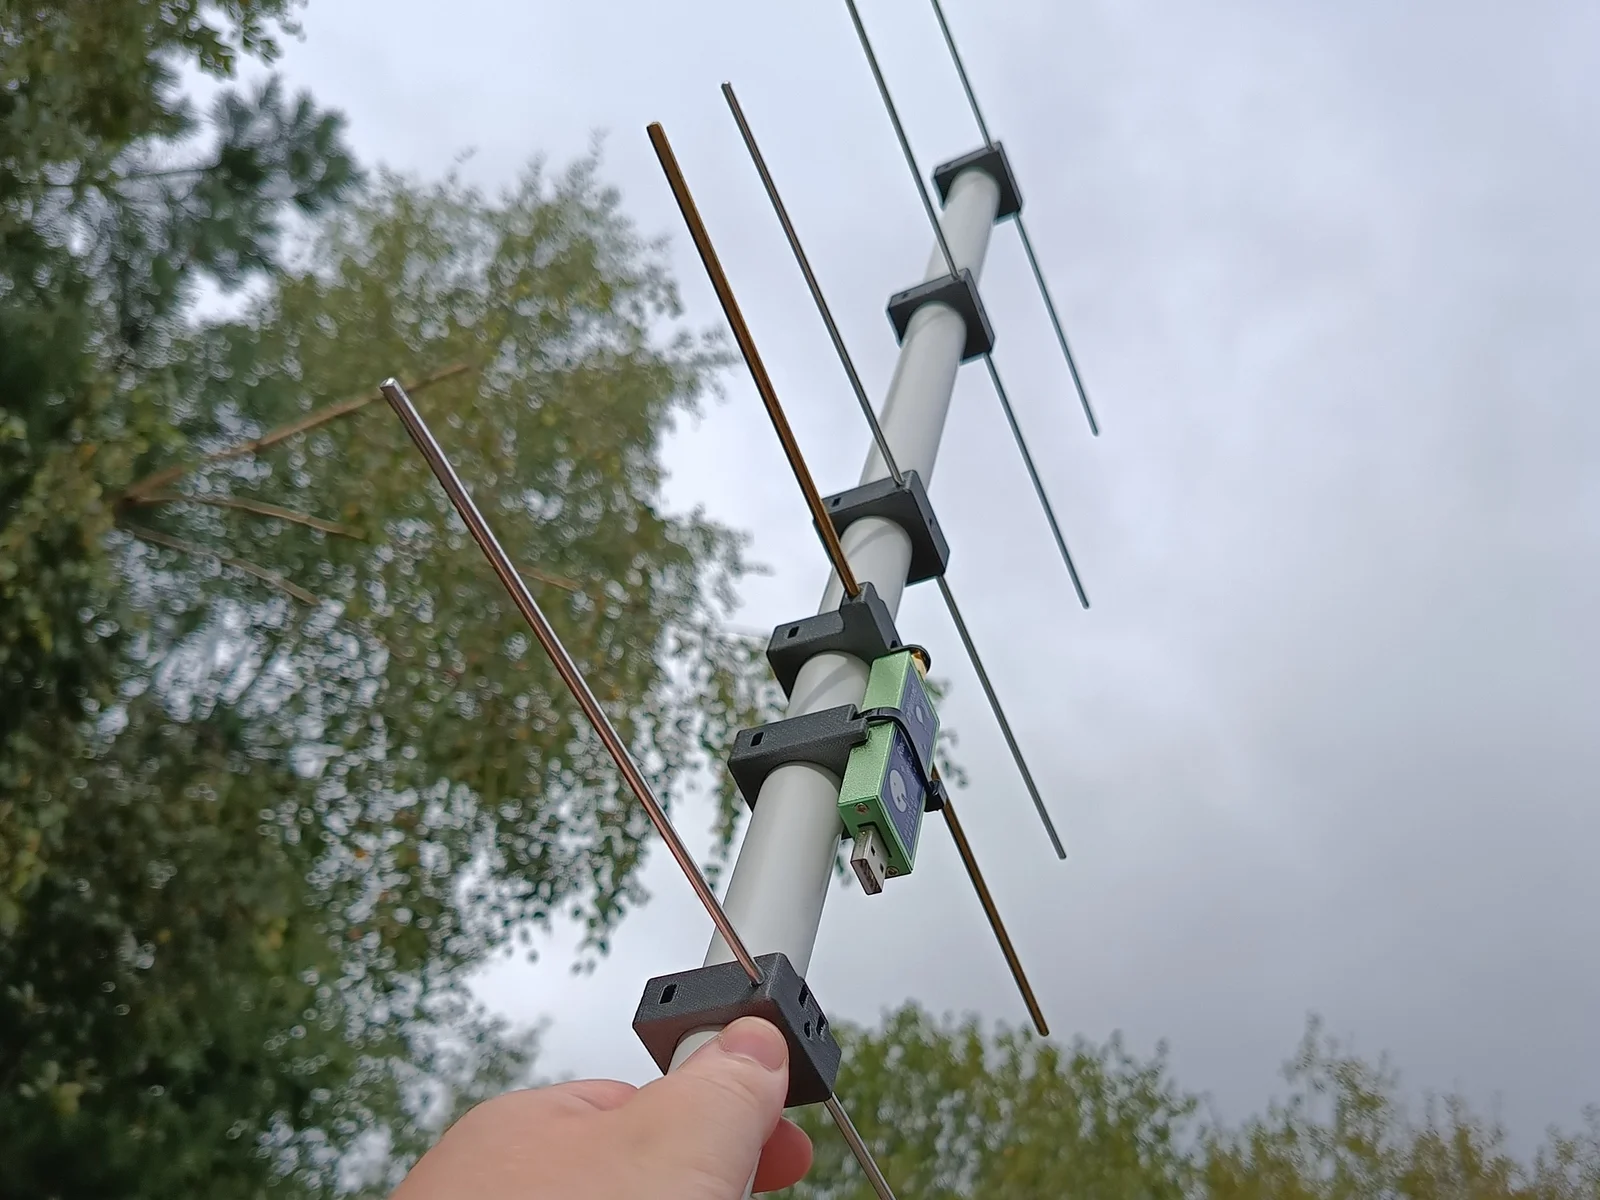
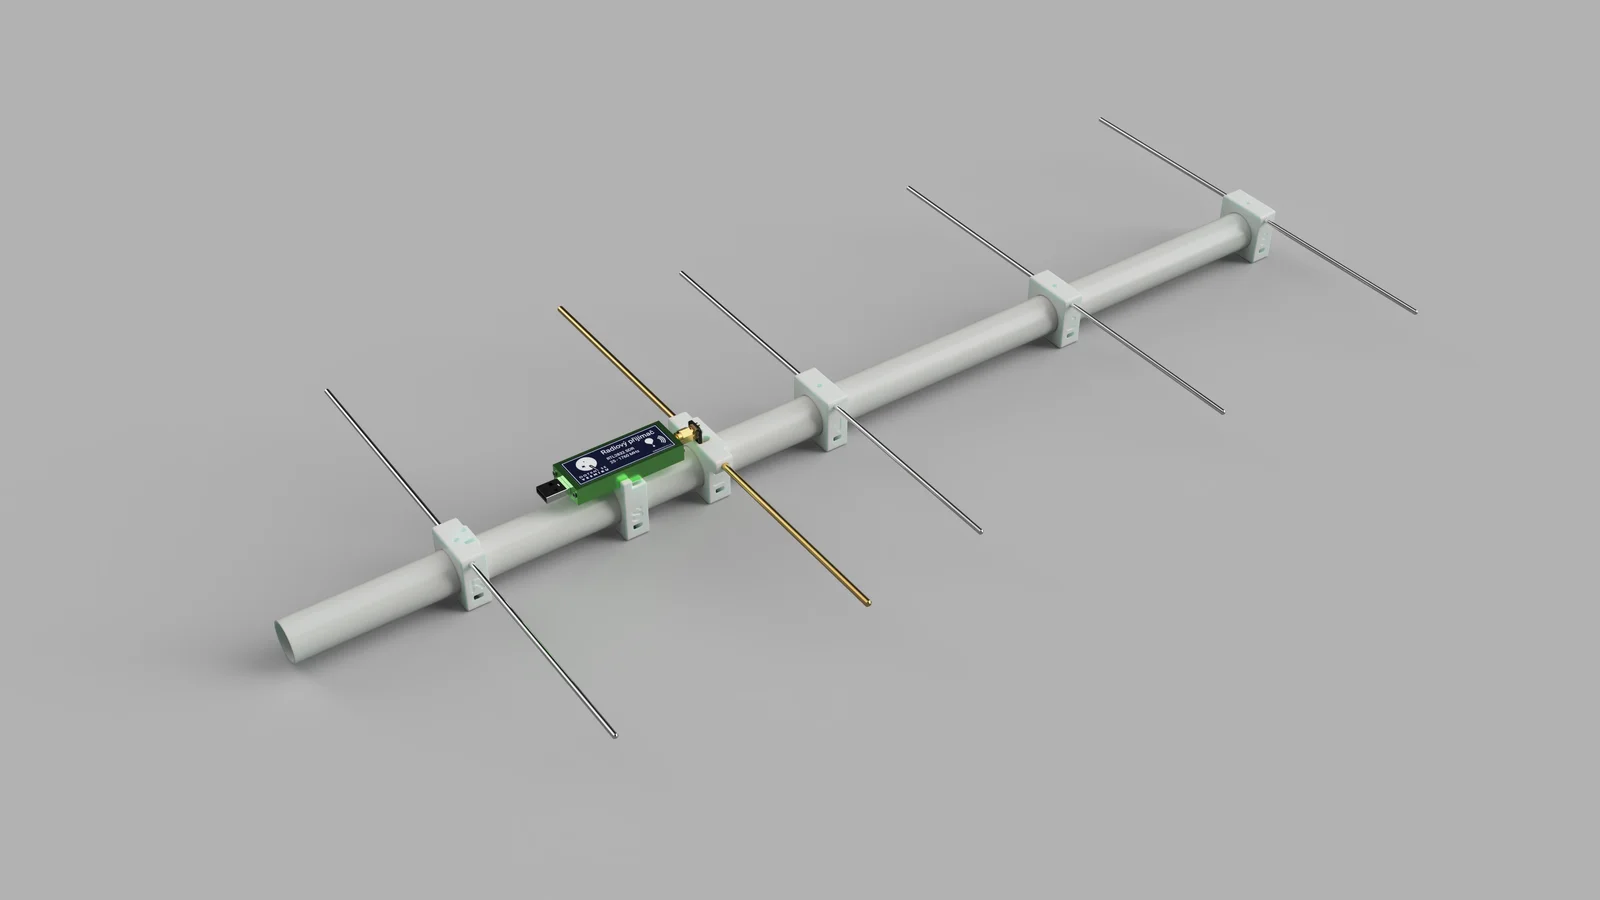
Simple & lightweight Yagi antenna for the 70cm band. Developed in conjunction with the ‘Touch The Universe’ project.
Required hardware
- 3.2mm aluminium welding rods
- 4mm brass welding rod
- 25mm PVC pipe
- ~3mm self-tapping screws
- superglue / silicone / hot glue gun (optional)
- soldering iron & solder
- SMA edge connector (Aliexpress)
- SMA PCB adapter (can be ordered from JLCPCB for $2 - see provided gerber files)
- RTL SDR (Aliexpress)
- USB-A extension cord (~2m)
- cable ties
Printing instructions
Works best with PETG or similar. I recommend default [email protected] presets. Add more perimeters for extra strength (optional). No supports required.
Assembly instructions
- cut the welding rods to size (see the provided drawing for dimensions)
- the 4mm brass rod needs to be cut 2mm shorter and split in half to account for the center gap
- roughen up the ends of the brass rod with a file or sandpaper for easier soldering later
- file / deburr all edges
- mark the centerpoint of each aluminium element and insert each one into the appropriate printed part
- use the top hole to align the center mark, then fill the hole with glue (optional)
- solder the SMA connector to the SMA PCB
- insert the brass elements into the 'Z' printed part and solder the PCB to them
- cut a ≥70cm section of PVC pipe and mark element locations (see the provided drawing for dimensions)
- attach the elements to the PVC pipe
- make sure the pointy holes on the sides of the printed parts are facing towards the business end of the antenna
- secure them by running a self-tapping screw through the hole on the bottom of each printed part
- attach the SDR using the SMA connector and secure it to the 'S' printed part using a cable tie
- connect the USB extension cord and secure it to the 'R' printed part using a cable tie
Print spec
- Formats
- 3mff3df3zgcodepdfstepstlzip
- Model files
- 25
- Total size
- 26 MB
- Largest file
- 11.4 MB
0 comments
You may also like 12 models
See all-

-

-

-

-
New -

-

-

-

-

-

-