



Bộ sưu tập 11 nhân vật mô hình Mecca Chameleon in 3D vui nhộn
 ByZED4EverLikes313Downloads5.2K
Build another version of this model.
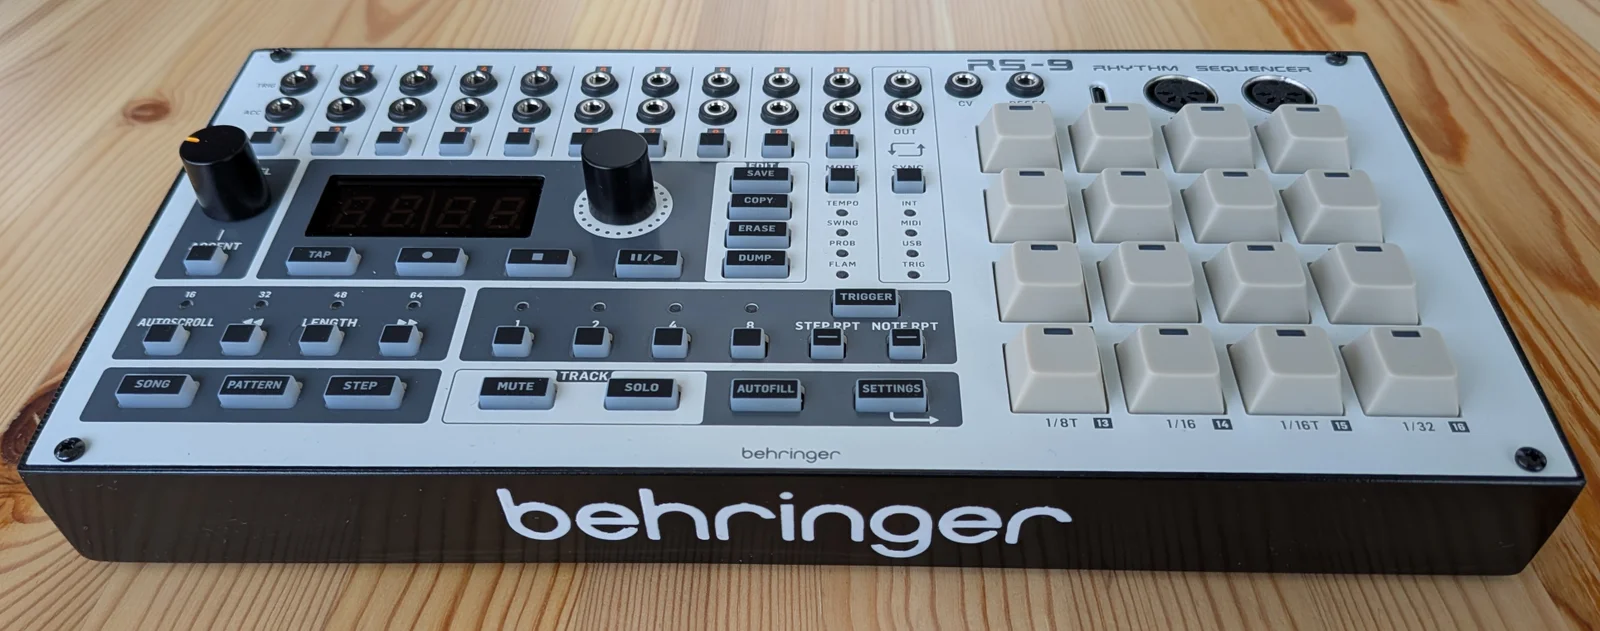
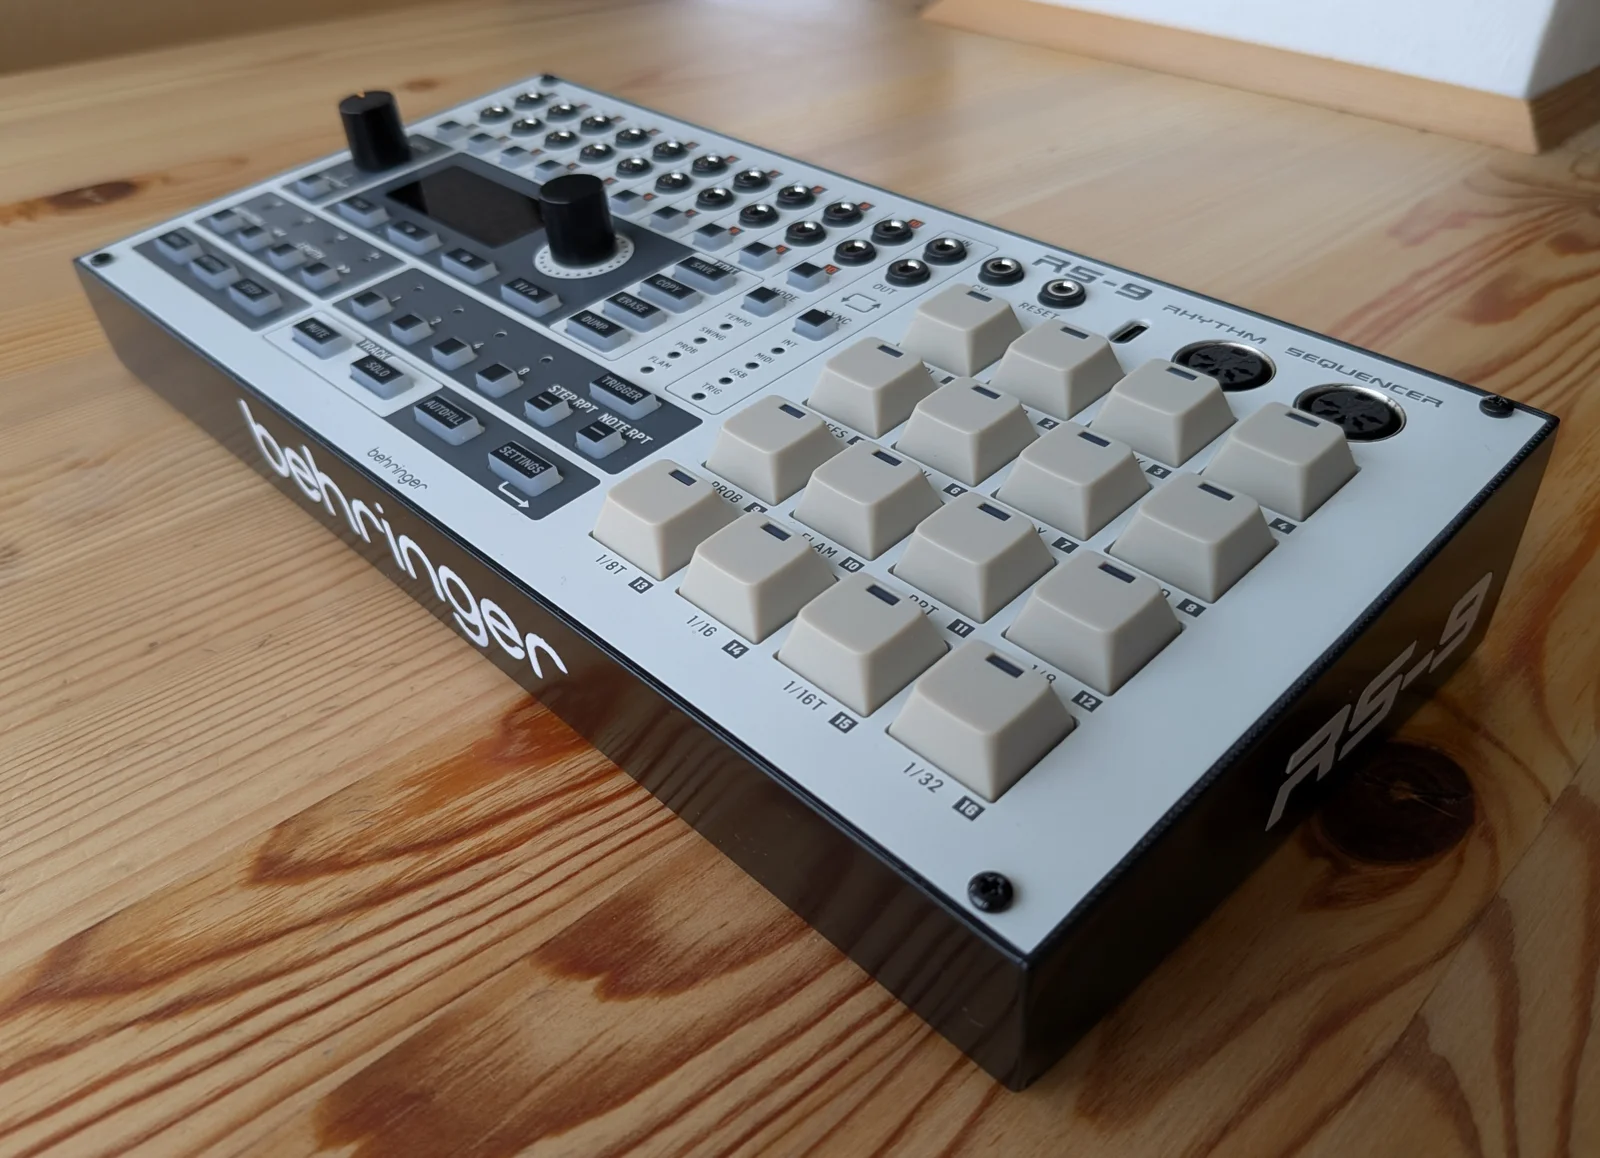
A case for the Behringer RS-9 Sequencer allowing you to use it in standalone mode rather than mounting it into an Eurorack setup. The case provides the following features:
The are multiple versions of the case available - depending on if want to use the logo inlays and how you want to power the module:
I won't go into detail here on how to power the module since this is a “know what you're doing” scenario. Nevertheless the pictures and the case itself contains some hints on how the module could be powered 😉 But if in doubt I suggest to ask someone with experience rather than frying your module in the worst case!
Supports will help to get cleaner print results for the logo inlays and the power switch opening but aren't necessary to be able to print the case. I've printed my case in 0.2mm layer hight in PETG using PLA organic supports only from the print bed. Helper discs for the case edges might help in case you have print bed adhesion issues. The logo inlays come with a 0.1mm clearance gap which should result in a tight fit on a well calibrated printer - still I would suggest to secure them with a small drop of superglue. I've finished my case with sanding it down and applying a layer of clear varnish to it.
ByZED4EverLikes313Downloads5.2K

 ByfifindrLikes500Downloads4K

 ByVC_DesignLikes679Downloads3.6K

 ByDan Schwartz SchwartzLikes744Downloads3.4K

 Byvc-designLikes0Downloads3.2K

 ByKNIN_CustomLikes112Downloads437

 ByUpcrid3D_1585693Likes808Downloads2.1K

 ByWilko_SLOLikes935Downloads2K

 Bychubbs8697_2027893Likes585Downloads1.7K

 Byquibeck_3353173Likes965Downloads1.9K

 BySeppoTakaloLikes960Downloads1.9K

 ByRobertoGalloc_356815Likes549Downloads1.8K