



Kẹp giữ sợi Filament
 Bytinx_1344834Likes1.2KDownloads6K
Build another version of this model.
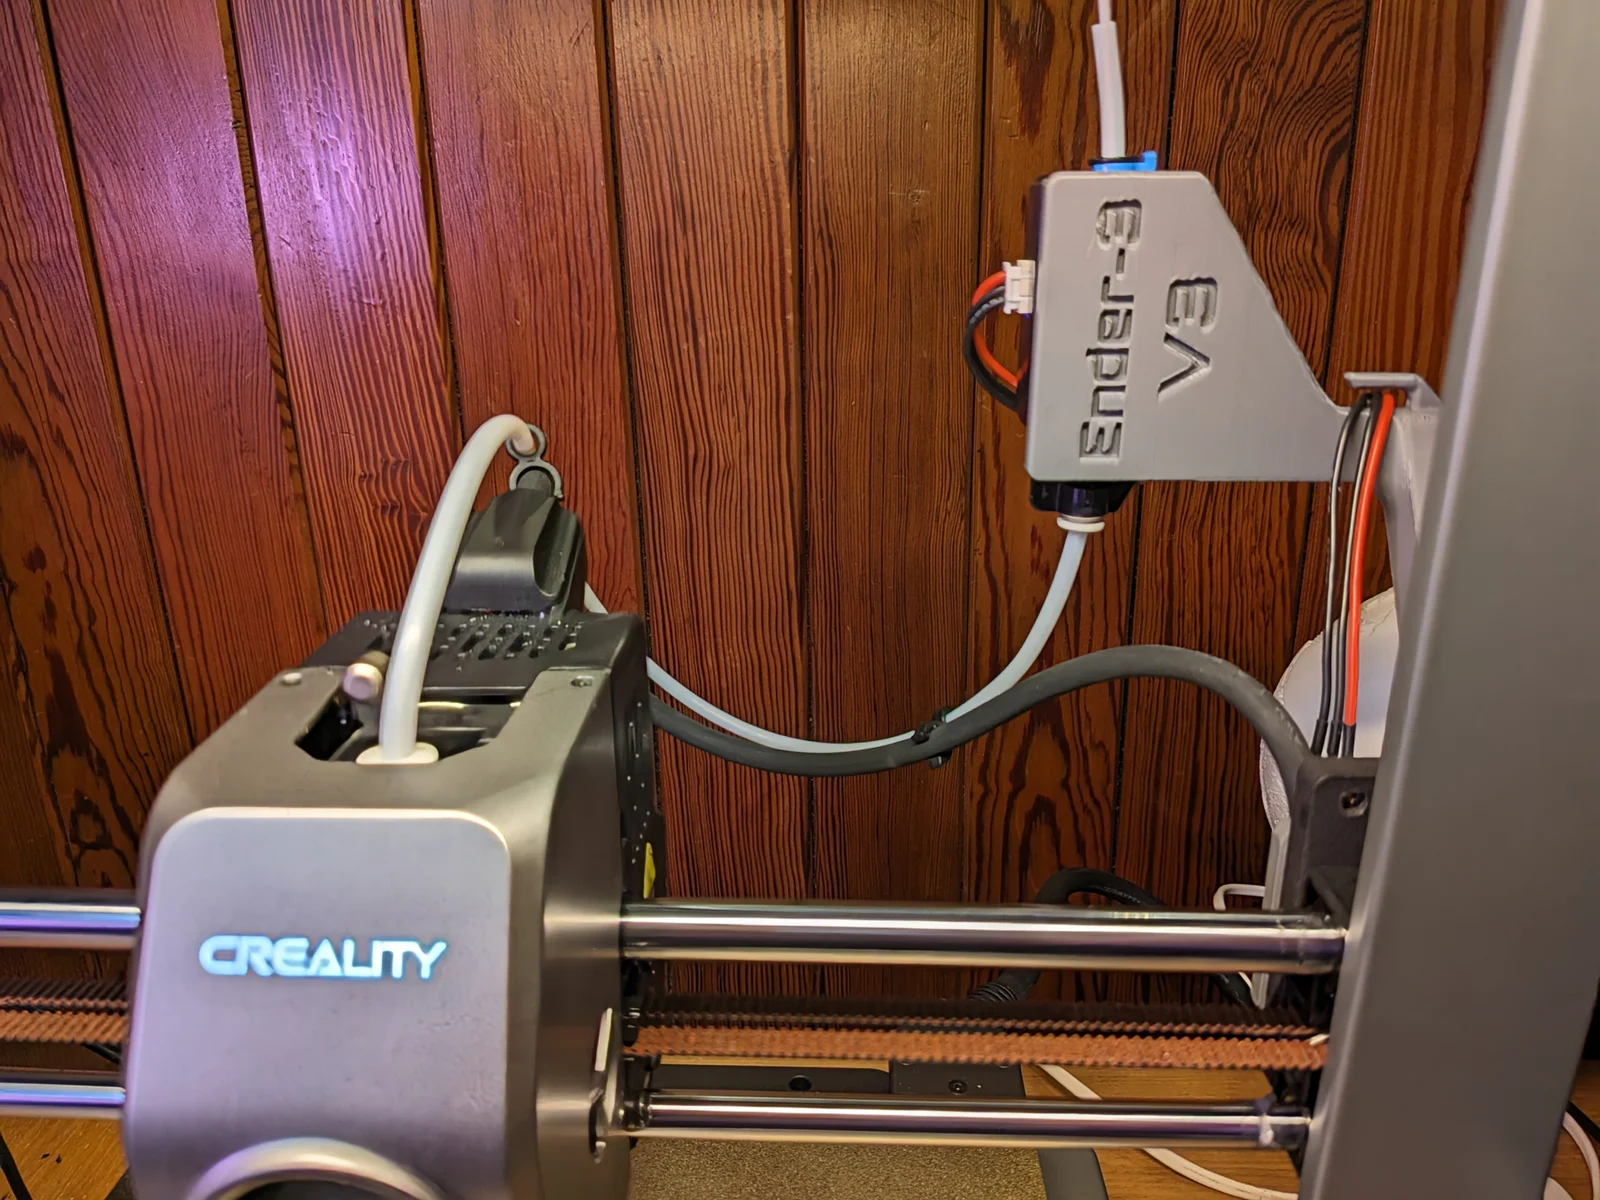
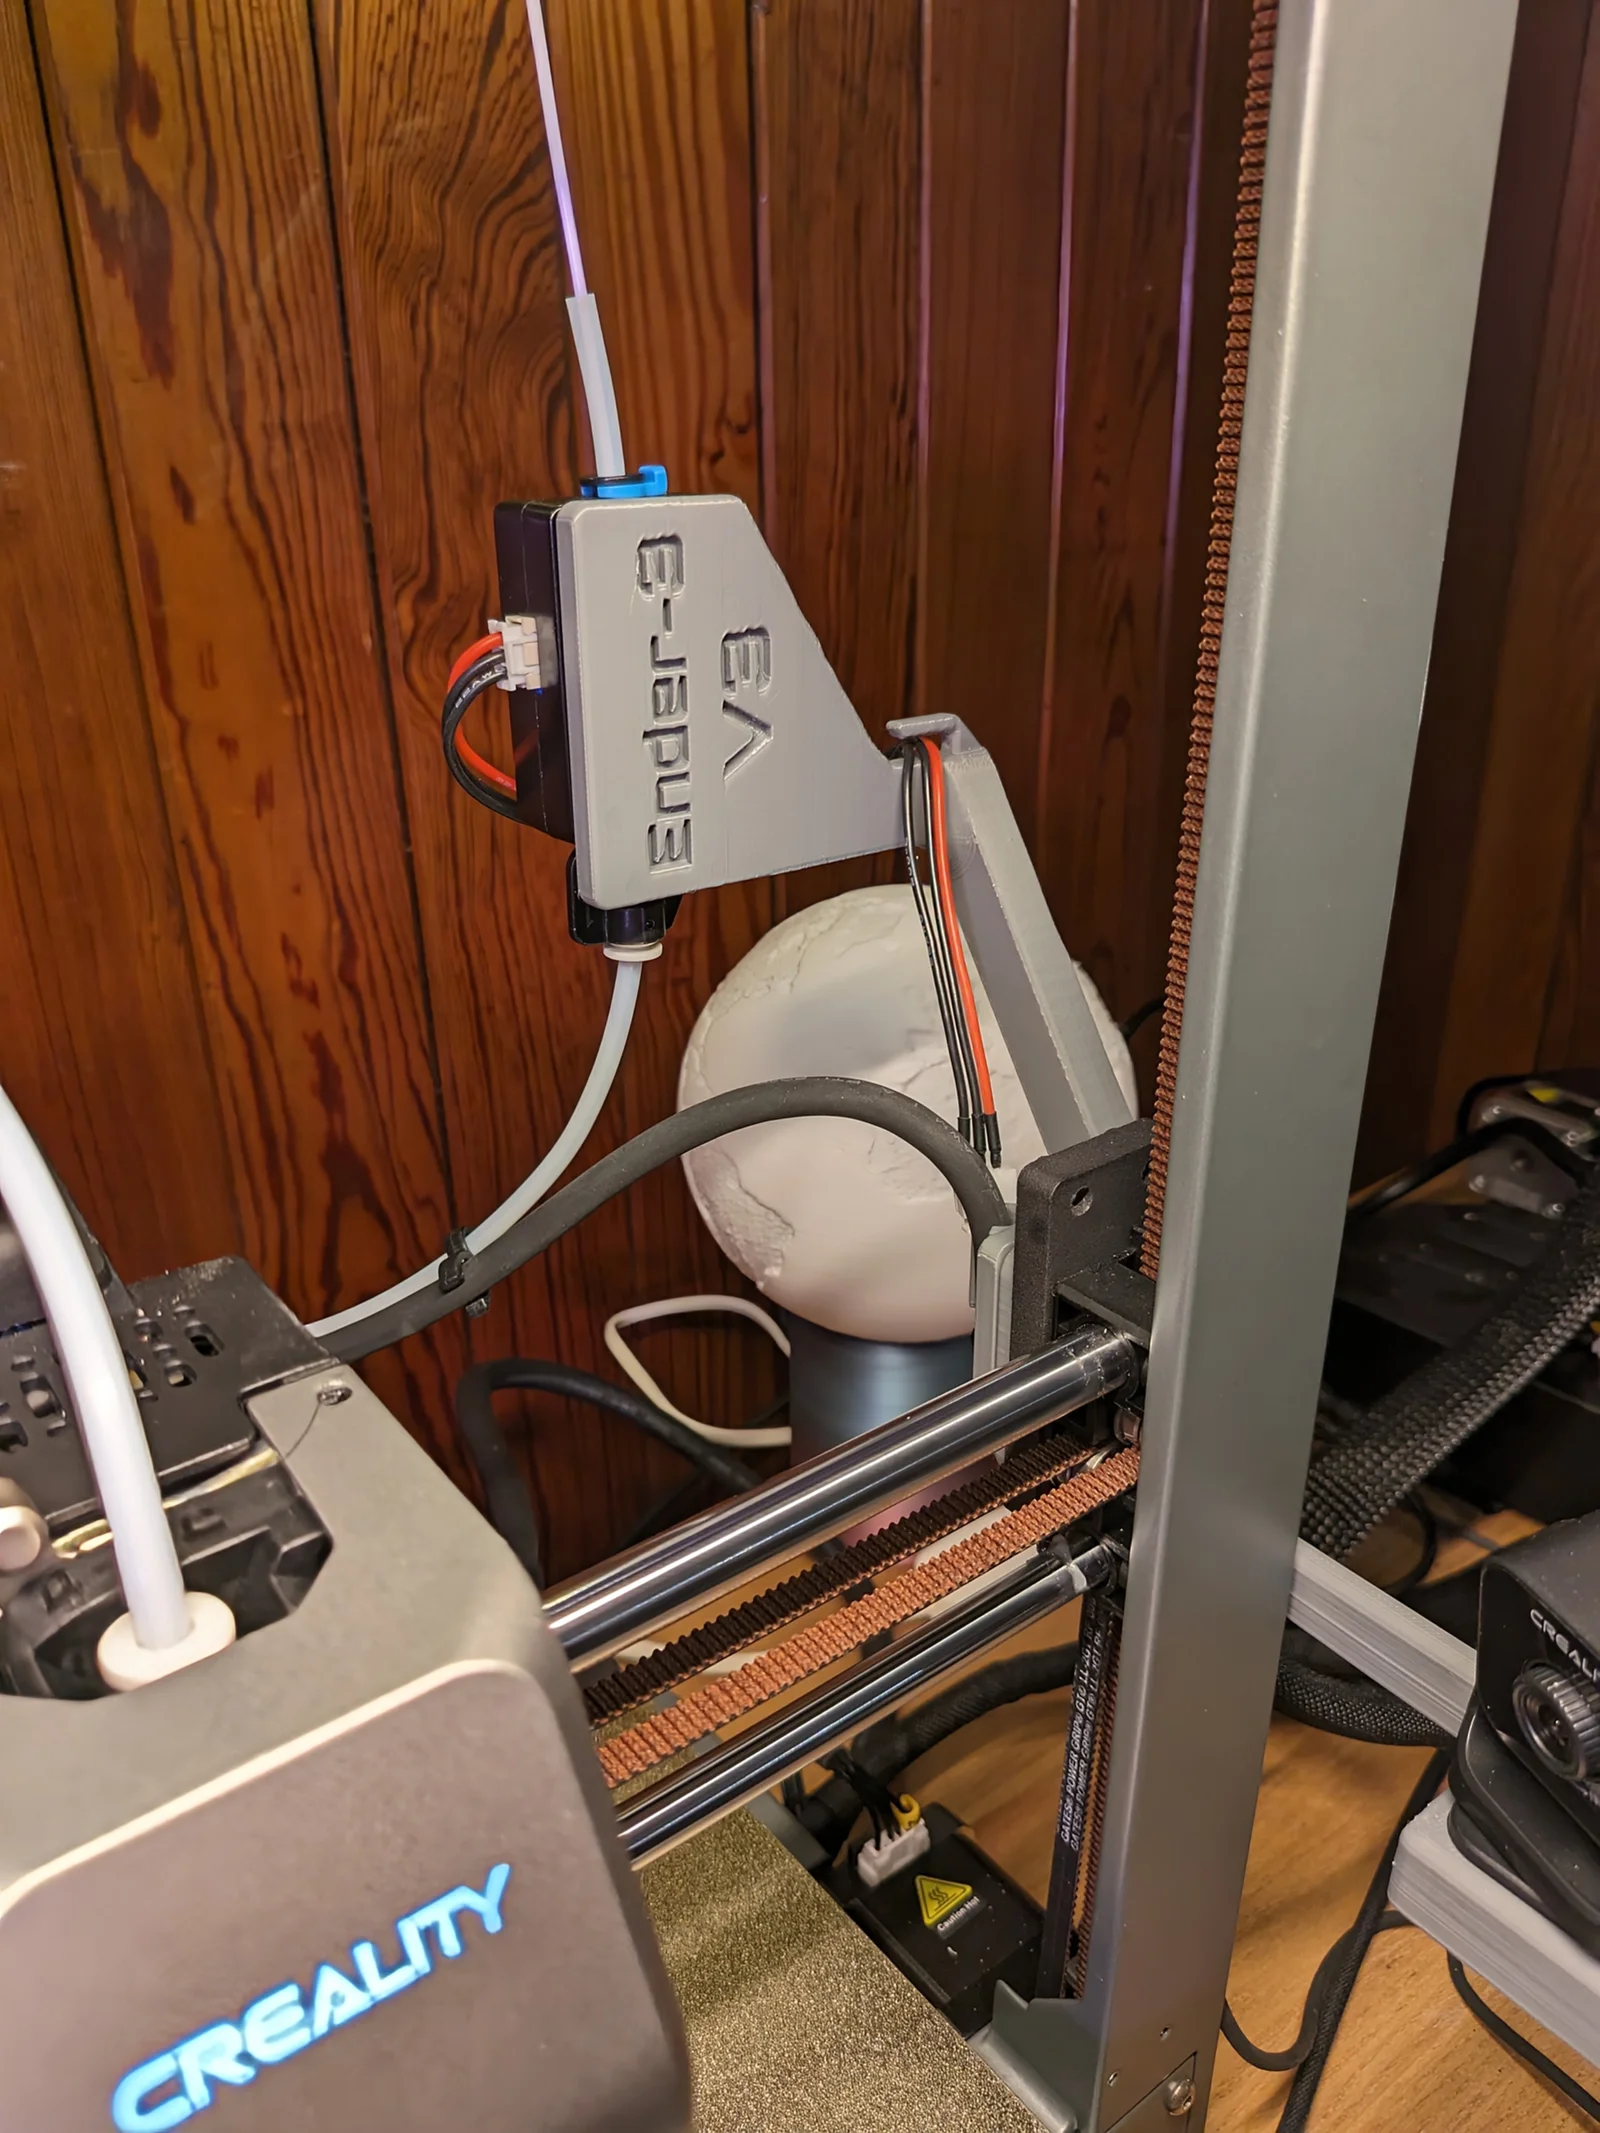
This is designed to work with Ender-3 V3 Top Spool Holder (Rear Facing) and requires some additional bolts and an extension cable, but does not permamently change anything on the printer - you can simply remove the additional parts. If you prefer a top mounted bracket see Ender-3 V3 Top Filament Sensor Bracket.
Note: This will not fit the Plus model as its frame is differently sized. See my Ender-3 V3 Plus Collection.
You'll need two additional M3x12 bolts (or M3x16 if also using my Ender-3 V3 Z-Axis Nebula Camera Mount) and an extension cable for the Sensor. After some false starts I eventually found the perfect cable which doesn't need making up or soldering. If you search for “XH 2S LiPo battery balance extension lead” at 200mm length in your Favourite Online Store that should fit perfectly. Just double-check the images to be sure (2S means 3 pin for some reason).
Print the Sensor Bracket at 3/3/3 walls/top/bottom and 15% infill with the text upright - no supports required. I very much recommend PLA+ or PETG for strength.
First switch off the printer!
Then look at the back where the filament sensor is. Carefully unplug the wiring to the sensor, remove the PTFE tube (push on the brim of the part that holds it in to release it) and unclip the large wiring assembly. Then undo the bolts that hold on the Sensor and the Clip - keeping them for the new Bracket.
Now bolt the Sensor and its Clip onto the new Bracket. Use your new M3 bolts to bolt the other end of the Bracket in place where the original was. Attach the extension lead to the Sensor and clip the large wiring in place on the cable clip at the printer end of the Bracket. Wrap the extension lead around the Sensor and into the cable guideway and then attach it to the printer end. Finally re-attach the PTFE tube, this time at the bottom.
Now turn the printer on and mount some filament - make sure that you can Home the print head without any problems and that filament is detected. Then run Input Shaping and we're done!
EdinBearDragon
This is part of a collection of Ender-3 V3 Mods, designed to fit with the aesthetic of the printer.
Bytinx_1344834Likes1.2KDownloads6K

 ByBrokentooth_designsLikes17Downloads147

 Byprusa-researchLikes0Downloads2.7K

 Bydet-manLikes0Downloads171

 BydalleLikes0Downloads147

 Byarhi_585078Likes64Downloads544

 Bygafyx3dLikes0Downloads121

 ByHanzo3dLikes155Downloads416

 BydarienLikes0Downloads1K

 Byds-printsLikes0Downloads352

 ByGeek5DLikes147Downloads489

 BynozeLikes0Downloads133