



Thùng rác in Vase Mode
 BybobmakesLikes2.5KDownloads17.5K
Build another version of this model.
Overview:
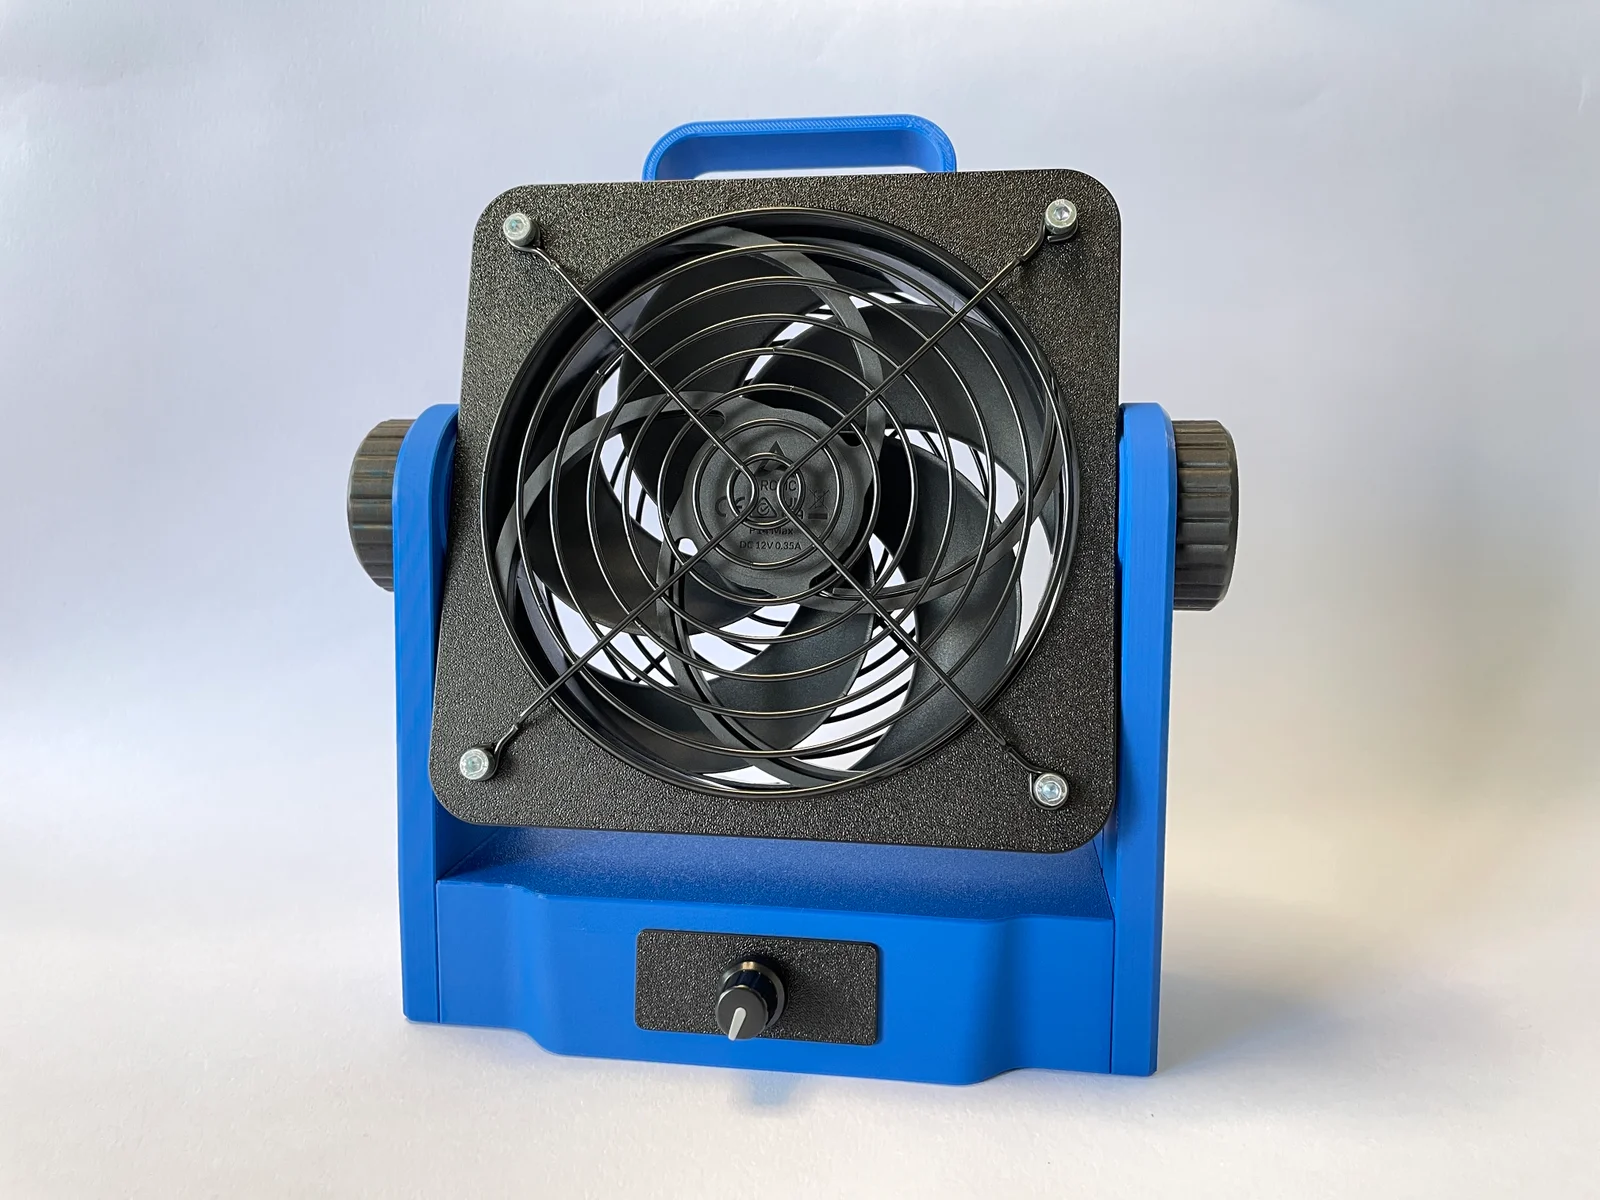
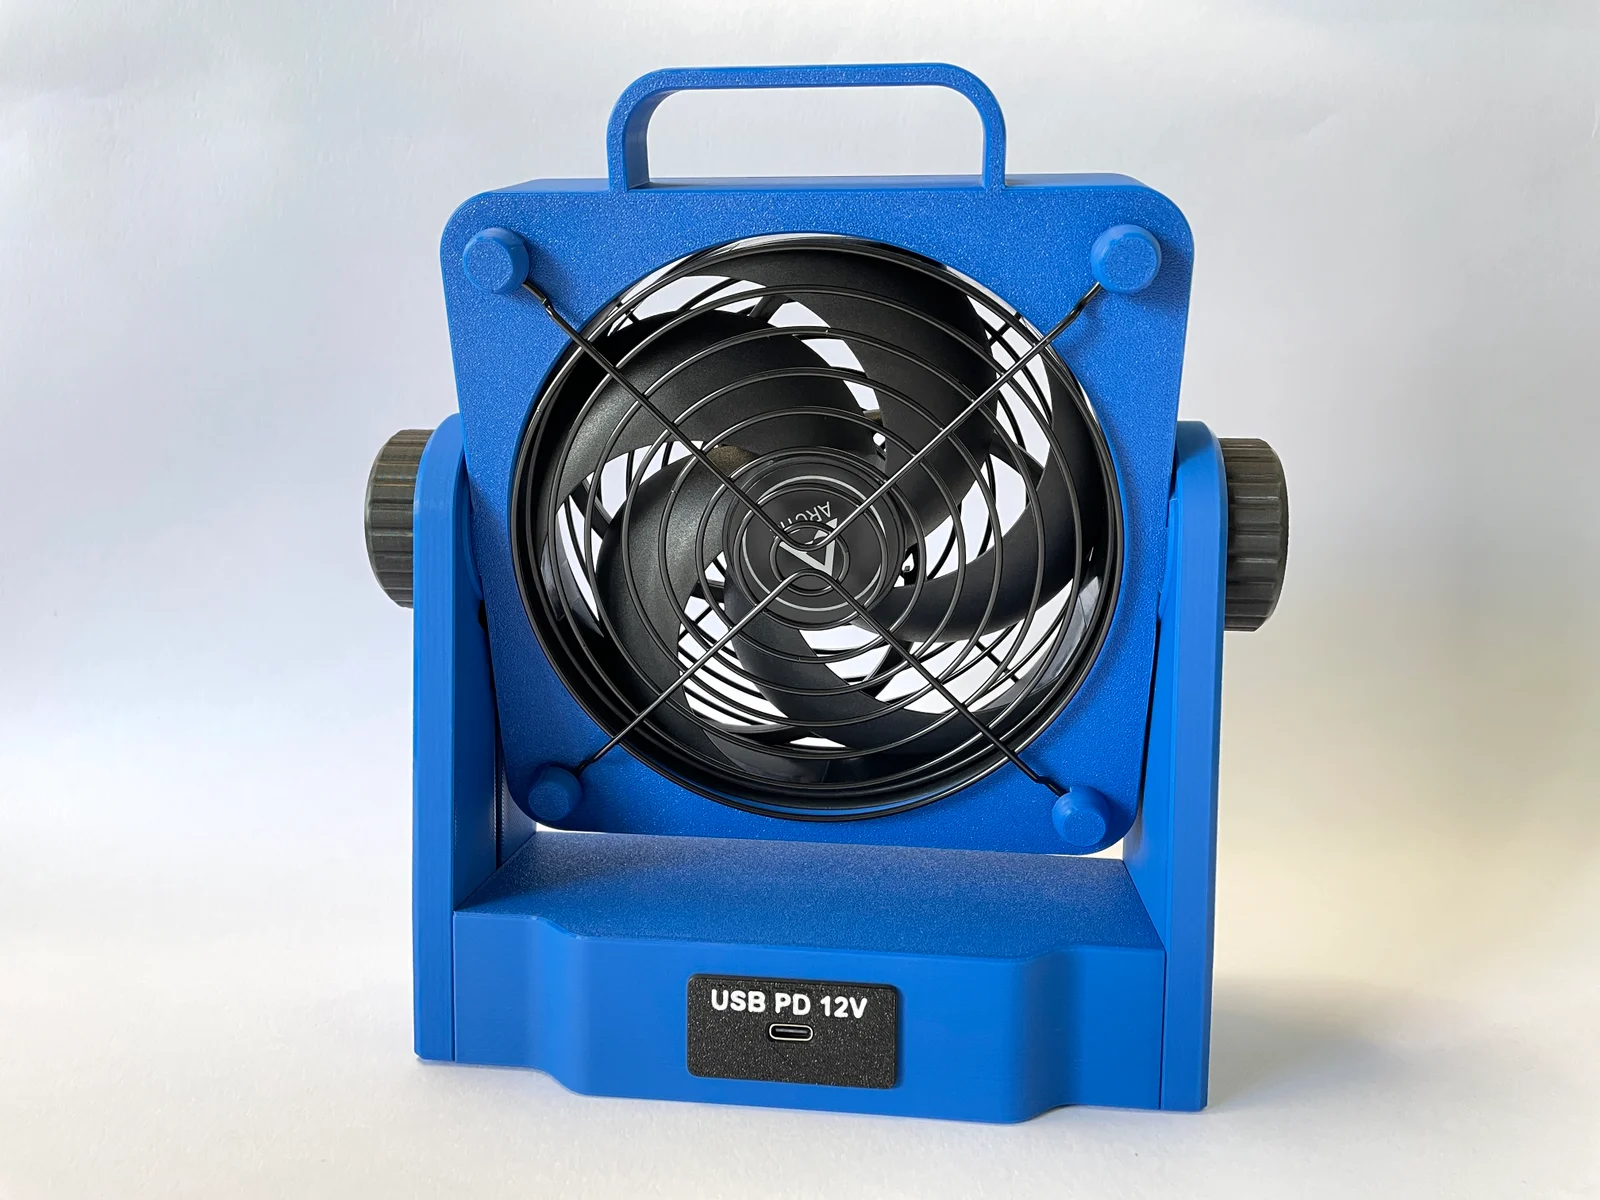
This is 3D-printed desk fan, designed to seamlessly blend functionality and style. Built around a powerful 140mm computer fan, this versatile device is perfect for keeping you cool in the office or for fume extraction during soldering and other tasks. It has customizable airflow options and modular components. Whether you need a gentle breeze or a more powerful cooling effect, this fan can be tailored to meet your needs, making it an ideal addition to any workspace.
What sets this desk fan apart is its modular design, offering flexibility in both power and control options. You can choose between a simple on/off switch or a sophisticated speed controller to manage airflow precisely. The fan is compatible with various power sources, including a standard 12V adapter or a USB-C Power Delivery connection.
I have prepared also smaller version with 120mm fan and battery mount for Parkside X20V batteries, which can be used also for 140mm version. You can check it here: Modular Desk Fan 120mm (Optional Parkside X20V Mount)
Bill of Material:
Assembly Instruction:
Filter cover which can be easily attached to filter out fumes during soldering can be found here.
BybobmakesLikes2.5KDownloads17.5K

 BytsmccLikes0Downloads309

 ByVinors3DLabLikes393Downloads1K

 Bycustom-3d-partsLikes0Downloads209

 ByHydratedMini_1690513Likes173Downloads724

 Byxtruderline-3dLikes0Downloads130

 ByimanorangutanLikes0Downloads676

 Byquibeck_3353173Likes545Downloads3K

 Bym-collectableLikes0Downloads3.9K

 Bylayer-forgeLikes0Downloads598

 ByTommy3DLab_2023125Likes636Downloads2.5K

 Byaxis-prints-3dLikes0Downloads788