



New
Prusa Bed Scraper | Replaceable Blade & Stand
 BynasikLikes0Downloads124
Build another version of this model.
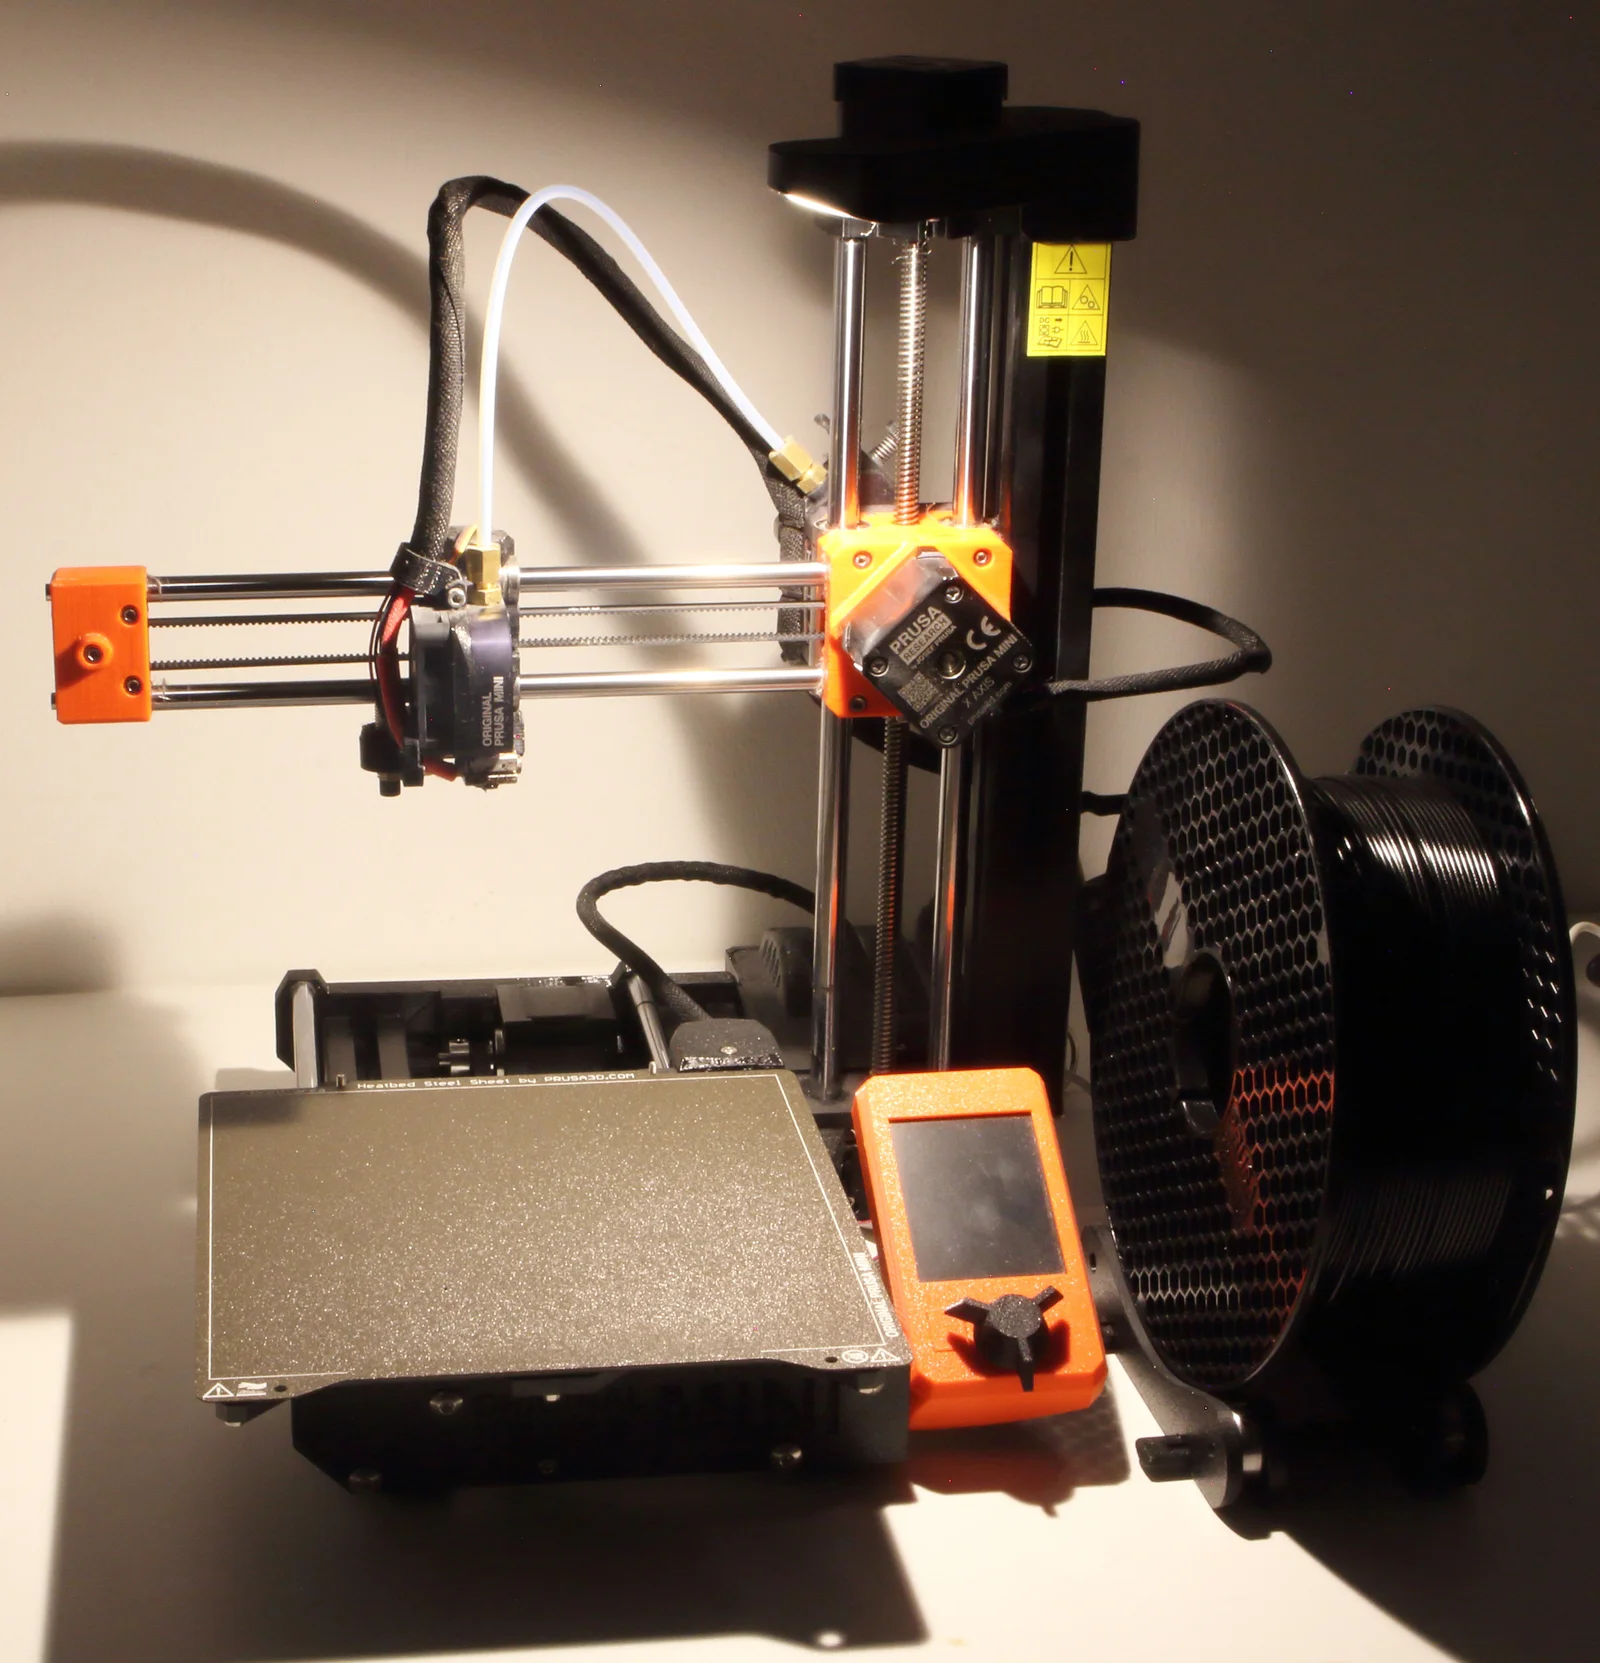
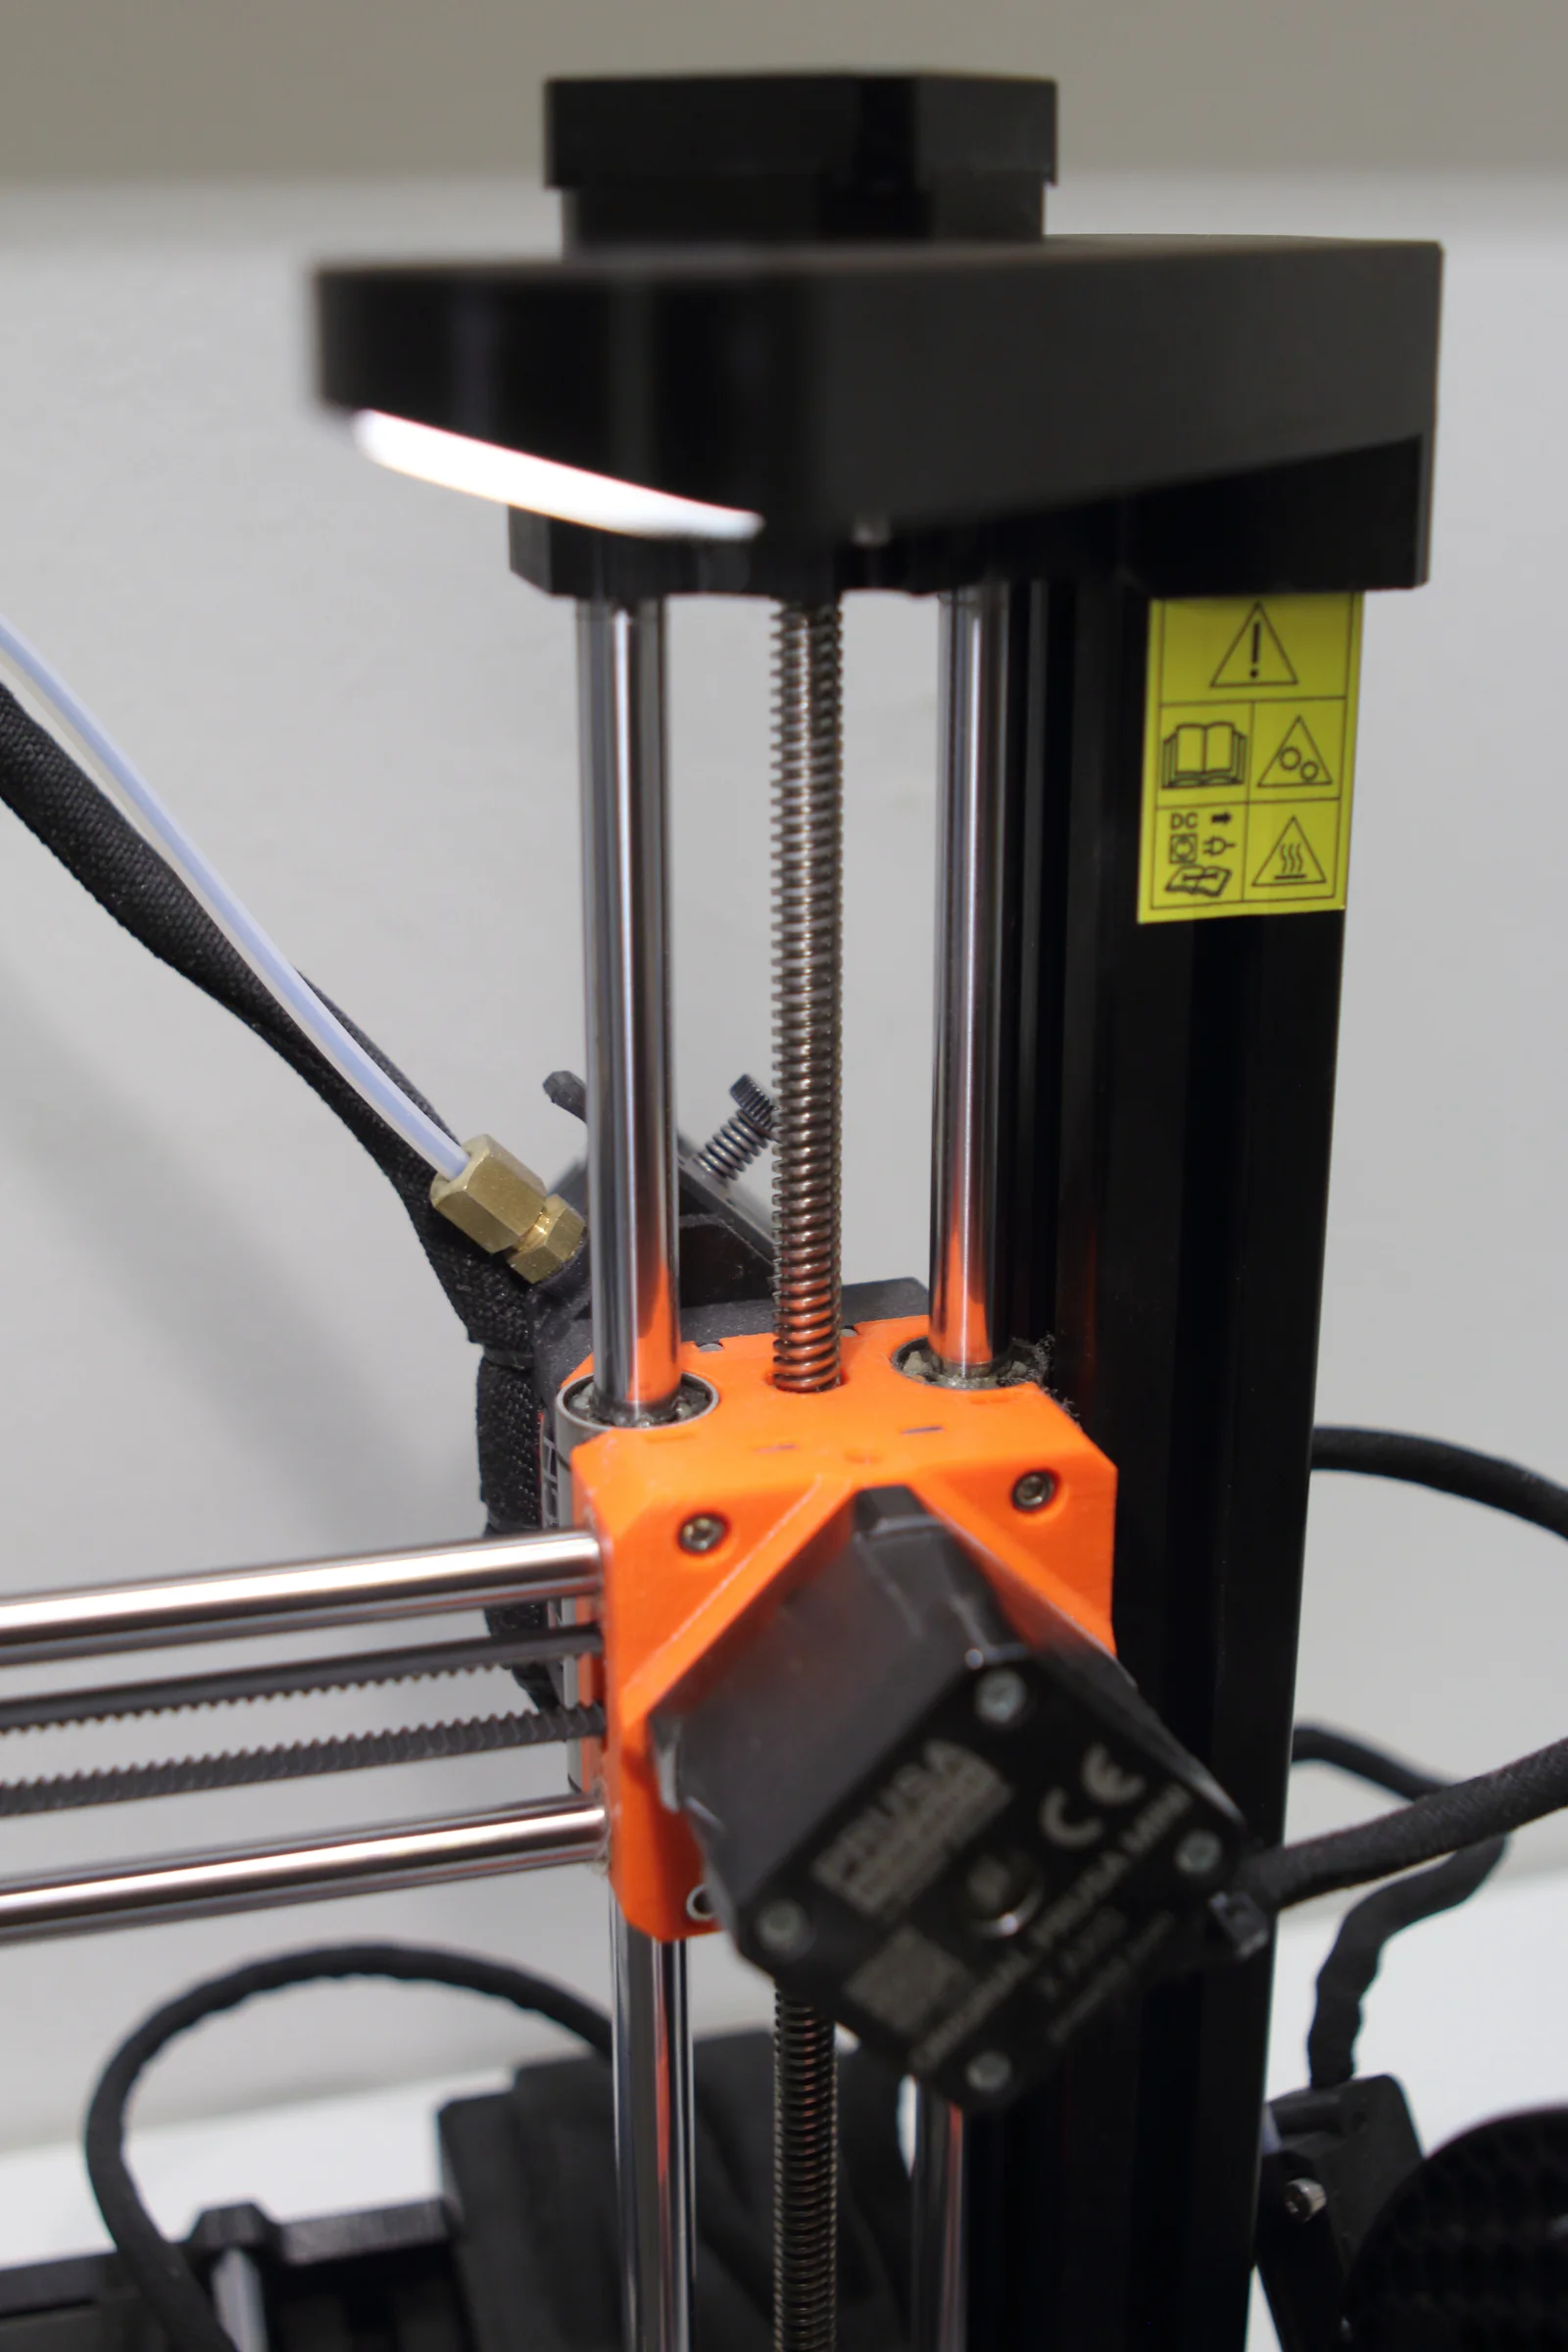
Introducing an elegant and practical addition to elevate your Prusa MINI 3D printing experience – the Prusa MINI IKEA KAPPLAKE Spot LED Light Upgrade! This addon seamlessly integrates an IKEA KAPPLAKE Spot LED light to provide exceptional illumination for your printer, all while featuring a convenient built-in on/off switch.
The best part? No tools are needed for installation. Just slide the bracket over the Z-axis top until it clicks into place, and voilà – you're good to go. This user-friendly enhancement is designed to make your 3D printing journey smoother and more enjoyable. Illuminate your creativity with ease.
The print settings are not highly critical. However, as a guideline, I used the following settings:
These settings should provide optimal results for most applications.
The only extra thing that needs to be used is the relatively cheap IKEA KAPPLAKE Spot LED ($3.49 in US and 3.50€ in DE) *at the time of this posting
Note: The tolerances are by intention designed a bit tight so that it sits firmly in place, however this means that you have to use a bit of force to press it into place.
happy printing
BynasikLikes0Downloads124

 By3DSourcererLikes48Downloads382

 Bytinx_1344834Likes1.2KDownloads6K

 Byemmgr23Likes0Downloads246

 Byduo3dprintLikes0Downloads156

 ByBrokentooth_designsLikes23Downloads412

 Byprusa-researchLikes0Downloads2.7K

 Bybloblis67Likes0Downloads322

 ByAnthonyDouri_1604724Likes24Downloads224

 Bydet-manLikes0Downloads178

 Bygummiegecko8477Likes0Downloads169

 Bychukwufumnanya-arinzechukwuLikes0Downloads154