DIY
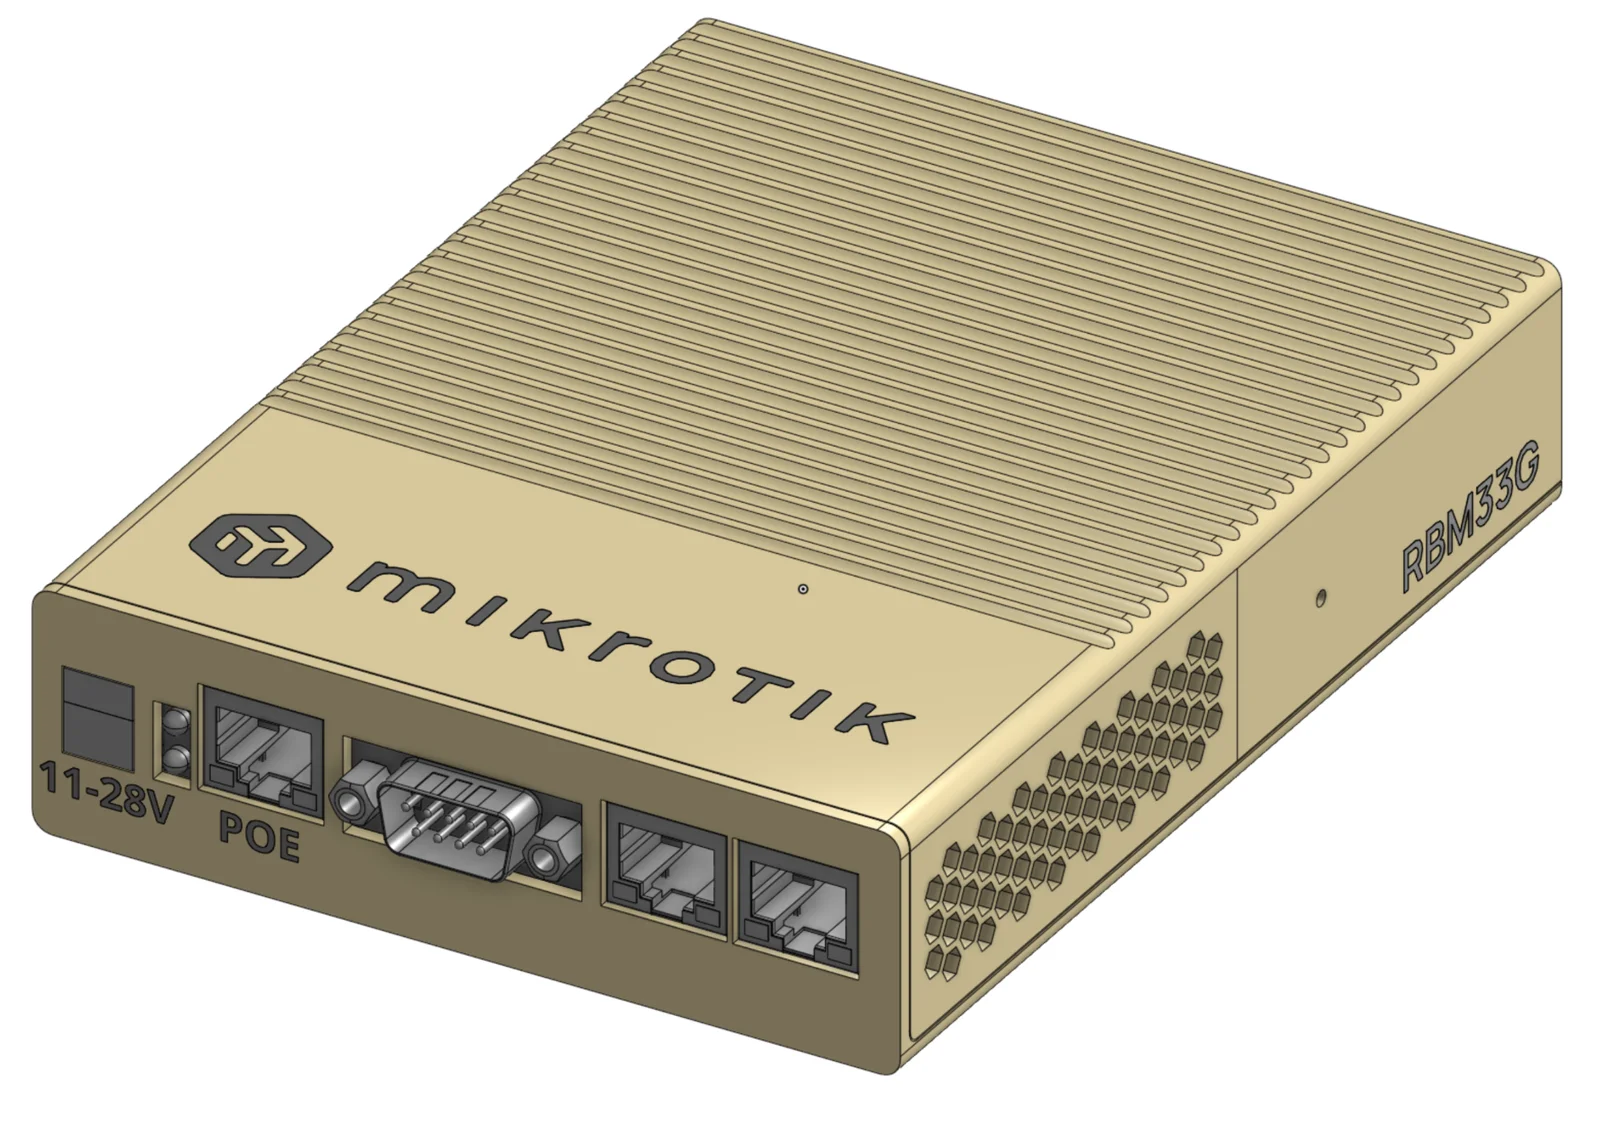
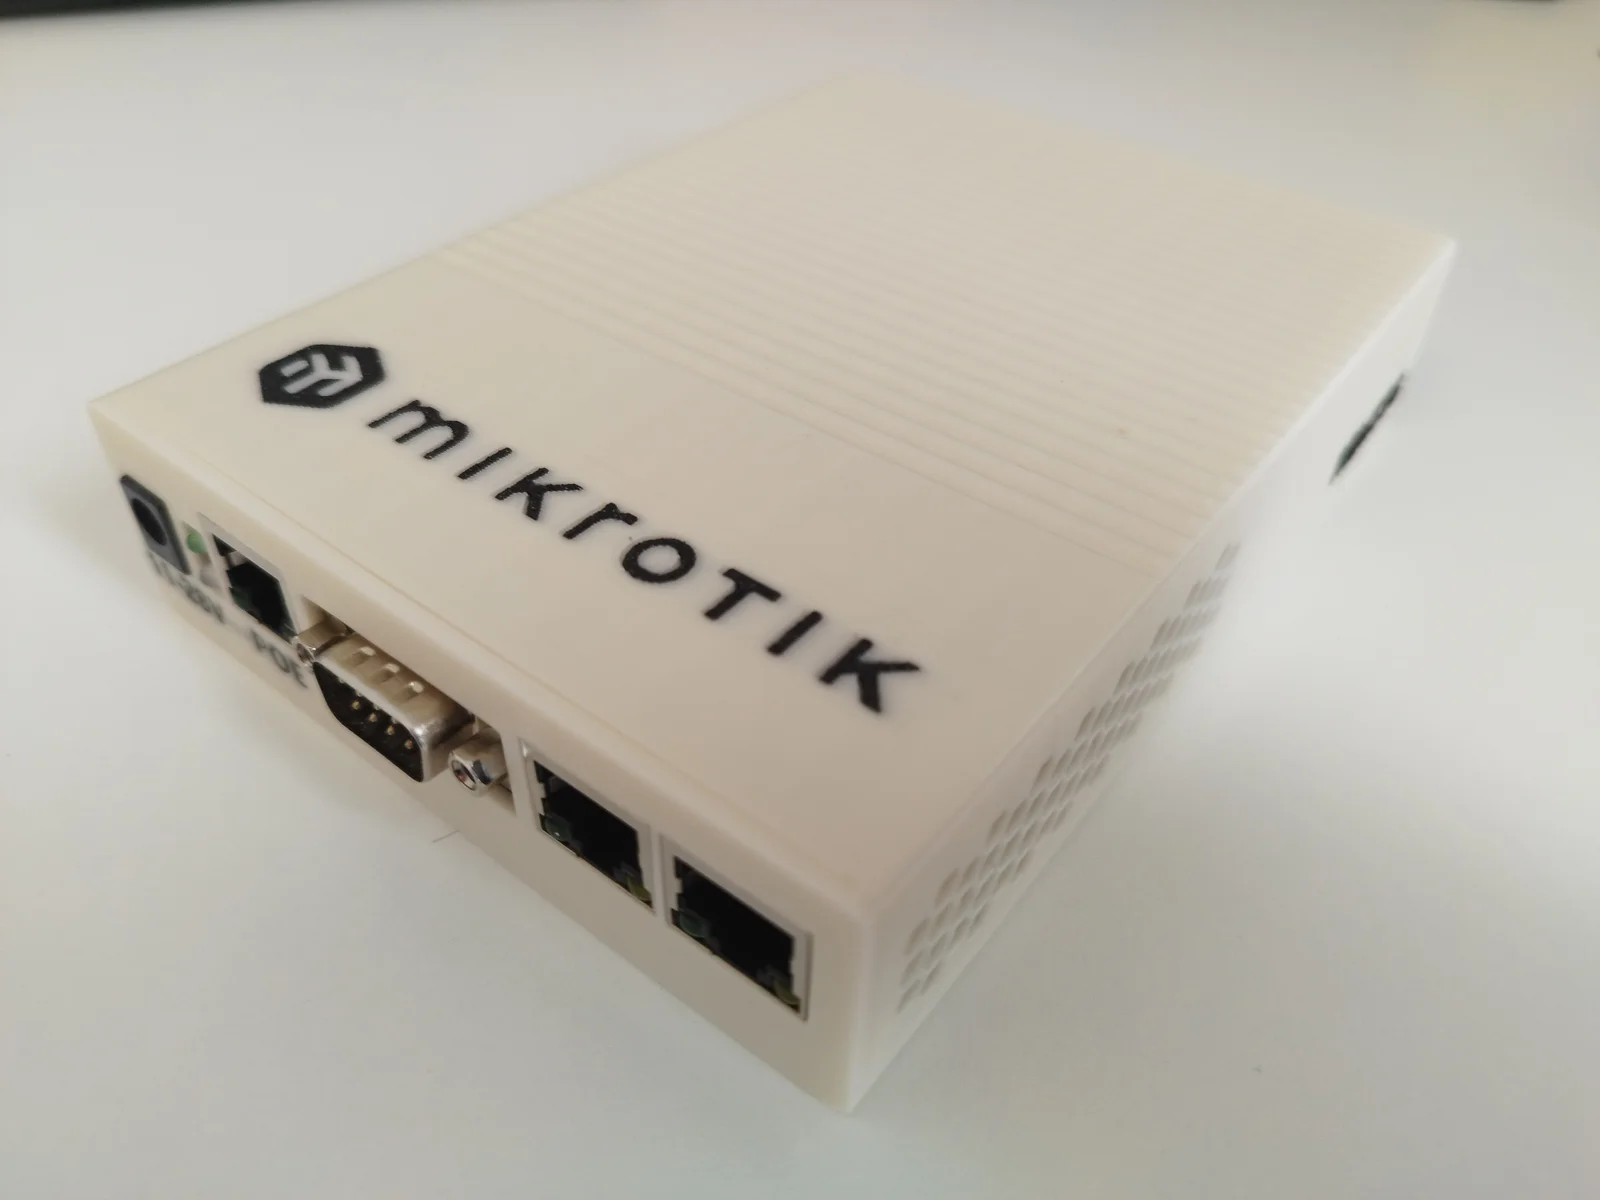
Vỏ Case Cho Mikrotik RMB33G
- Downloads
- 196
- Likes
- 8
- Views
- 1,268
- Remixes
- 0
- Comments
- 0
Files 8 1.7 MB
- Enclosure-Top-V1-RBM33G-IN_1776189545.3mf3MF · 258.7 KB
- Enclosure-Bottom-V1-RBM33G-IN-WL_1776189546.3mf3MF · 160.5 KB
- Enclosure-Bottom-V1-RBM33G-ST-WL_1776189547.3mf3MF · 160.5 KB
- Enclosure-Bottom-V1-RBM33G-ST_1776189549.3mf3MF · 160.5 KB
Make a variant with AI
Build another version of this model.
Details
- Model ID
- #298899
- Category
- DIY
- Published
- Tags
Description
A modern enclosure for this fantastic Mikrotik device with the following features:
- Very tight geometry.
- Follows Mikrotik Branding Guidelines.
- Air ventilation placed where heat is mostly generated.
- Textured enclosure for less 3d printish/more modern look.
- Fasteners: Insert Version (IN) / Self Tapping (ST) version.
- Only 2 external screws + groove/lip for fastening
- Optional multimaterial for Logos and Info, delete them to print recess instead (see sample)
- Placement recess for rubber feet, and identification label
- Wireless Version (WL) with 2xAntenna holes and extra identification label for wireless adapter
Printing Instructions
Your printer needs to have good dimensional accuracy and handle 0.2mm tolerances.
- Layer size 0.2mm
- Print with Front and Back plates on platform (see example)
- No supports
- No brim required, but clean bed properly, adhesion can be challenging.
Assembly Instructions
- Install M3 Plastic Inserts (IN version) / See photos
- Install M3 machined screws (IN version) or 3mm self tapping screws (ST version) to attach the PCB
- Attach Antenna connectors to top case (WL)
- Top case must first insert horizontal grove, and then slide forward. See assembly photo.
Note: I have not printed ST variants and monomaterial. Feedback appreciated.
Print spec
- Formats
- 3mf
- Model files
- 8
- Total size
- 1.7 MB
- Largest file
- 272.8 KB
0 comments
You may also like 12 models
See all-
New -
New -

-

-

-

-
New -

-

-

-
New -