


New
Fortnite Pirate Shop Token
 Bylarp3dLikes0Downloads1.4K
Build another version of this model.
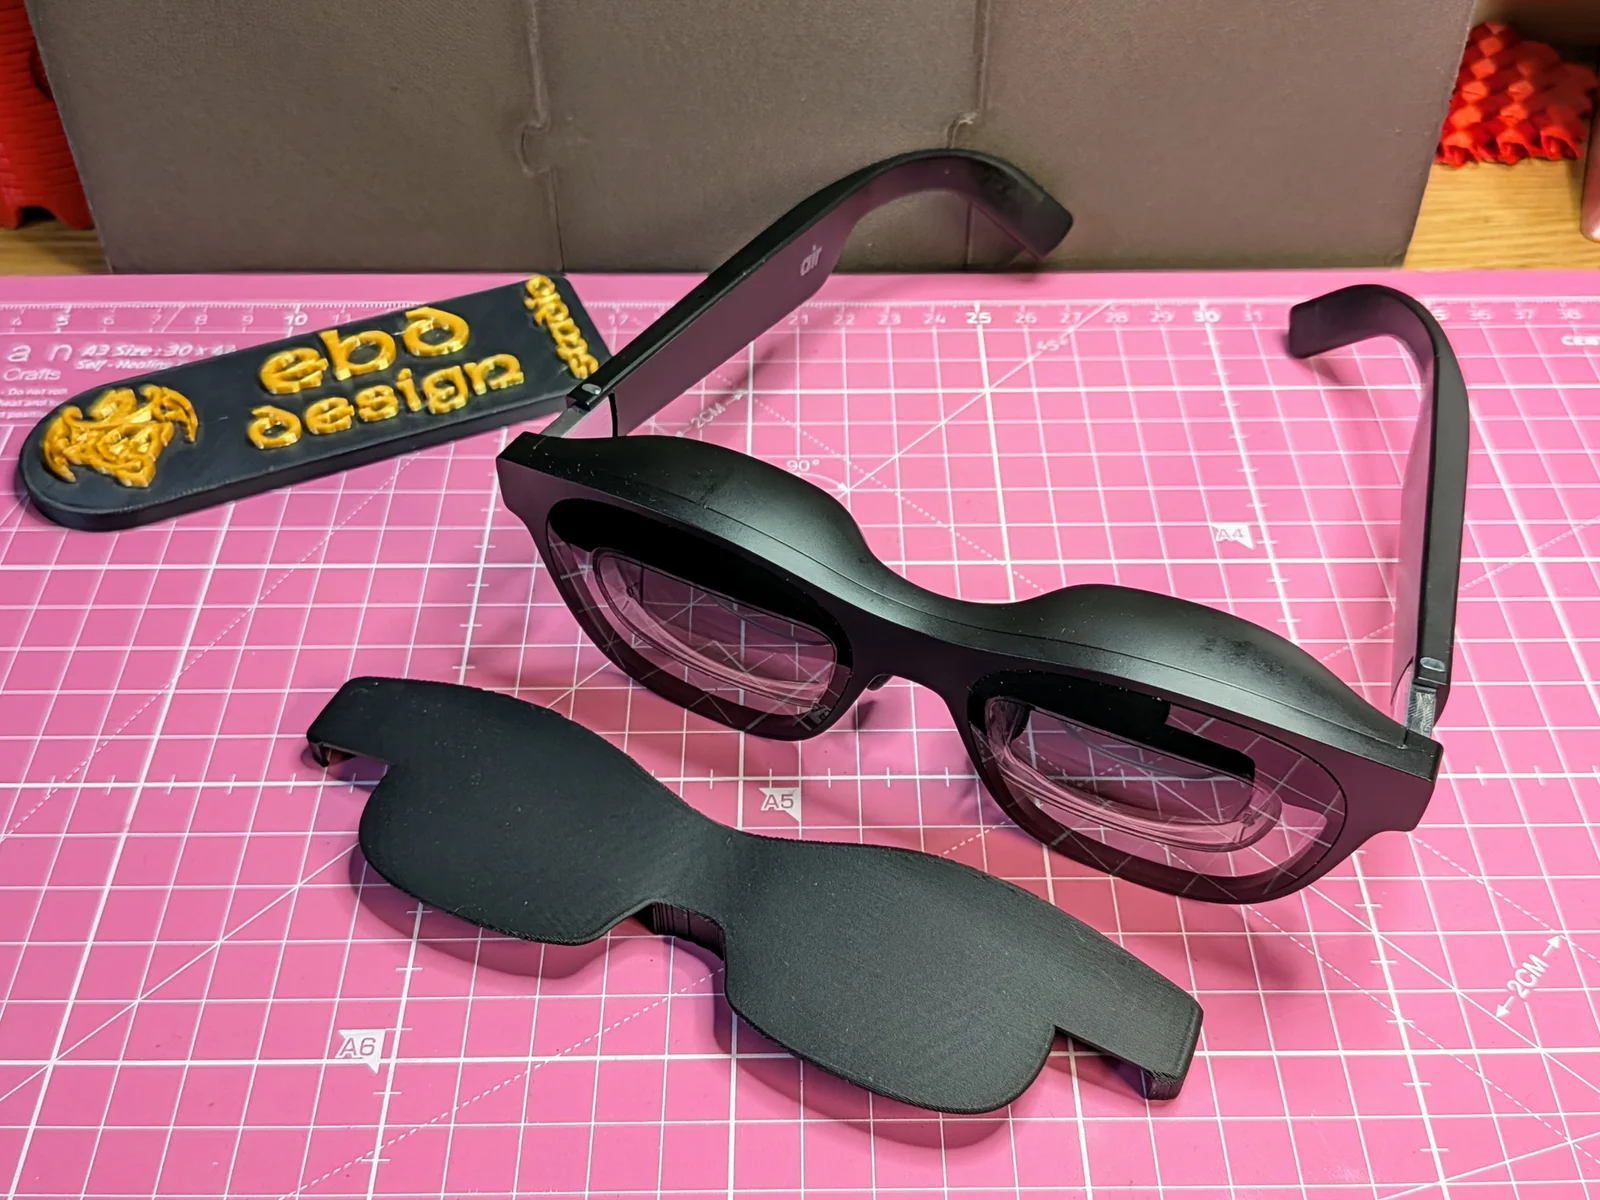
Update: The original didn't survive well on their first trip, so I have reworked the design to make them more durable. I have also fine-tuned the fit, and improved the aesthetics.
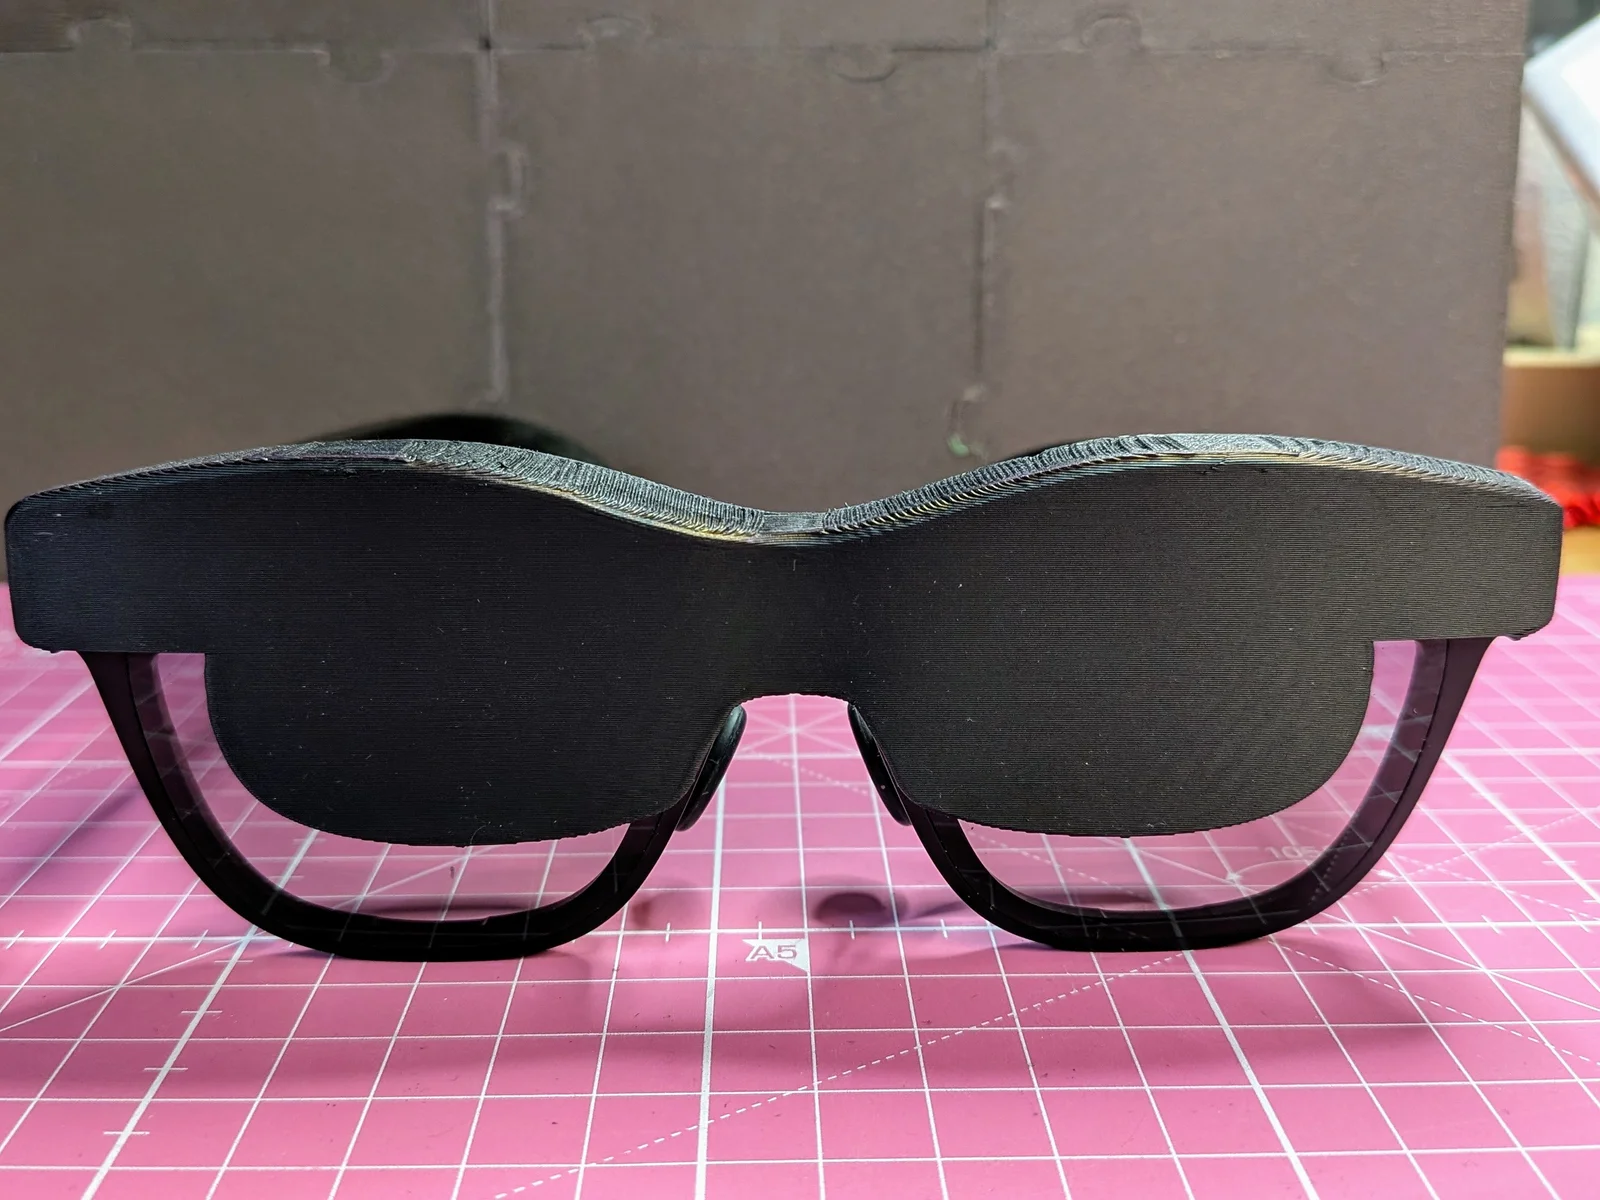
These shades are contoured to snap on over the front of the XReal Air AR Glasses. They only cover the screens part, so that the viewer gets a good dark background for the display whilst still being able to see what's around them.
They may also fit XReal Air 2 and 2 Pro as I believe they have the same chassis.
These are an awkward shape to print, but with some trial and error (a lot of error) I found a way which is robust and gives a nice finish with minimal support artifacts.
I have uploaded a .3MF file from Orca Slicer which should be relatively compatable with Bambu Studio, Prusa Slicer and Creality Print - change your printer, filament and process whilst keeping as many of the parameters as-is, and this will include the support settings.
Print at the 45% angle as oriented in the files (you can use Lay On Face on the rim at the top front if it gets moved about).
I used:
If you are using a bed-slinger (ie. not CoreX-Y) then orient with the width of the shades pointing front-to-back, which will greatly reduce flapping of the model when printing.
Here is the Support Paint I used - basically the top of the shades plus drawn lines down both side edges and down the middle:
After printing I used the deburring tool along the edge of the upper brim (always use this paring down the layer lines, not up) then sanded with first 100 grit then 1500 grit which looks pretty good.
If you like this model, then please:
EdinBearDragon
Bylarp3dLikes0Downloads1.4K

 ByJaronLikes310Downloads1K

 ByckthLikes148Downloads2.4K

 By3dwakeLikes0Downloads363

 BylclabLikes0Downloads293

 BynasikLikes0Downloads277


 ByjoranLikes0Downloads217

 Byw3rN42Likes127Downloads938

 ByTomDDLikes89Downloads579

 Byrorys3DLikes0Downloads329

 BypaukkulaakeriLikes0Downloads142