



Bộ sưu tập 11 nhân vật mô hình Mecca Chameleon in 3D vui nhộn
 ByZED4EverLikes313Downloads5.2K
Build another version of this model.
 Tấm đệm lưng có tay cầm cho máy đan len thủ công - Phụ kiện 3D hữu íchBySherk_105005 · 07/27/2026
 Giá đỡ giường kim cho máy đan (Needle bed holder for flatbed knitting machine)Byjelafeldfrau_4375545 · 06/06/2026
Find the full code and documentation in the GitHub repository.
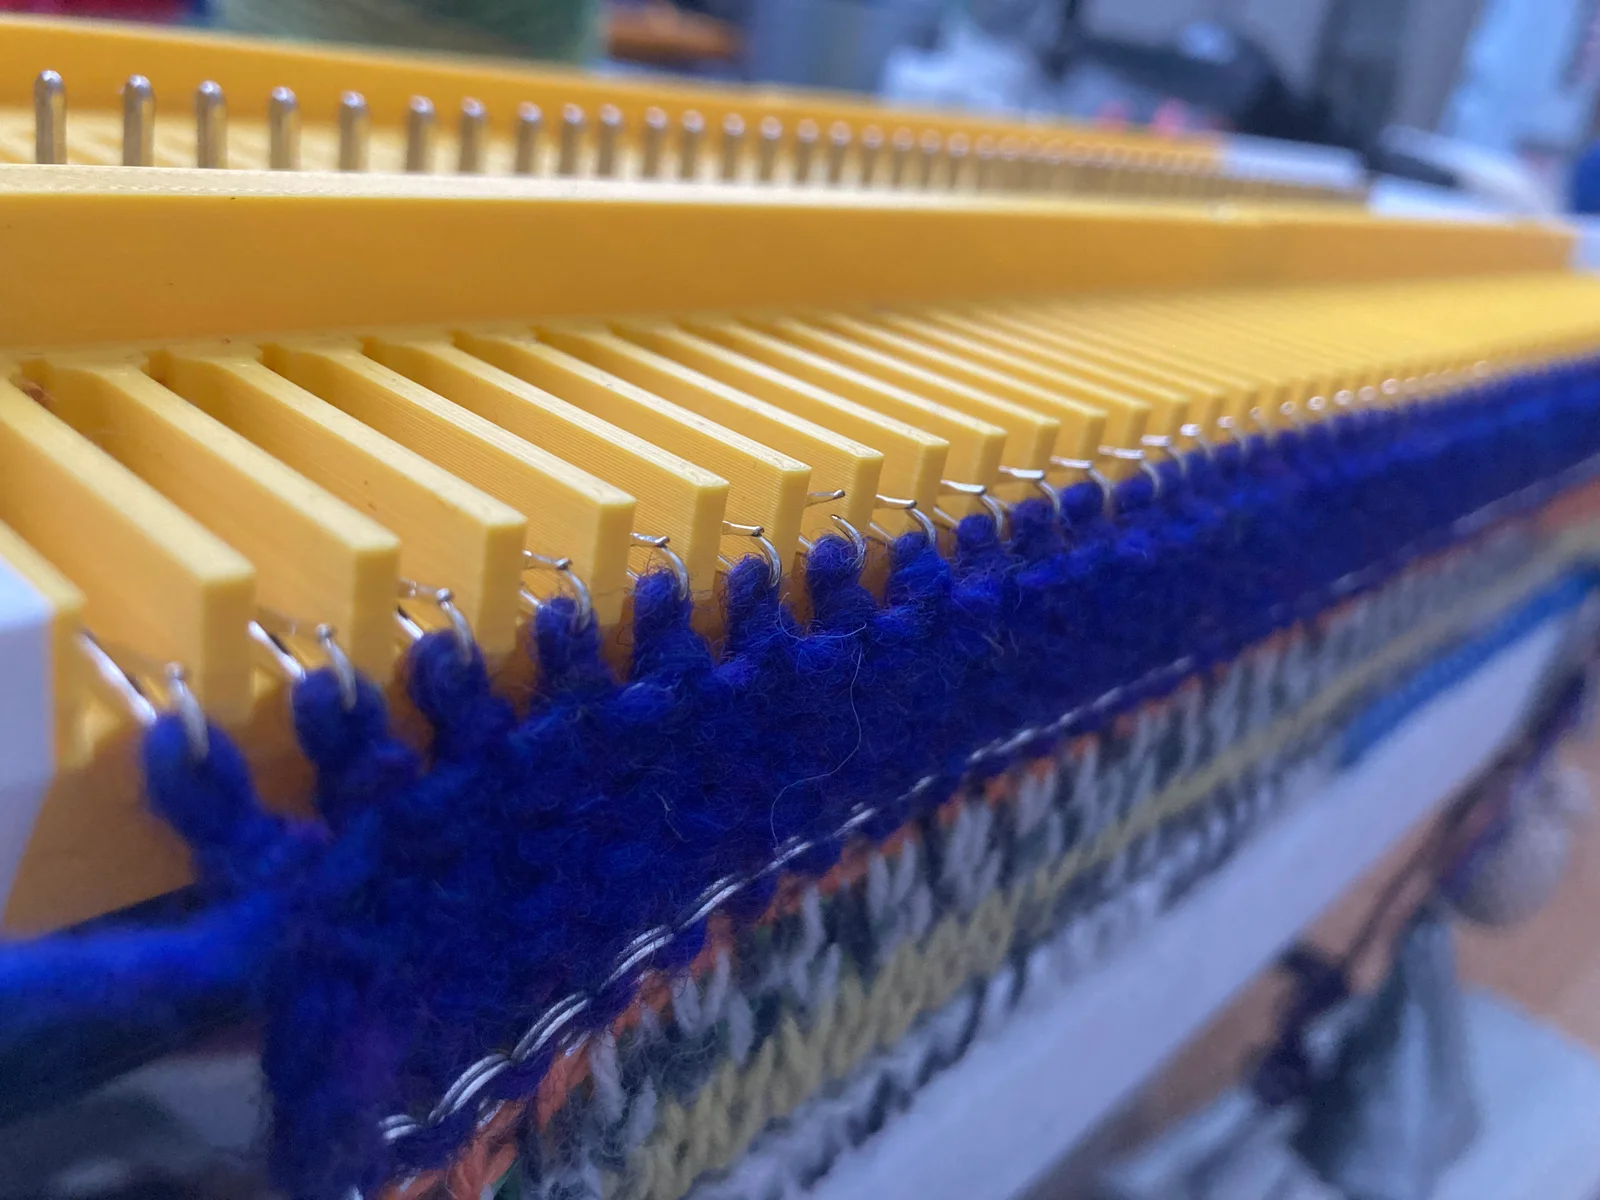
There is a video walkthrough of the code, assembly, and basic use on my YouTube; I also recommend checking out the full series about the project if you want all the context about why certain features are designed the way they are.
For the bed:
For the carriage:
A table of suggested settings can be found in the project documentation.
Tested on Ender 3v2 with PLA and PLA Pro filaments, 0.4mm nozzle.
Z-seam alignment is important for most parts, to prevent bumps on sliding surfaces. I set mine to “sharpest corner”, which placed the seam out of the way of cams, rails, and other sliding surfaces.
Most larger parts can be printed at 20% infill and 0.2 layer height, though if you have the option to use “adaptive layers” that may work well for parts which feature rounded corners. I recommend 100% infill for the tCam and stripperPlate parts, and for the clamp nut and bolt if using.
Most parts should lay flat and require no or minimal supports; the following parts have significant overhangs where support is recommended:
ByZED4EverLikes313Downloads5.2K

 ByBasementLABLikes888Downloads1.5K

 ByWolf_115355Likes513Downloads8.4K

 ByfifindrLikes500Downloads4K

 ByVC_DesignLikes679Downloads3.6K

 ByDan Schwartz SchwartzLikes744Downloads3.4K

 ByUpcrid3D_1585693Likes808Downloads2.1K

 ByWilko_SLOLikes935Downloads2K

 Bychubbs8697_2027893Likes585Downloads1.7K

 Byquibeck_3353173Likes965Downloads1.9K

 BySeppoTakaloLikes960Downloads1.9K

 ByRobertoGalloc_356815Likes549Downloads1.8K