

Máy In 3D
Bộ gá lắp ráp Prusa Core ONE (Không chính thức)
- Downloads
- 434
- Likes
- 127
- Views
- 2,867
- Remixes
- 0
- Comments
- 0
Files 2 368.5 KB
- Core_One_X_Rail_Alignment_Jig_v6_1775140107.stlSTL · 254.2 KB
- Core_One_Y_Rail_Alignment_Jig_v6_1775140108.stlSTL · 114.3 KB
Make a variant with AI
Build another version of this model.
Details
- Model ID
- #282277
- Category
- Máy In 3D
- Published
- License
- Creative Commons — Attribution
Description
Having done a full disassembly and reassembly of the Prusa Core without instructions I felt in a good position to provide some assembly jigs to help you when you decide to do the same, or just for maintenance etc.
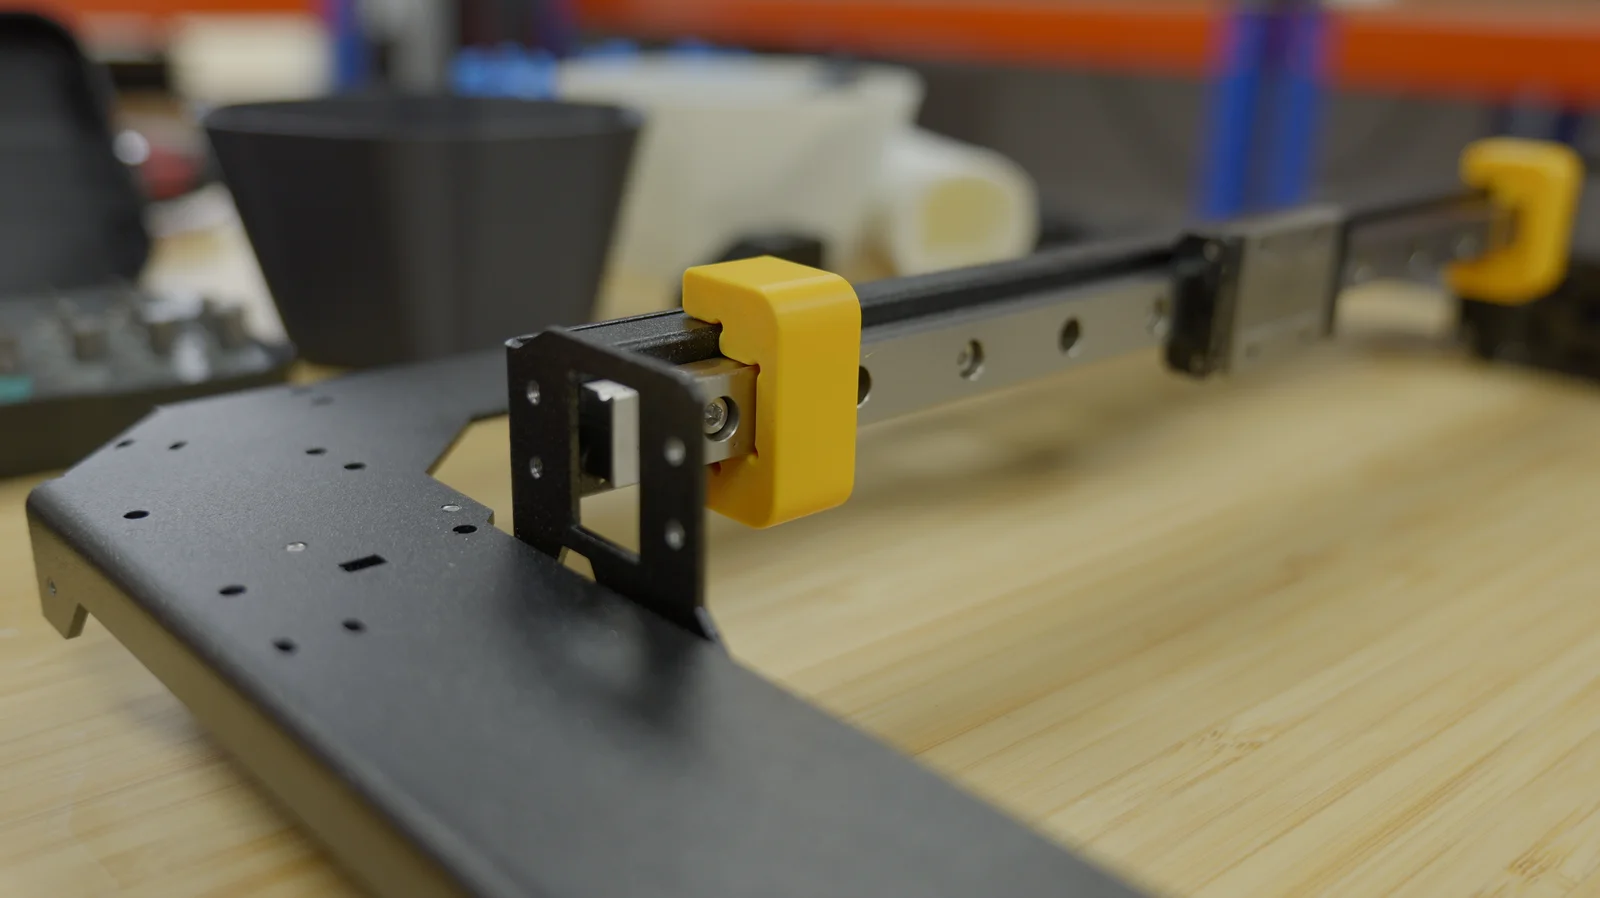
X Rail Jig
- Print TWO pieces.
- Place the rail onto the gantry beam and lightly add all the screws allowing the rail to move.
- Place the jigs on, near the ends of the rail, avoiding the screw positions.
- With the jigs in place, tighten the screws.
- Remove the jigs.
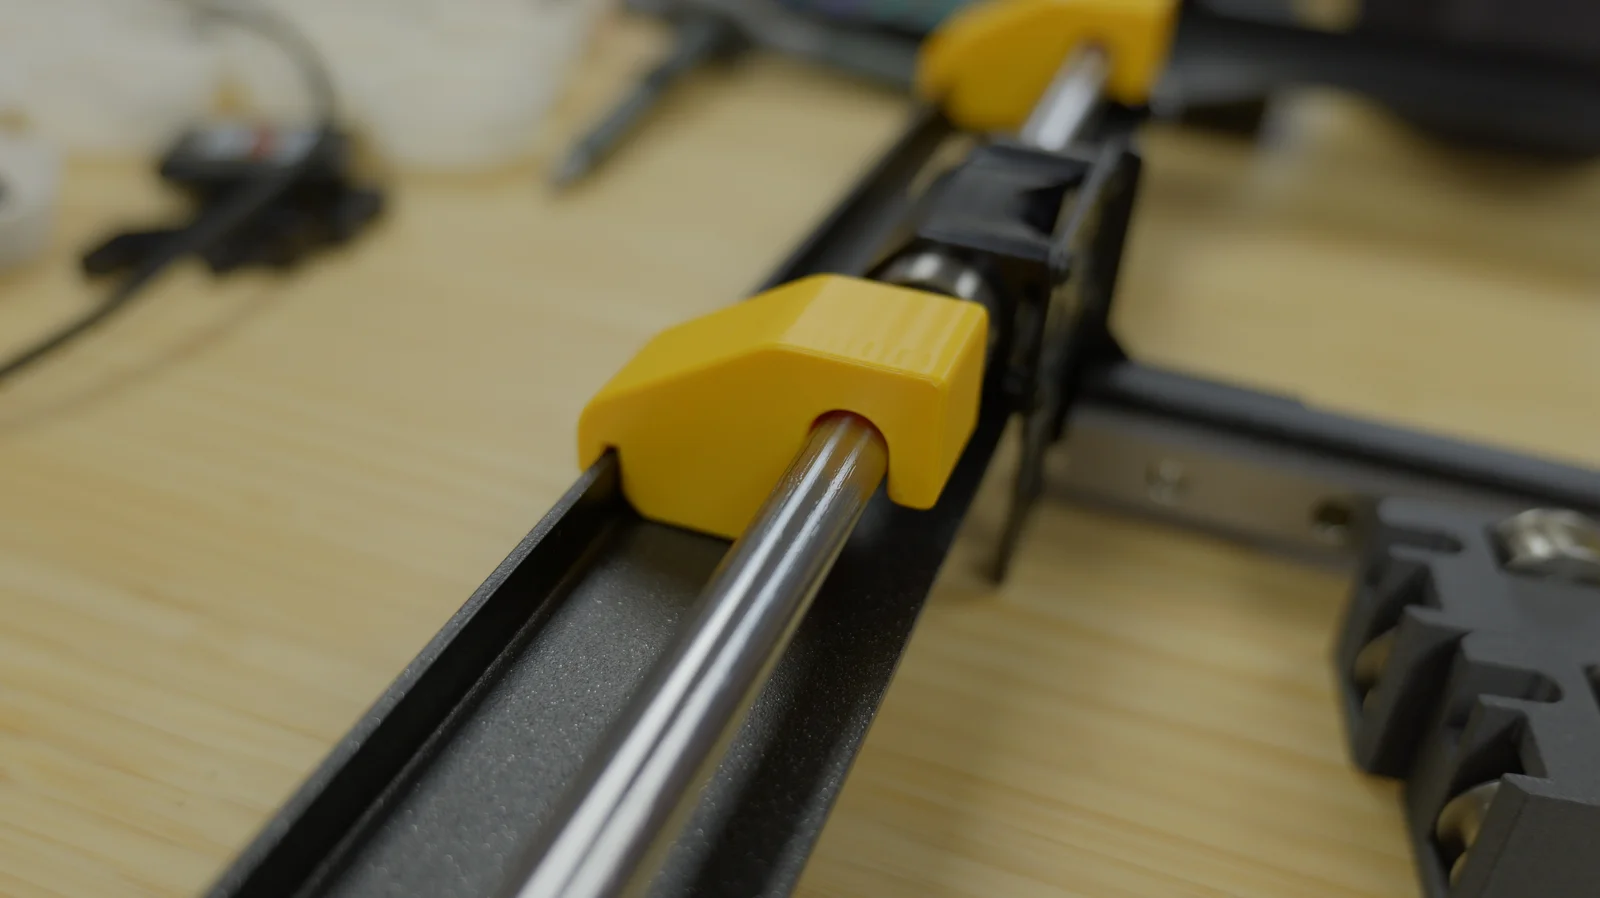
Y Rods Jig
- Print TWO pieces
- Place the rods, gantry, and bearings all onto the gantry frame and lightly screw into place allowing some wiggle room.
- On the left side, add the jigs to each end of the rod, with the bearing in the middle.
- With the jigs in place, tighten the screws on the left side.
- Remove the jigs.
- Slide the gantry to one end and tighten the screws on the right side at that end.
- Slide the gantry to the other end, tighten the screws on the right side at that end.
Notes
- There are some small gaps above the rail and the linear rod. This is deliberate, since contact in this position would prevent the jig from sitting in the correct position.
- I don't have full detailed positional data for these jigs, but I've used sensible dimensions that I'm 99% sure are the target dimension for this assembly.
- Printing with just two perimeters and 10-15% infill should be fine.
Print spec
- Formats
- stl
- Model files
- 2
- Total size
- 368.5 KB
- Largest file
- 254.2 KB
0 comments
You may also like 12 models
See all-

-

-

-

-

-

-

-
New -

-

-

-