

New
Prusa Bed Scraper | Replaceable Blade & Stand
 BynasikLikes0Downloads123
Remix of Cải thiện sóng Wi-Fi cho Prusa Core One: Nắp lưng kèm chân đế hoặc nam châm By Nodewave
Build another version of this model.
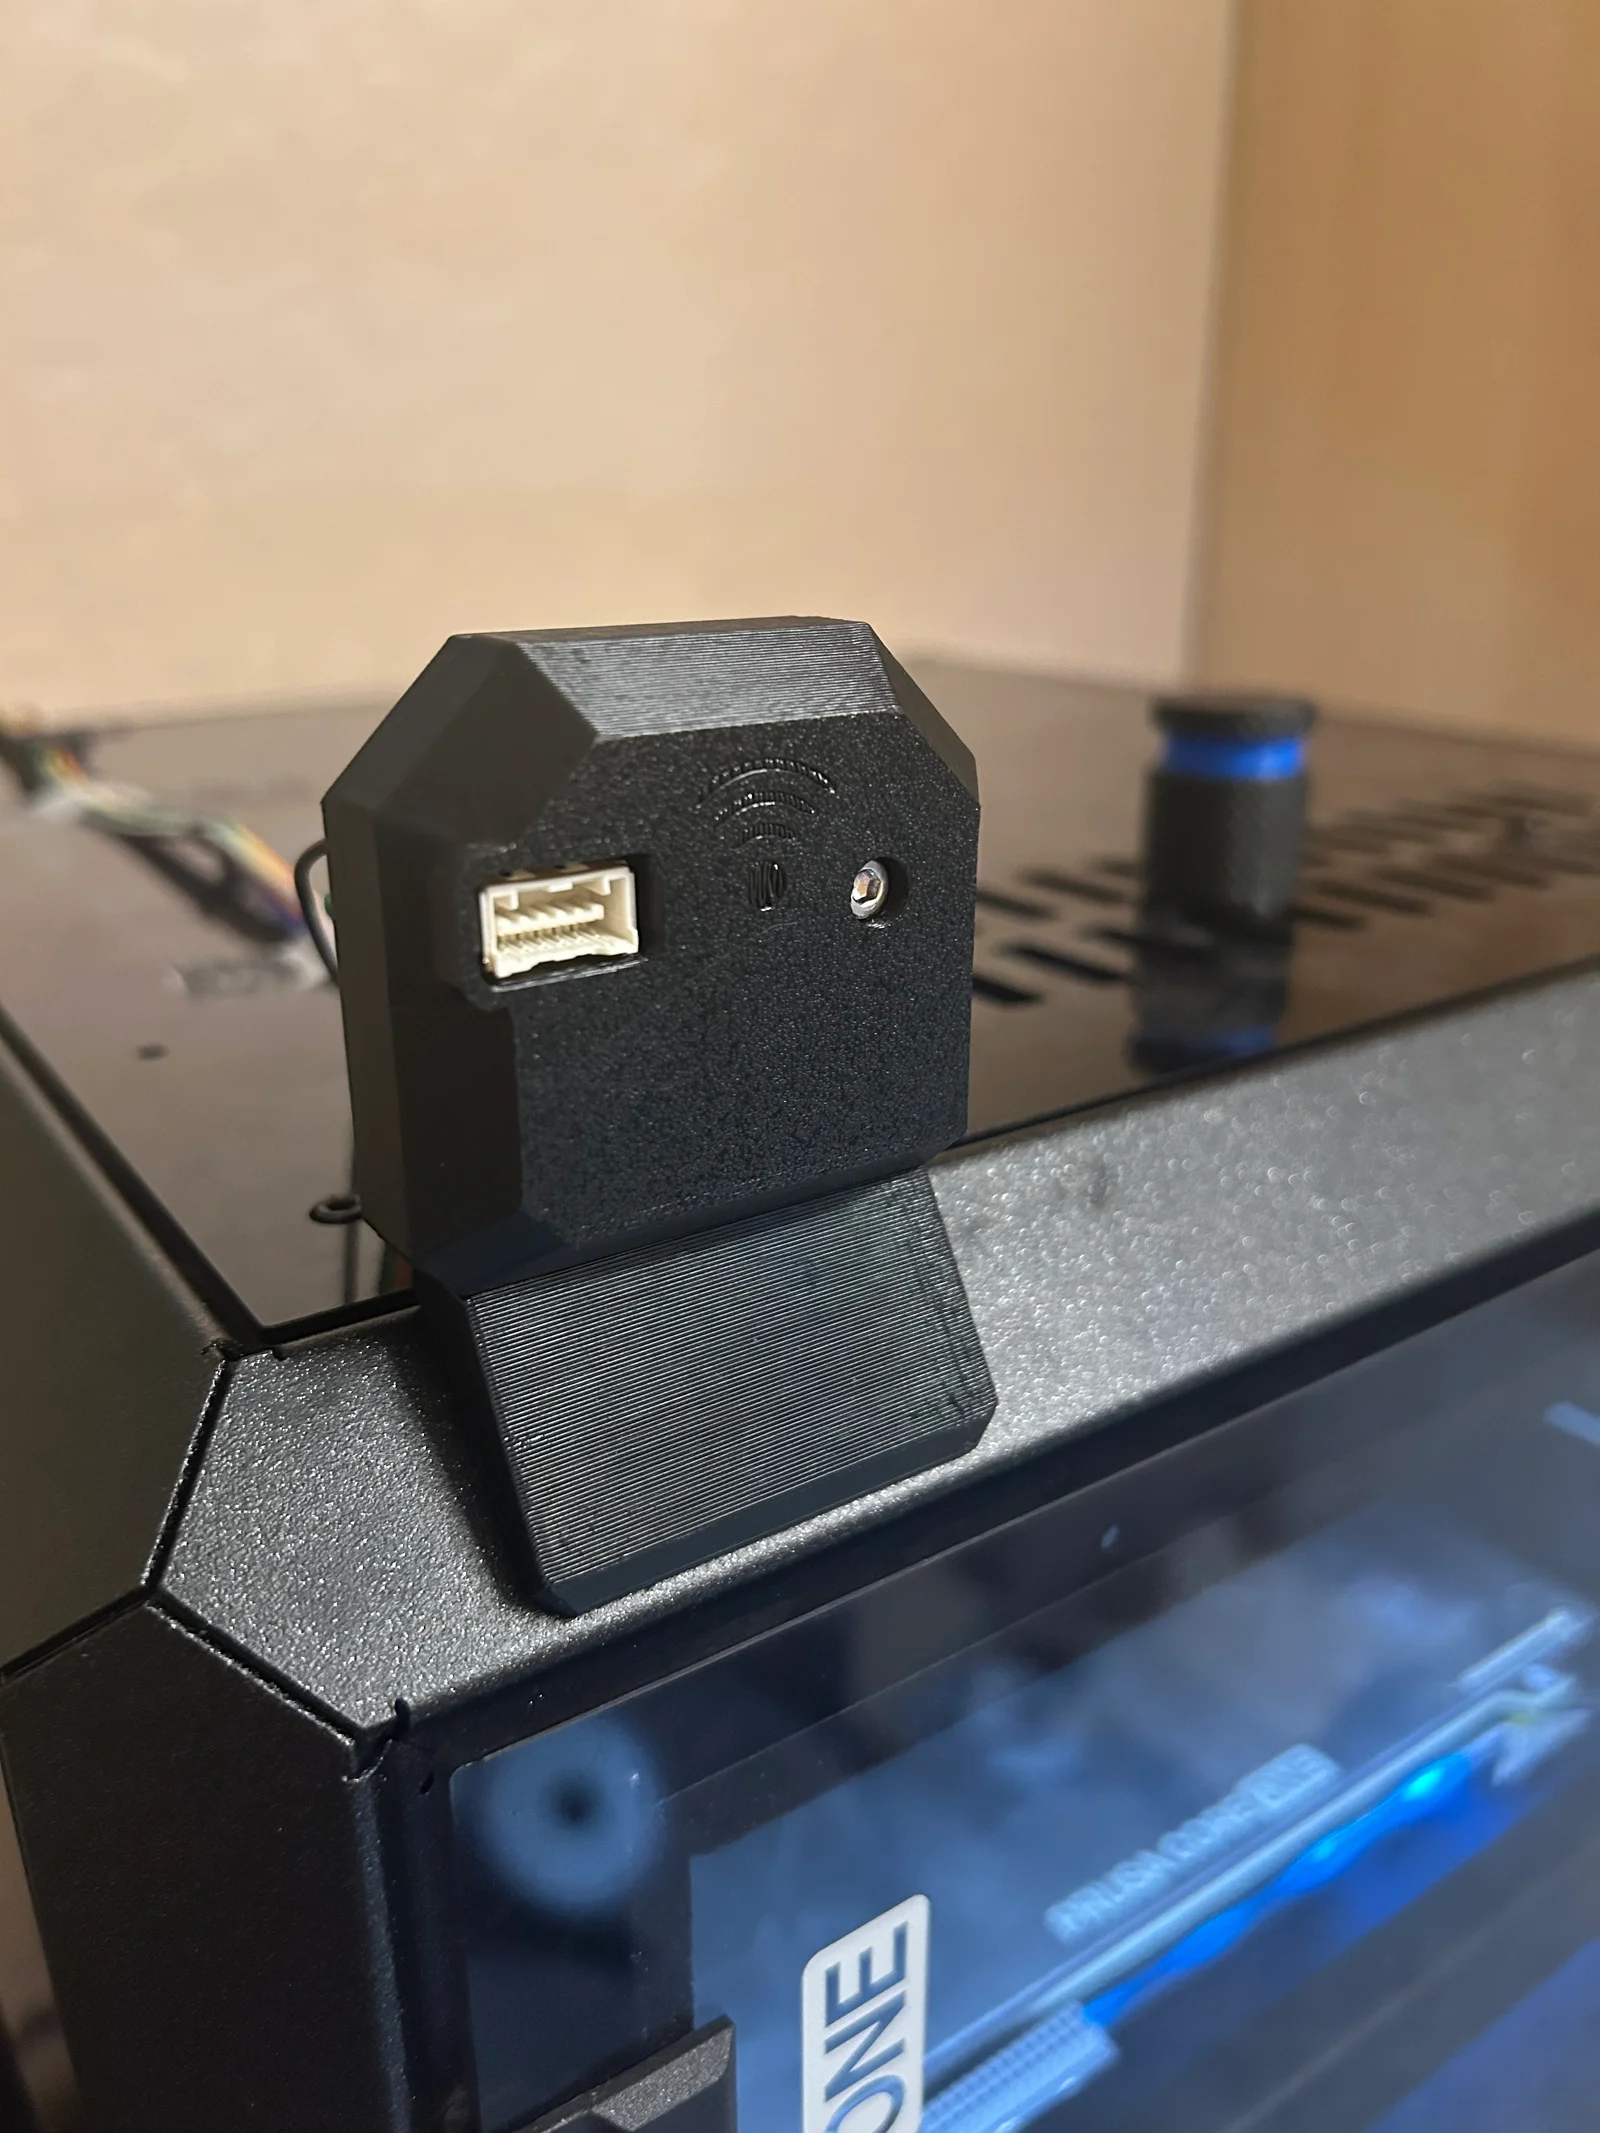
Like Meetsch, my Prusa Core One couldn't catch the Wi-Fi signal. Likely because in my printing space it was backed up against a wall. So, I looked for and found Meetsch's model, but I don't have any heat inserts, and I don't want to glue the housing connector. This model eliminates the need for heat inserts by adding self-tapping holes to the housing.
Is this going to work for you?
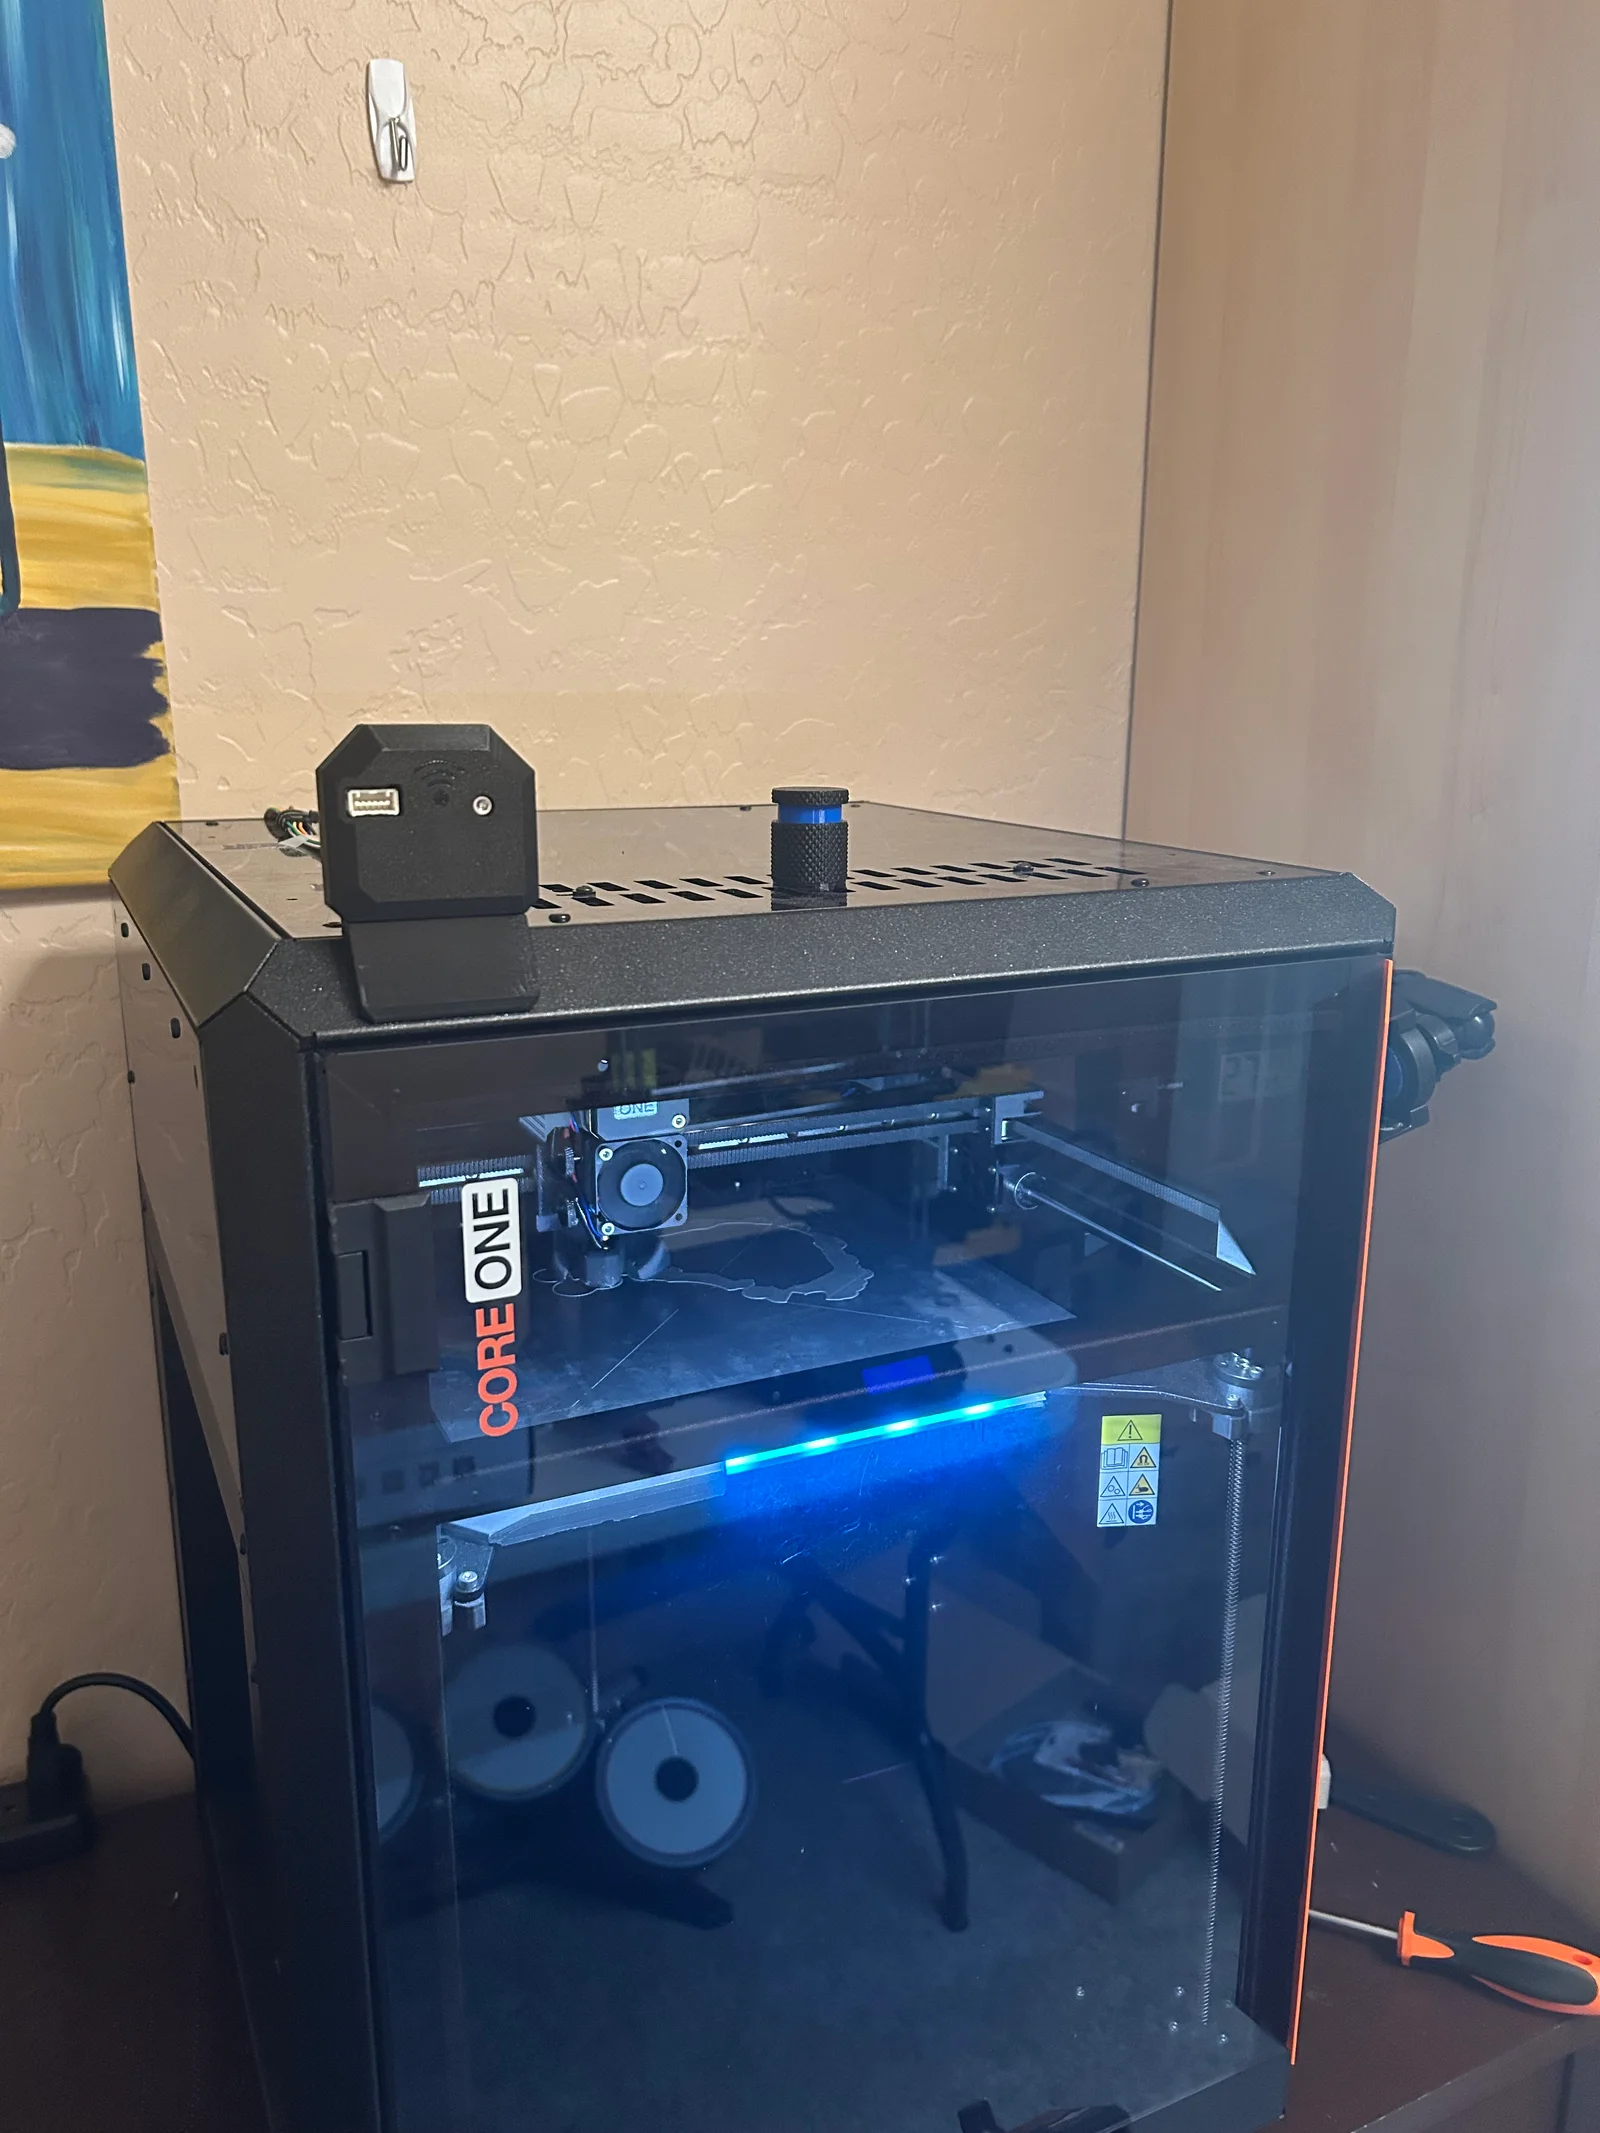
As a rule of thumb, if your phone can get the wifi signal but your printer cannot, then placing the printer antenna on top of the printer will fix the problem.
But if your phone can't get your wifi signal, then you'd better install a new mesh router, powerline wifi range extender, or an ethernet cable.
To place the Wi-Fi module on top of the printer (or anywhere you like), the upgrade is simple and here's what you need:
Two Male-to-Female dupont cables with 4 wires (links to purchase them on aliexpress on the original page)
One of the back-cover for the Wi-Fi module that you can find in this project.
This remix contains the following versions:
With a Stand: To place the WiFi module anywhere
Magnetic: To place the WiFi module on the metal frame of the Prusa Core One
Version
Assembly Type
Bill of materials
With Stand
Screwed
2x Male-to-Female dupont cables 4 wires
1x M3x6 screw
Magnetic
Screwed
2x Male-to-Female dupont cables 4 wires
6x 6x3 round magnets N52
6 drops of universal glue to secure the magnets in place
Print configuration
PETG
0.4 mm nozzle
0.2 mm layer
3 perimeter layers
15% infill
Grid supports on build plate only
Unscrew the WiFi module from the back of the core one
Screw the module with the original cover onto the external housing
Screw the base to the mount or insert magnets.
For the cables, I had 8 of them bundled together and took another 16 cables matching the colors of the original 8, plugging Them together in a line from the original wifi spot to the antenna
Thanks, and happy printing!
BynasikLikes0Downloads123

 Byp3rr1ff3ryLikes0Downloads154

 Bytinx_1344834Likes1.2KDownloads6K

 Byprusa-researchLikes0Downloads2.7K

 Bypeter-van-der-waalLikes0Downloads260

 BykingnothingLikes0Downloads187


 By3DSourcererLikes48Downloads382

 Bydominik-chuchlikLikes0Downloads128

 Bydet-manLikes0Downloads178

 Bygummiegecko8477Likes0Downloads169

 Bychukwufumnanya-arinzechukwuLikes0Downloads154