



Thùng rác in Vase Mode
 BybobmakesLikes2.5KDownloads17.5K
Build another version of this model.
 LED light arc remix – Đế gọn hơn, đi dây nguồn LED bên trongByjchau57 · 04/25/2026
 Chân kẹp bàn cho bộ đèn LED Light Bridge dễ inByzowhere_3748792 · 04/21/2026
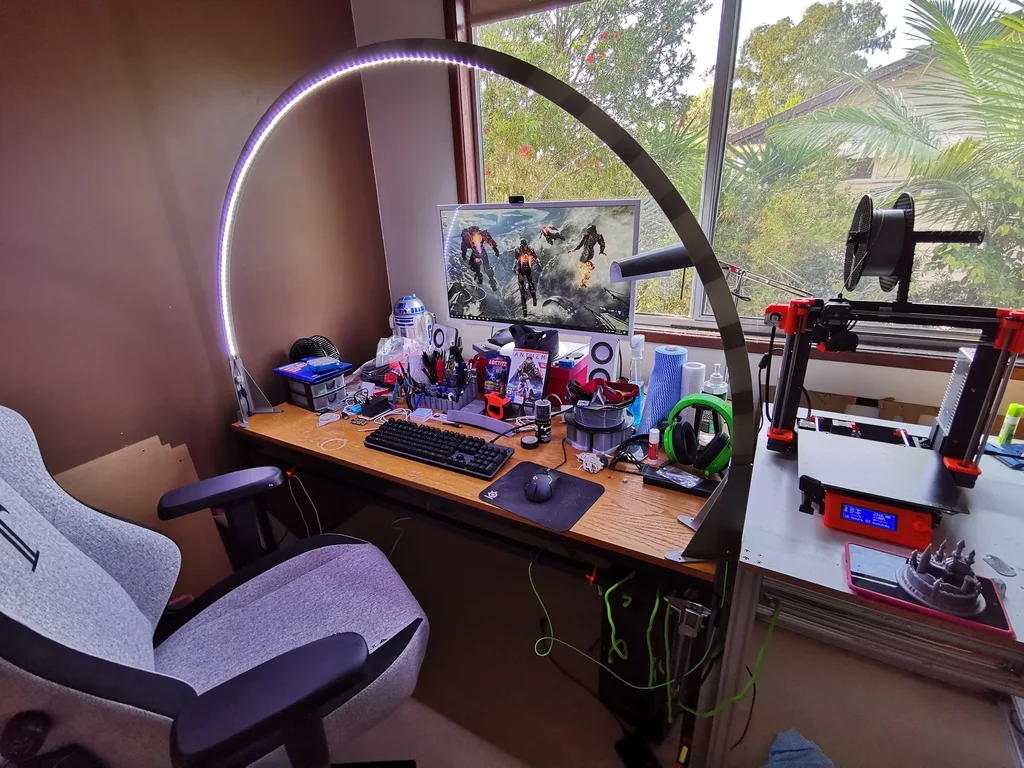
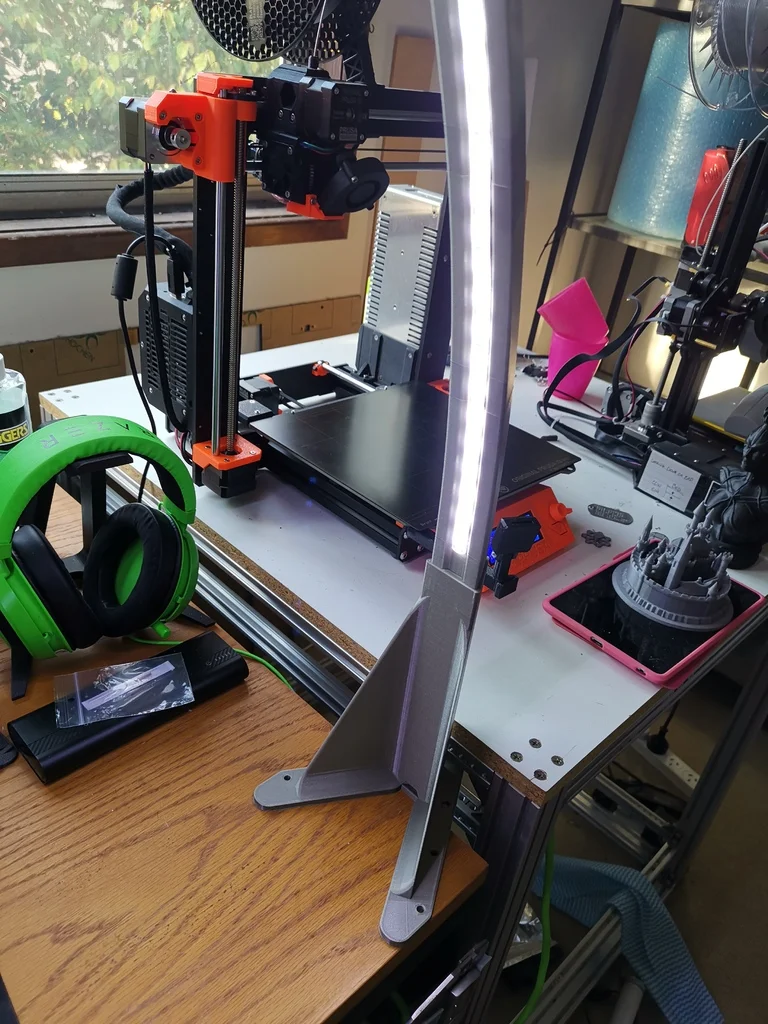
Like so many people, I really liked the LED Bridge Lamp by Opossums. There are plenty of other great designs out there too, like this one, this one and this one. They've all got their own strengths but I felt there might be people out there who would appreciate the way I've tackled this too.
What Makes Mine Different(and a warning)
For my version I tried to use as little filament as possible whilst still keeping it quite large. I really like that these don't get in the way of your work! Because of that, if you use these files, I highly suggest you use a0.4mm nozzle and double-check the slicing before you print. It's designed to have exactly two walls for the segments and middle bit, which I've found more than strong enough, but that does also mean there's no room for error.
Versions
I've generated three different versions:
Material and LED Strip
I printed this in PLA and it seems to be fine with the heat generated by my selected LED strip. The 170cm version uses around 2.4m (7' 11") of LED strip so other versions will use less - just make sure it's only 10mm / 3/8" wide.
Printing Guide
Remember - 0.4mm nozzle only! All three versions need 2x base parts, 20x segment parts and 1x middle part. The base in the 170cm version is 20cm high but the other two are 16cm. All parts should be fine to print on small printers, even an Ender-2, although I did print my parts on a Prusa i3 MK3. I wouldn't suggest printing more than six segments at a time since their contact to the print surface is quite small and you might encounter the odd failure (unless you use a brim). Absolutely no need for supports at all.
Assembly
Nothing too difficult here. Everything should just push together and hold pretty tightly with friction. You should have 2 sides comprising of 10 segments each, a middle piece to connect them both, and they should slot into the bases easily. If you have trouble inserting parts into each other, I found that if you start with the side that has the channel for the LED strip it can be slightly easier.
Printer Brand:
Prusa
Printer:
i3 MK3
Rafts:
No
Supports:
No
Resolution:
0.2mm
Infill:
20%
Filament: Prusament PLA
Pearl Mouse
Category: Household
BybobmakesLikes2.5KDownloads17.5K

 Byelectric_pierogiLikes37Downloads386

 By178222178222_2484344Likes449Downloads1.7K

 ByGIVEMHEVNLikes71Downloads143

 Byquibeck_3353173Likes1.5KDownloads11.5K

 ByVaclav_ZahradkaLikes181Downloads1.2K

 ByowlartLikes527Downloads1.3K

 ByPiotrRagoLikes161Downloads450

 ByGecko089_124026Likes45Downloads221

 Bytjfenwick_306961Likes385Downloads1K

 BydmtinkdevLikes74Downloads295

 ByAWSWLikes148Downloads580