



SolderMate - Fully 3D Printed Desk Soldering Companion
 ByleonicLikes0Downloads1.4K
Build another version of this model.
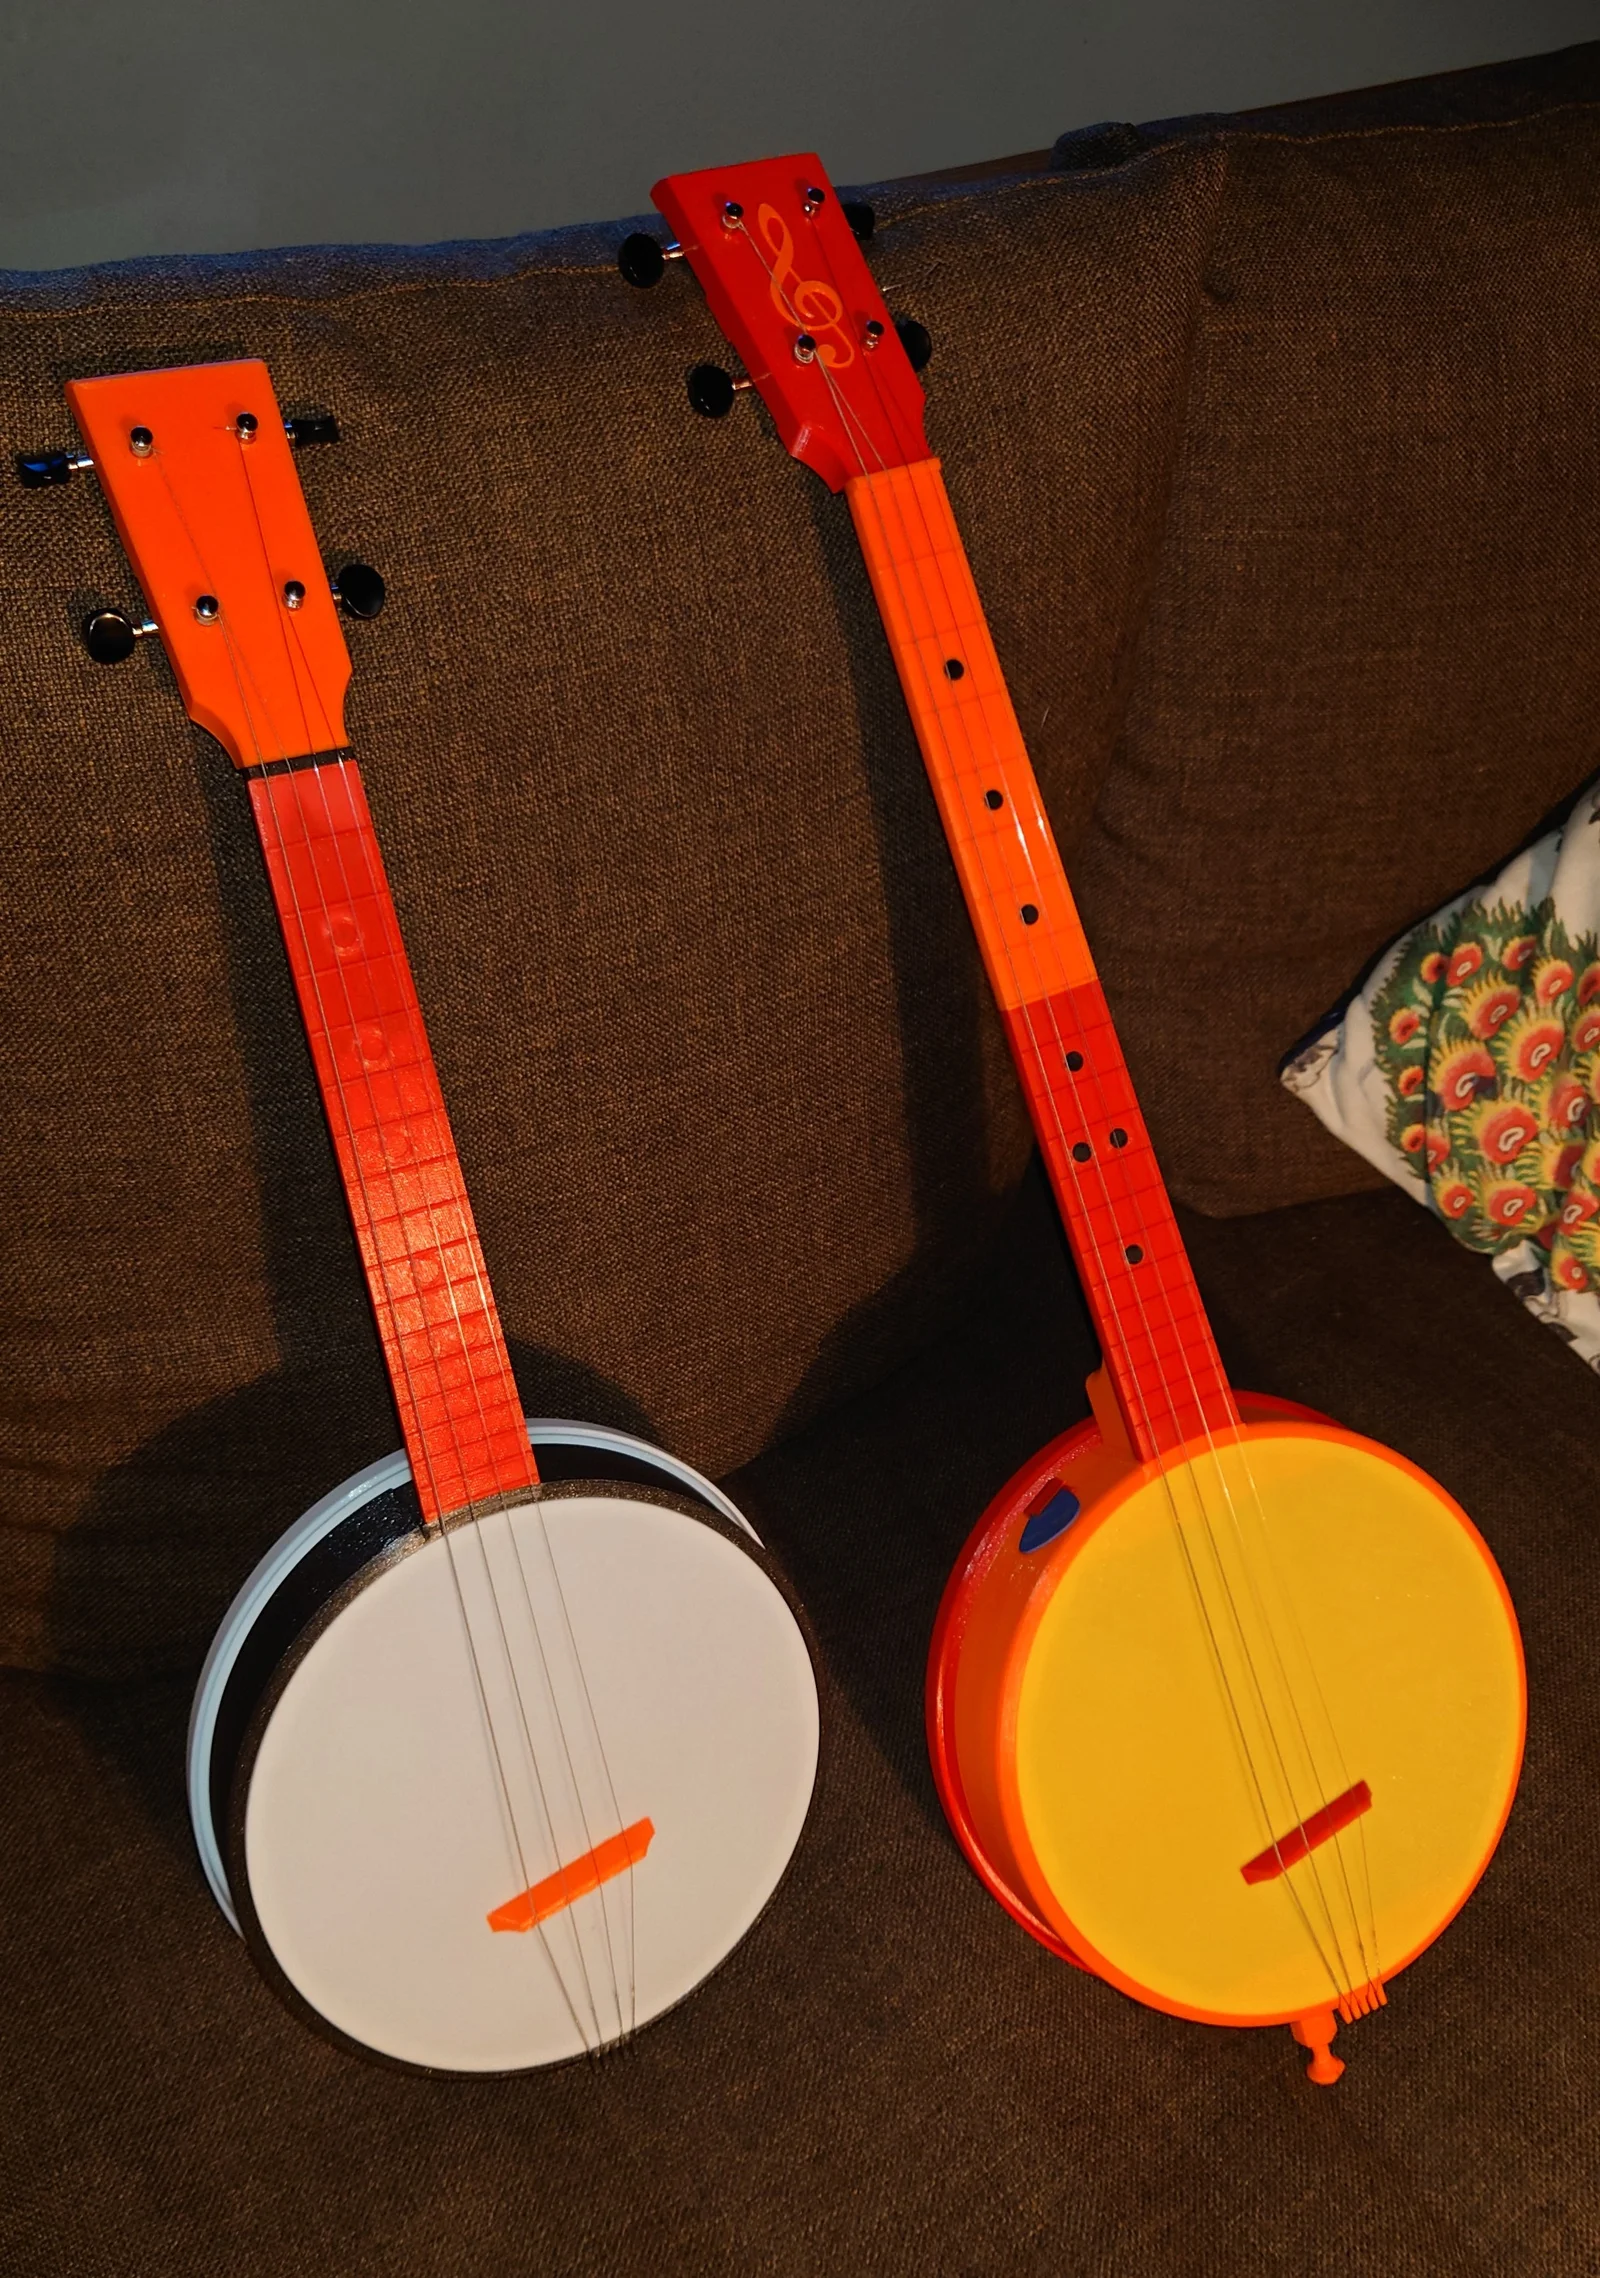
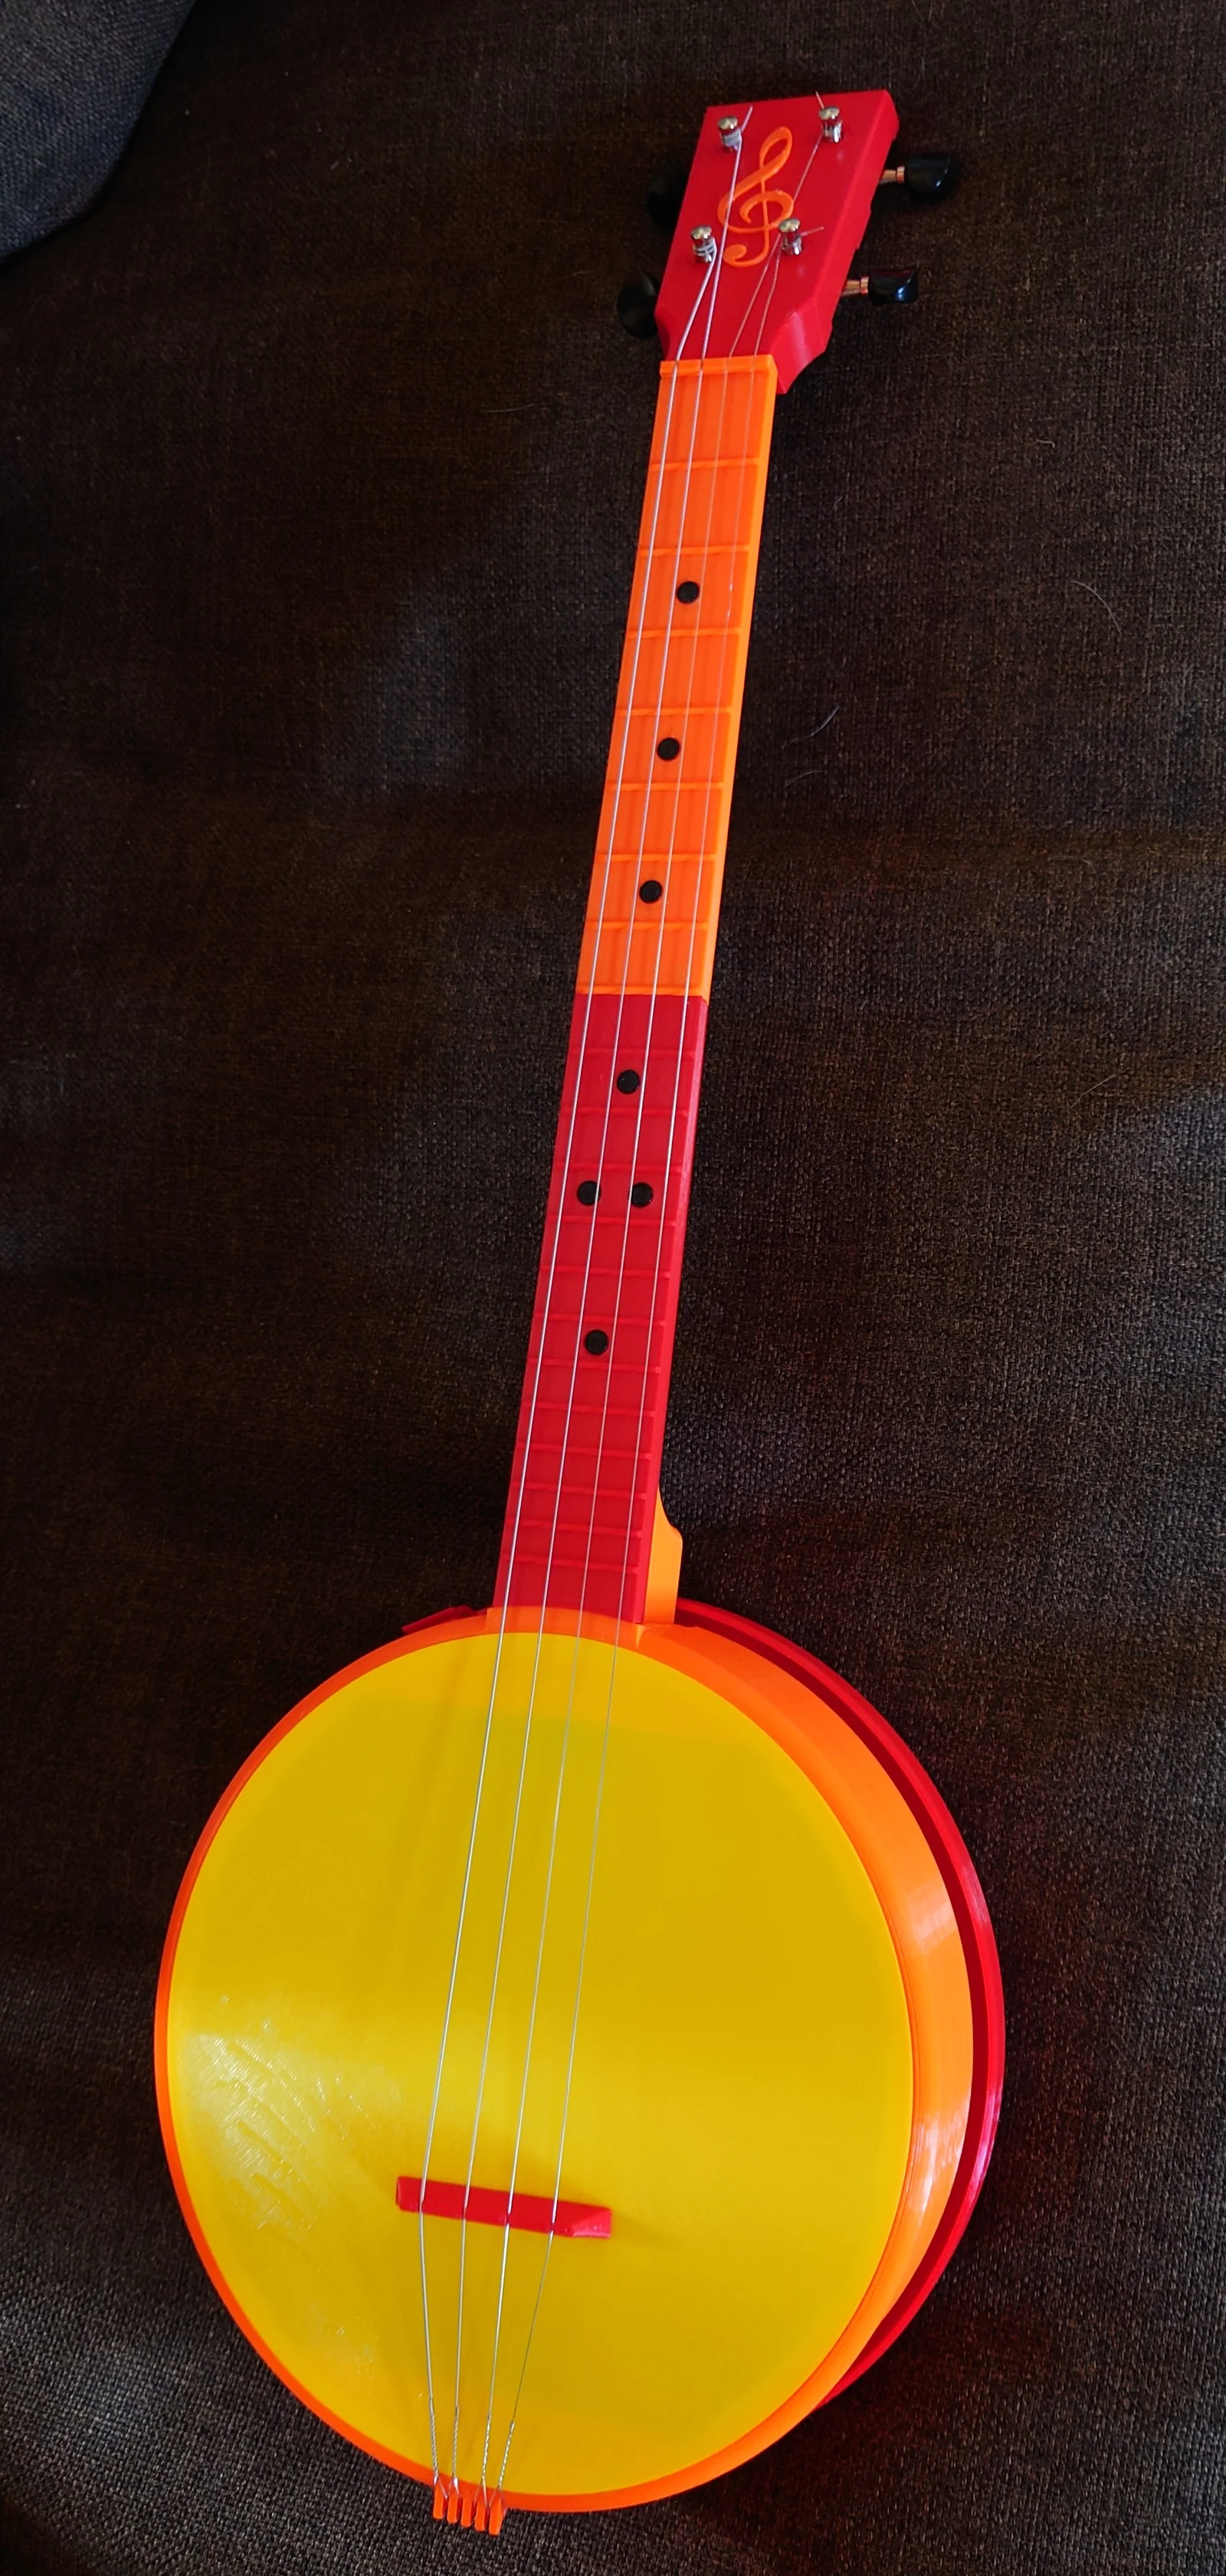
I am working on Version 2, with the shorter neck first. Instead of using a threaded rod inside the neck, I'm now using a vertical aluminum strip (2 x 15mm) glued into the neck, which provides much better stiffness and prevents bending under string tension.
Now it's finally here
printables.com/model/1396789-banjolele
Update 2023-05-09
Added alternative Bridges as .3MF and .STL due to the fact that the string-force bends slightly over time so you may have to change to a lower bridge.
Update 2023-05-09 evening
Added a tuning-section, see below
Update 2023-05-10
Added alternative Nuts as .STL, the 2.5mm is the default
Updated Nut
Add 2023-05-13
Added StringWinder section under Print- and Model- files
One with crank and an adaptor for a bits screwdriver
Added Sheet Music under Other Files
Update 2023-05-14
Crank socket was a bit too tight
Update 2023-06-05
Images (at the bottom of this page) of the short neck(files under STL) banjo with ukulele strings attached. Works well.
If you have any problems don't hesitate to contact me, I don't bite!
Update 2023-07-10
Left the Banjo in the sun. Not good! String tension!
Update 2023-07-12
My dear grand daughter (8), learns an Ukulele chord and gets a plektrum in award! Now she knows C, F, G7, Am, A
Hardware to buy
Strings (CGDA)
https://www.thomann.de/se/daddario_j63_tenor_banjo.htm
Tuning set
https://www.thomann.de/se/ortega_otmukog_cr.htm
Threaded rod M8
One meter, costs about three euros
(Two nuts M8)
Plastic ones are included in the print files
Super Glue
e.g. Loctite
Tools needed
Some sort of plier e.g. a polygrip plier
Small screwdriver for the tuning set screws
Two quick clamps for the neck/fretboard
A hacksaw to cut the threaded rod
A metal file to trim the edges
Tape to mark where to saw
Parts to print
PegHead
Nut (between the PegHead and the Neck)
Neck 1 - Upper
Neck 1 - Lower
Neck 2 - Upper
Neck 2 - Lower
Body
Drumhead
Bridge
Misc. plugs and nuts and such…
Optional
Resonator
Resonator bolts
Pick clip holder to glue on to the banjo body
And a pick/plectrum
Preface
This was a challenge. Should the banjo be playable? Will it be too wobbly? But YES, it's playable. All the parts are printed with Prusament PLA. The body itself should actually have a heavy iron ring in it, but we'll leave that out for now. Tuning is not entirely easy to achieve, the bridge must be at the right distance and sit at a slight angle so that the notes of the strings "come together". The strings are for standard Tenor Banjo and must be CGDA tuned. There is also Irish tuning GDAE but requires different strings.
I made several mistakes but have corrected them later. For example. the angle of the head, the angle of the body combined with the banjo nut.
But here it is!
Be patient and it will be fine!
Under other files I've put a zip-file with sounds that I have recorded, not the best quality but anyway.
Regarding tuning and placing the bridge I will try to add that later on.
Instructions
1
Print the parts
Settings as in the .3MF files
When printing Banjo_DotsNutsFitPlugs choose a suitable color (for the fretboard dots)
Remove the brim from the neck/fretboard
I've used extensive brim due to avoid warping of the neck parts
If the neck/fretboard warps they become useless!!! Happend to me several times!
I have noticed that if printing diagonal they don't warp?!! Anyone had the same experience?
2
Glue upper and lower necks together
Use the small fitplugs and quick clamps to hold them together, be precise!
3
Glue the dots to the fretboard
Put a drop of glue to the dots and set them in place. The dot is smaller than the hole so it will fit without any problem.
4
No more gluing now! :-)
Except for the plectrum/pick holder later on
5
Cut the one meter threaded rod into 4 pieces
Main rod 380 mm
Heel rod 55 mm
Two body rods 175 mm each
Leftover rod ~210mm (We might use 195mm of it it for a strap-knob later on)
6
Attach the tuning set to the PegHead
Push the tuner screws through the holes on the peghead and use the small screws to secure them
Note that the top inserts that comes with the set is not to be used
7
Take the PegHead and screw on to the 330 mm threaded rod.
Use a plier to hold the rod while screwing.
You will notice when it is fully screwed in.
8
Attach the 55mm threaded rod to the heel of the second neck/fretboard
Use a plier to hold the rod while screwing.
9
Attach the plugs to the neck/fretboard
The two small plugs to the first neck and the four other plugs to the second neck
10
Attach the nut and the fretboard
The sloping side of the nut should be towards the head
The plugs can be a little difficult to get in, but it should work
11
Attach the body to the threaded rods of the neck/fretboard
Take the two M8 nuts (13 mm head) and screw on tightly to the rods
12
Attach the two 175 mm threaded rods to the body
When you insert the rods you shall screw on two nuts on each rod
Tighten slightly with your hands (Do not use a tool, something may break)
13
Attach the drumhead to the body
Can be a little tricky, you may have to use a quick clamp to fully get it into place
14
Tighten the nuts at the end of the 175 mm threaded rods
See 12 above
Again, use handpower here, if you use tools something may break
What happens here is that the drumhead will be stretched a bit giving a higher tone.
15
Optional, Attach the resonater
Use the two bolts and the M8 tool
16
Optional, Glue on the plectrum/pick holder to the body
And maybe a fancy g-clef to the peghead
17
Attach the strings
Normally the strings are loop-end but ball-end string could be used as well
There are five pins at the end of the body but for loop-end string you only use four of them
Attach the strings one after one, put them on the bridge
Tuning
CGDA
e.g. 4:th string (thickest) pressed at fret 7 shall give the samt tone as 3:rd string and so on
Will never be exact!
The shortneck is under the STL files
ByleonicLikes0Downloads1.4K

 ByZED4EverLikes313Downloads5.2K

 ByfifindrLikes500Downloads4K

 ByVC_DesignLikes679Downloads3.6K

 BymoonyxLikes0Downloads695

 ByDan Schwartz SchwartzLikes744Downloads3.4K

 Byvc-designLikes0Downloads3.2K

 Bythorin-oakenshieldLikes0Downloads532

 Bytorii-creative-studioLikes0Downloads449

 ByUpcrid3D_1585693Likes808Downloads2.1K

 ByWilko_SLOLikes935Downloads2K

 ByshoheiyLikes0Downloads429