
F3D
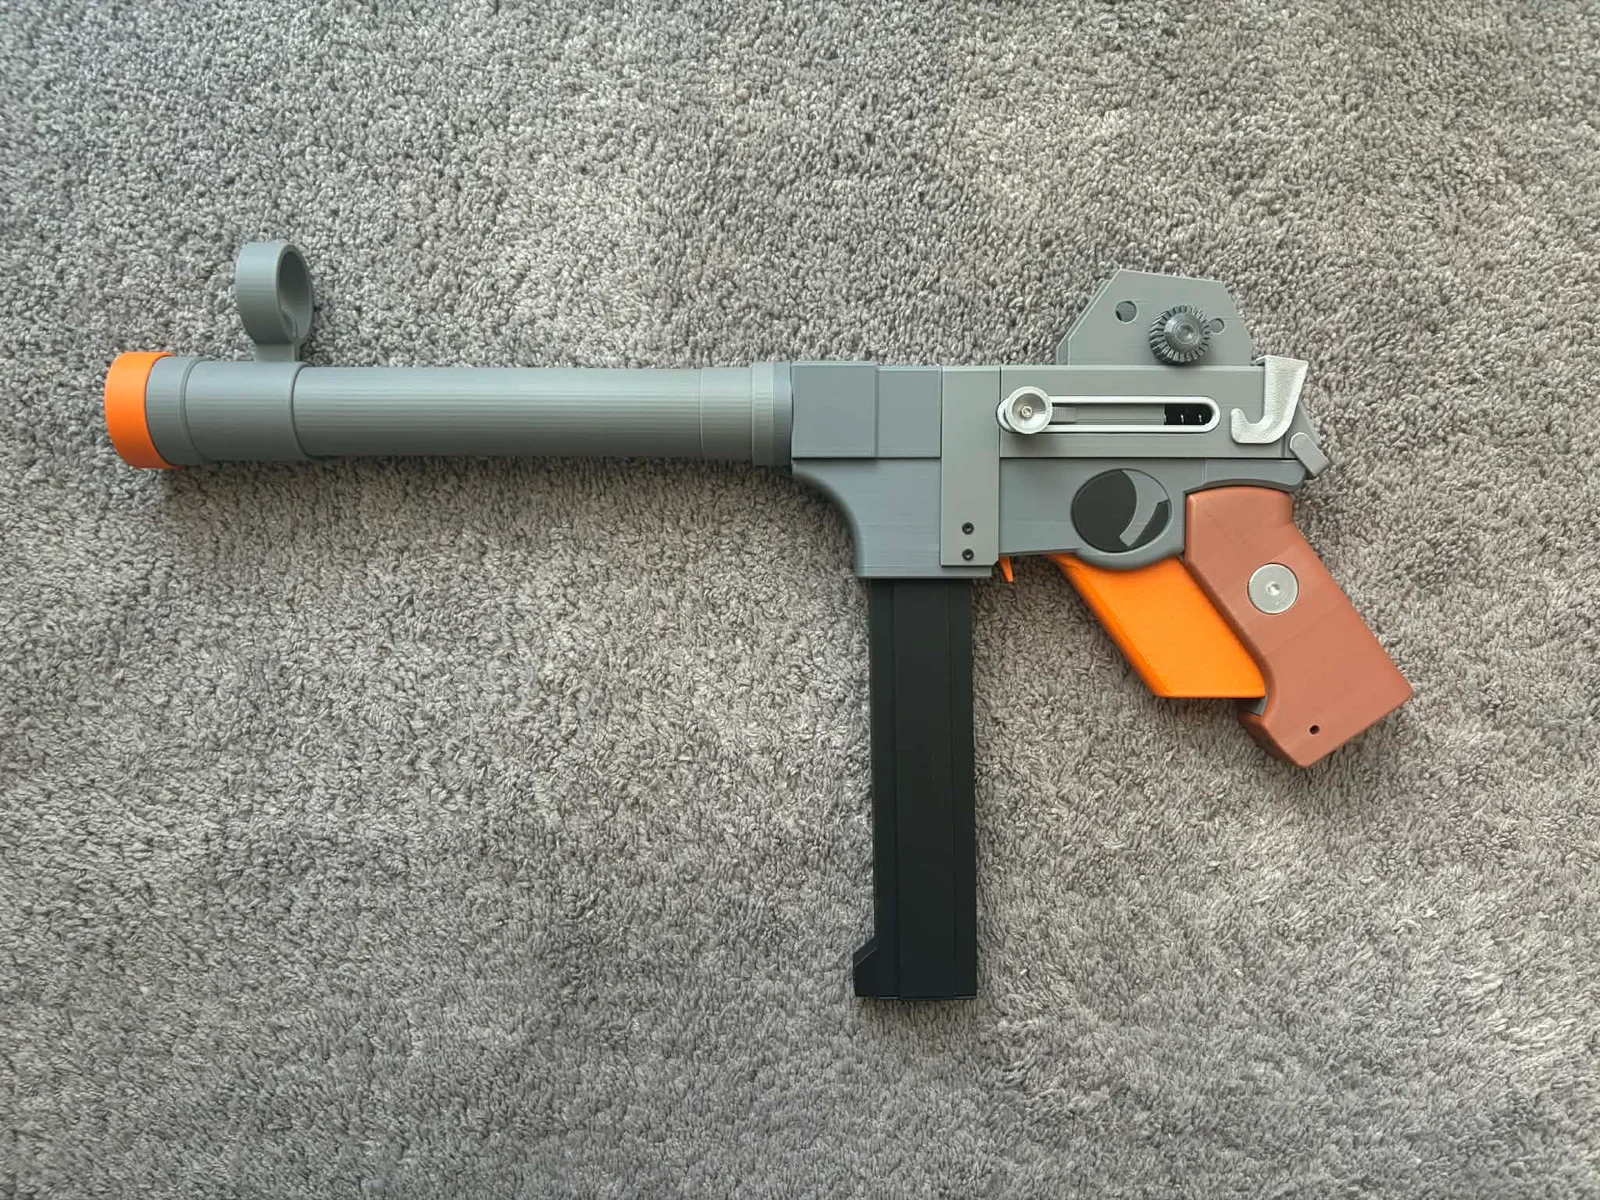
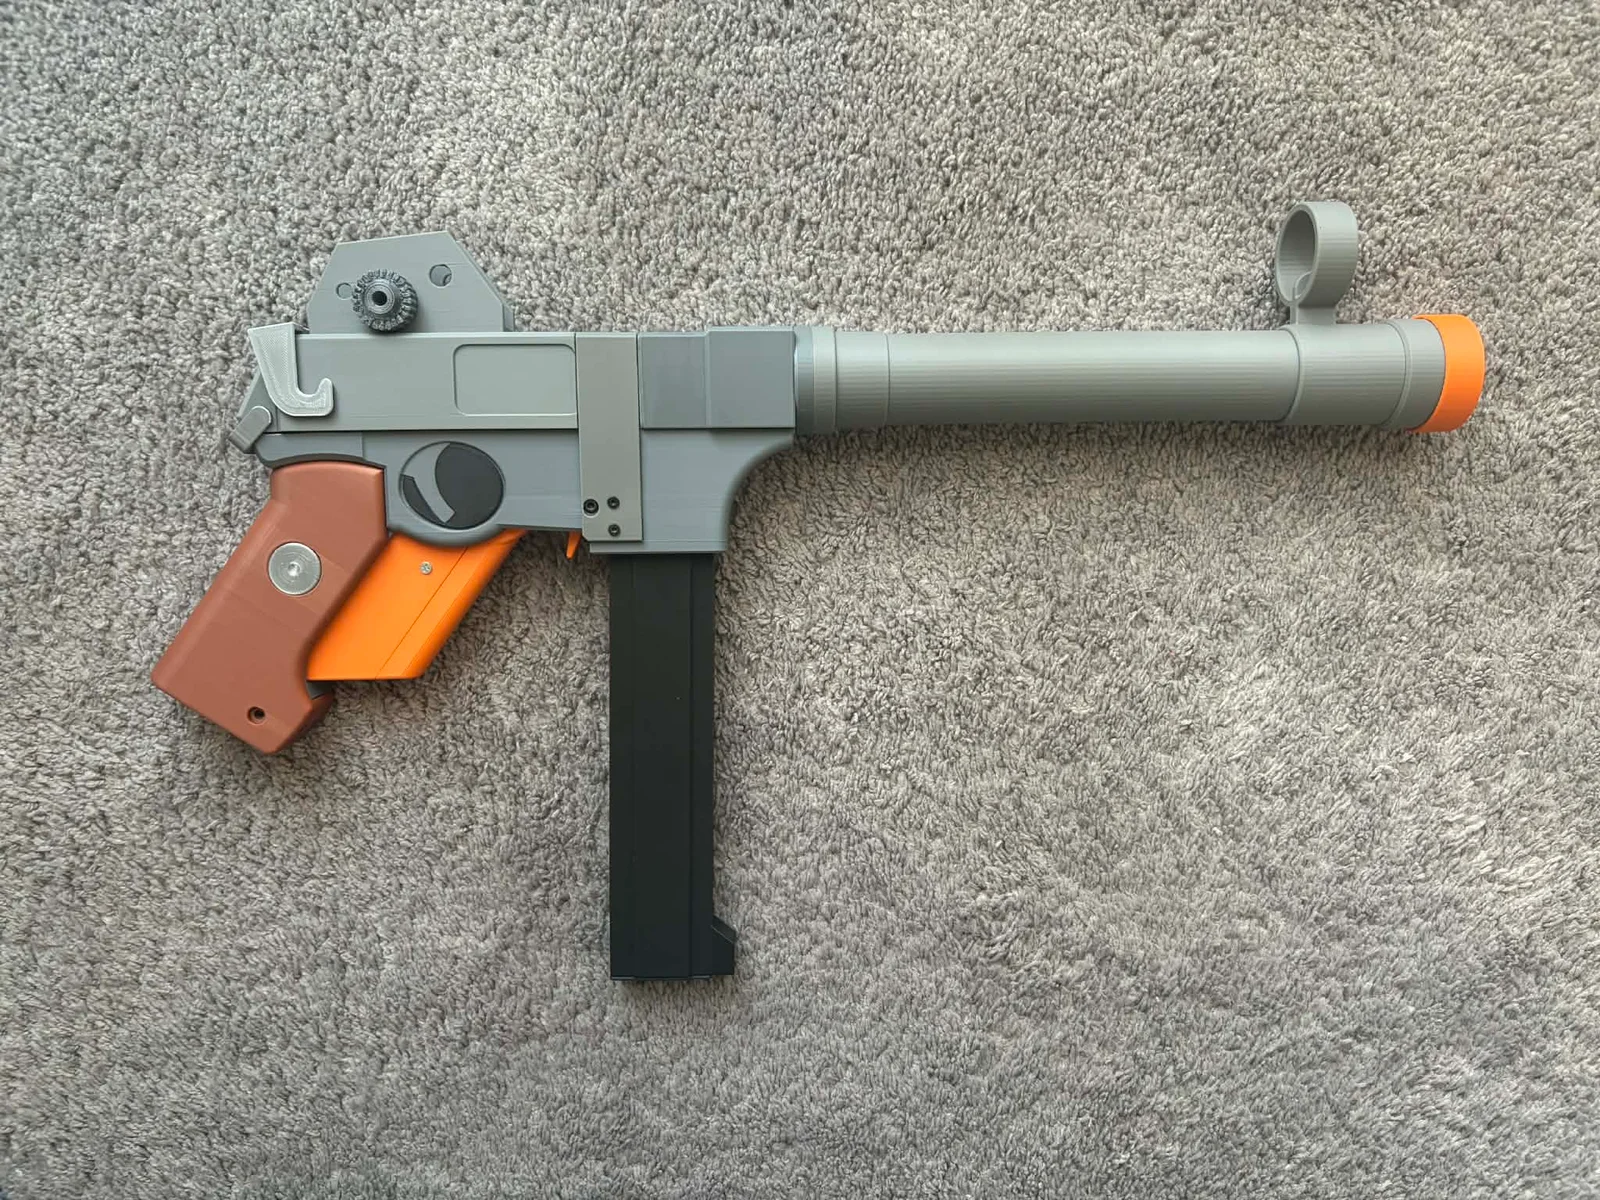
TF2 SMG (Mô hình Nerf bắn 2 chế độ dùng băng Talon) 1

7 images

Large file collection Thể Thao & Ngoài Trời

TF2 SMG (Mô hình Nerf bắn 2 chế độ dùng băng Talon)

Remix of Băng đạn Talon V2 tự in (kiểu thẳng và kiểu nghiêng) By KptnAutismus_269518

By methanejuice

Downloads
39
Likes
38
Views
631

Files 92 118 MB

  • SMG_v167_Stock_Link_1775999347.stlSTL · 59.5 KB
  • SMG_v167_Stock_Cover_1775999349.stlSTL · 202.1 KB
  • SMG_v167_Stock_joint_1_1775999350.stlSTL · 14.9 KB
  • SMG_v167_Stock_joint_2_1775999351.stlSTL · 14.9 KB

Make a variant with AI

Build another version of this model.

Open Studio

Description

Thanks if you want to buy me a coffee :) https://buymeacoffee.com/methanejuice

Performance is about 95-105 fps using Retaliator 12kg main spring

BOM:

  1. Main Spring Retaliator main spring - qty 1 (I got from the Retaliator upgrade pack)

  2. Catch Spring 12mm OD 5mm - qty 1 (I got from the Retaliator upgrade pack)

  3. Extension spring 0.5x5x25mm - qty 1 (Amazon) 

  4. Orings 27mm OD, 20mm ID - qty 2 (Amazon)

  5. Mega dart - qty 1

  6. M3 10mm self-tap Screw - qty1 (99461A942)

  7. M3 30mm SHSC - qty 1 (91290A171)

  8. #4 Screws - qty 24 (90273A108)

Filament usage:

Assembly:

  1. Assemble Trigger & Trigger Latch. Place the small latch spring in the middle pocket
  1. Attach Trigger cover with qty 2 #4 screws & attach Trigger Linkage with qty 1 #4 screw, NOT GO IN ALL THE WAY, LEAVE ABOUT 1-2mm OUT
  1. Attach the Chambering Arm  1,2,& 3 with qty 5 #4 screws
  1. Place the previously assembled parts in the Firing group.
  1. Add one #4 screw on the left-hand side of the image, also do not go in all the way. Attach the extension spring between the two #4 screws 
  1. Insert the mag release, secure with qty 1 M3 30mm SHSC
  1. Glue on the Trigger Decal 1 &2
  1. Assemble the Pusher Inner Top & Bottom with qty 2 #4 screws from inside the pusher. Put on the oring on the right side
  1. Glue down the mega dart foam side down. Cut the dart after the glue dries by about ~1mm from the Gas seal piece surface. This will be the breach seal. Put on the oring on the underside
  1. Assemble the plunger_tube & Gas seal & Pusher
  1. Attach Pusher Outer_R&L, use two short pieces of filament in these two holes as guide
  1. Inclose all within the ReceverCover_R, assemble with qty 2 #4 screws
  1. Secure onto the Back Sight piece with qty 4 #4 screws
  1. Glue on the Charging port reinforcement, and screw on the Charging handle piece with qty 1 M3 10mm self-tap Screw
  1. Attach the two printed 5mm pins, along with the Chamber lock piece. Mind the orientation
  1. Put the FiringPin Latch_V2  through the opening on FiringPinPort_V2, put the main spring in the pusher (and with optional spacer), and clip on the back of the Receiver assembly
  1. Attach the Receiver to the firing group. Secure with qty 2 #4 screws
  1. Attach the Gas seal extend in the indicated location by pressing it in
  1. Wrap the Harness piece over, secure with qty 4 #4 screws

  2. Attach the Load Spring and Chamber tube

  3. Slip in the Chamber piece, secure the under side with qty 2 #4 screws

  4. Attach the Grip Furniture with qty 2 #4 screws, put on the Gript Decals (optional glue)

  1. Attach and secure the Decal Screw pieces with qty 2 #4 screw
  1. Put on the chain piece, barrel, Front Sight, and safety tip

  2. The second pattern assembly is very similar

Read more Show less

Print spec

Formats
3mff3dstepstl
Model files
92
Total size
118 MB
Largest file
82.8 MB

0 comments

See all