

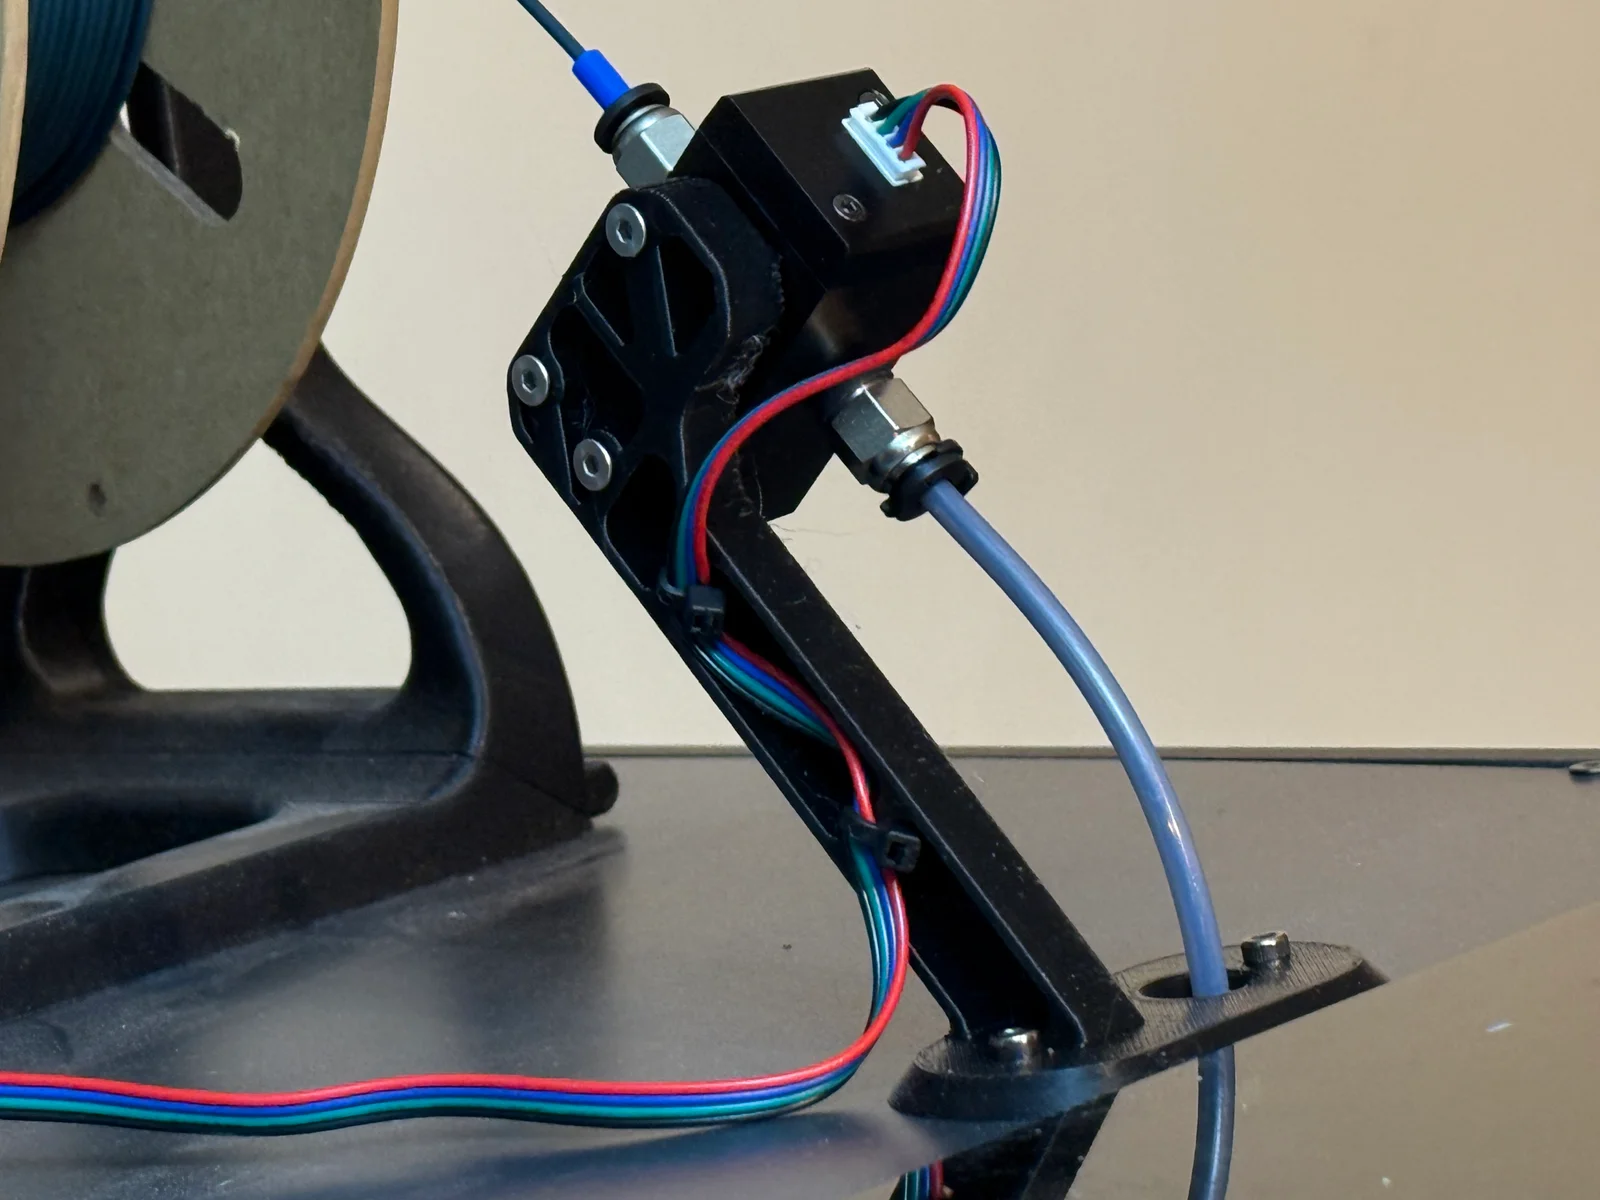
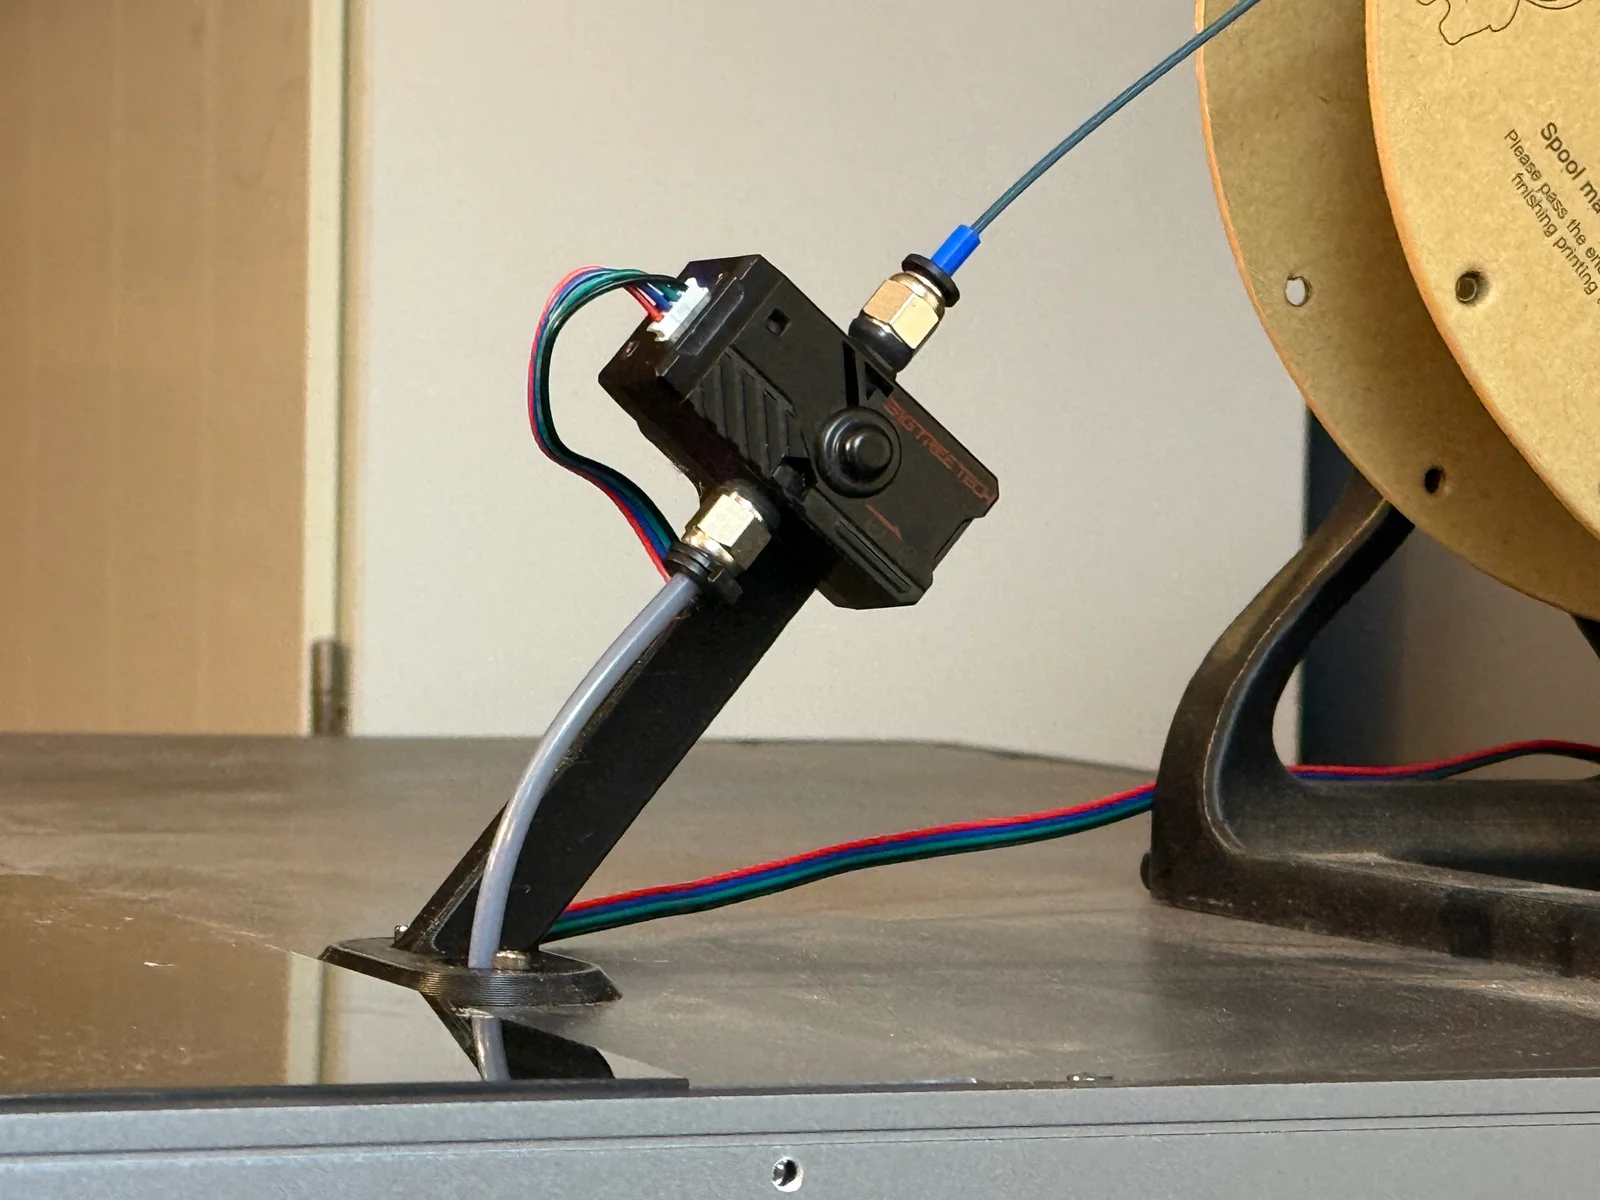


Kẹp giữ sợi Filament
 Bytinx_1344834Likes1.2KDownloads6K
Build another version of this model.
EDIT: ADDED 90º version where its angled to the side of the printer.
This model is designed to fit the official Sovol Enclosure kit! No modifications required. Just add it to the open slot in the top metal plate.
NOTE: This model is DESIGNED TO FAIL if it is subjected to too much force!
The stalk is PURPOSEFULLY designed as the weak point where it'll break if you knock it or bash it when moving or flipping the printer over for maintenance.
This is so any lateral forces will NOT buckle or deform the thin metal enclosure plate but will instead break the filament sensor holder.
10mm pneumatic fitting
x3 14-16mm M3 Cap Head bolts
x2 8-10mm M3 Cap Head bolts
x2 Voron BOM M3 Heat Set Inserts
x2 Small Zip Ties
Print as per the last photo above.
Minimum PETG, preferred ASA/ABS
0.2mm layer height. No supports required
Add the heat set inserts to the UNDERSIDE of the mounting plate.
Add the 10mm pneumatic fitting to the printed thread from the UNDERSIDE of mounting plate - use the correct size spanner & try not to cross thread it!
Attach the SFSv2 using the 14-16mm bolts
Add the unit to the printer & secure the two mount halves with the 8-10mm bolts.
Use the zip ties to secure the cable
Be sure to install Demon Klipper Essentails Unified for a massive system upgrade on your MAX!
https://github.com/3DPrintDemon/Demon_Klipper_Essentials_Unified/tree/main
Bytinx_1344834Likes1.2KDownloads6K

 Byprusa-researchLikes0Downloads2.7K

 BydalleLikes0Downloads147

 Byarhi_585078Likes64Downloads542

 ByHanzo3dLikes155Downloads415

 BydarienLikes0Downloads1K

 ByGeek5DLikes147Downloads488

 ByNadirLikes25Downloads115

 ByBrokentooth_designsLikes23Downloads410

 Byla-cave-au-chatLikes0Downloads967

 Bycrawler-3903250Likes0Downloads907

 ByvertigomakesLikes0Downloads563