



Mẫu kẹp nhựa đa năng in 3D tiện lợi cho nhà bếp
 ByVaclav_ZahradkaLikes181Downloads1.2K
Build another version of this model.
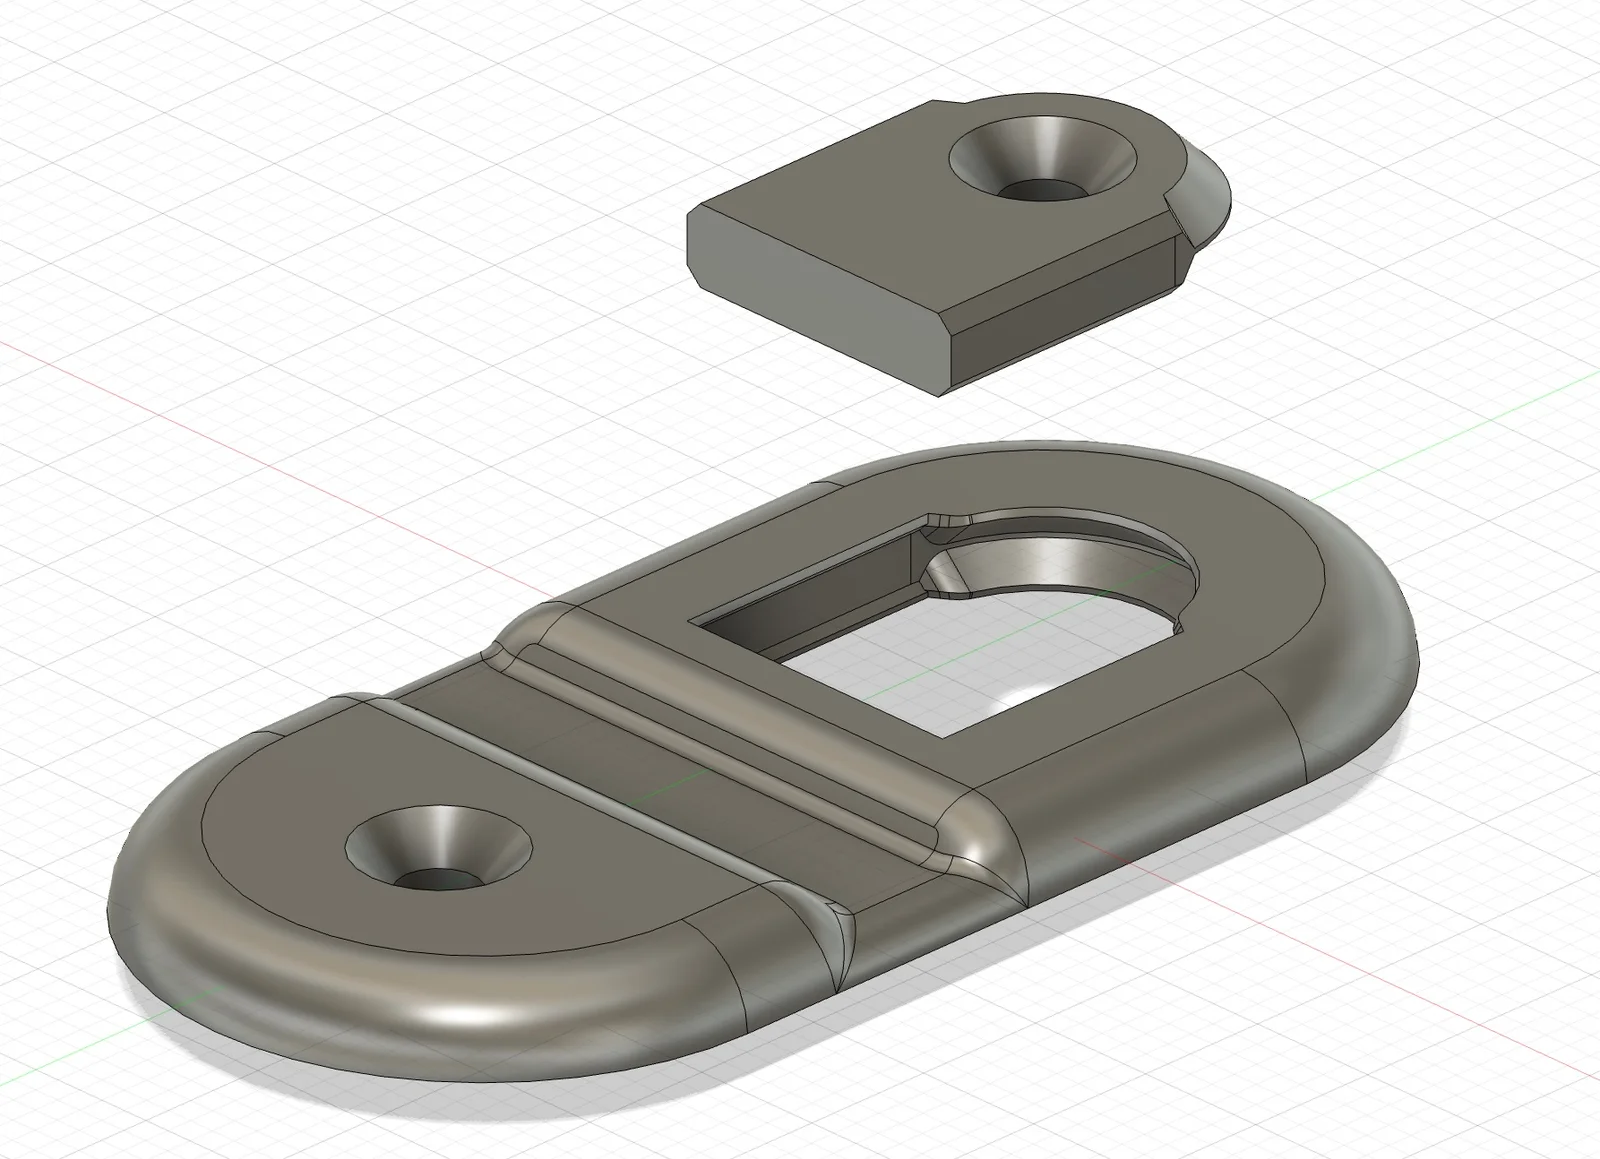
Needed a way to secure a wheelchair ramp to a piece of therapy equipment, while still being able to quickly and easily remove the ramp. I don't usually post one-off designs like this, but this strap might be useful for other applications, and the Fusion model is included if you want to modify it.
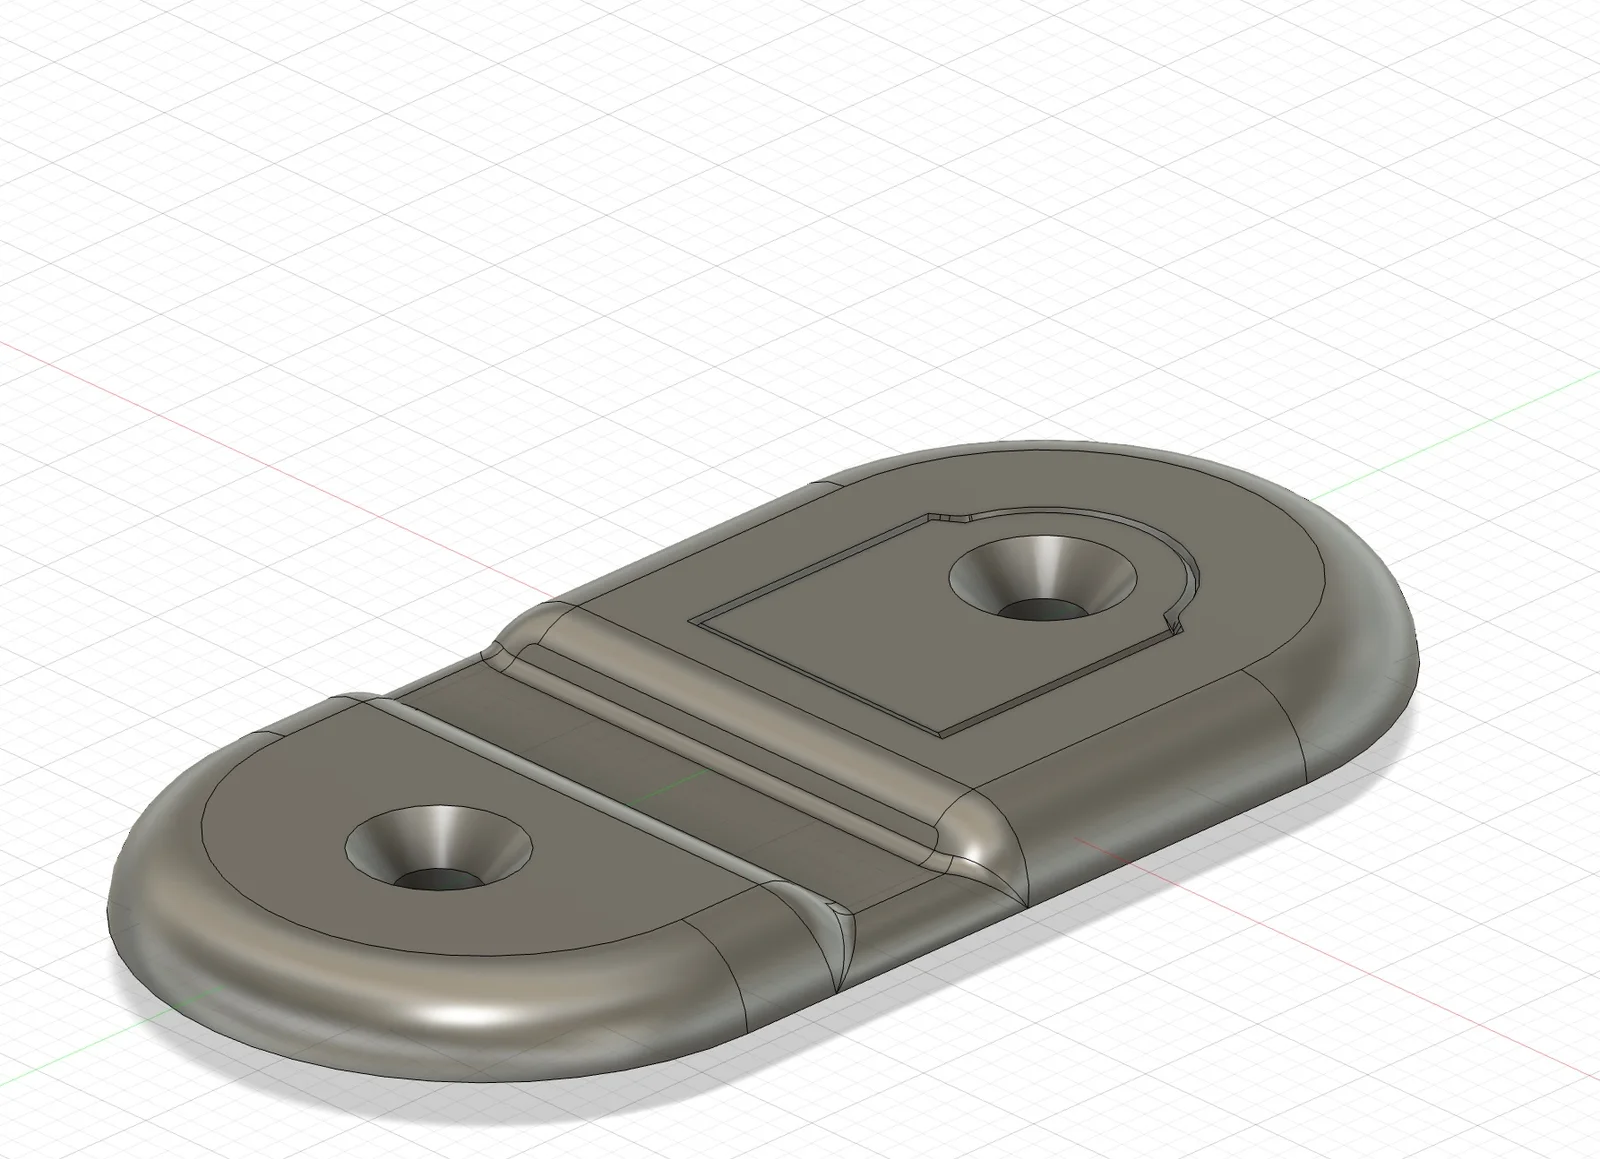
The strap consists of 2 pieces, a hook and a strap. The strap needs to be printed in TPU, but the hook could be printed in a harder material if desired (I printed the whole thing in TPU).
Design Features:
No supports required
Thiner hinge joint for increased flexibility between items to be connected
Groove on inner surface of strap's hole engages with ridge on hook for secure retention
Strap is easily removed from the hook without using any tools
Print using a 0.4mm nozzle, 0.2mm layer height or smaller, structural, 15% infill.
2 perimeters is sufficient. Use 3 perimeters for more durability if the strap will be removed and attached repeatedly.
Supports are not required for any of the parts.
Please DO NOT use the .bgcode file that has been provided (always slice your own files for your specific printer, filament, environment, etc.). The file was only included to provide a reference for approximate print time.
Prior to assembly, temporarily attach the strap to the hook, and use it as a template to mark the screw locations. Disassemble the strap from the hook, and mount both to their respective parts using 1 screw for each.
Step 1: Align the 2 parts to be secured.
Step 2: Hook the curved end of the strap's hole over the round end of the hook (the groove should engage with the ridge on the hook).
Step 3: Press on the flat end of the strap's hole until the strap is fully seated.
Step 4: Disassembly is the reverse process. Lift the flat end of the strap's hole, then unhook the strap from the round end of the hook.
ByVaclav_ZahradkaLikes181Downloads1.2K

 BybobmakesLikes2.5KDownloads17.5K

 BymakerxLikes0Downloads361

 By178222178222_2484344Likes449Downloads1.7K

 ByowlartLikes527Downloads1.3K

 Bytjfenwick_306961Likes385Downloads1K

 BycuplcompgLikes0Downloads167

 ByAWSWLikes148Downloads585

 ByfifindrLikes216Downloads611

 Bymatus158Likes0Downloads115

 ByMooshroomLikes63Downloads111

 Bym-collectableLikes0Downloads3.9K