
F3D
Hộp du lịch Gridfinity cho Philips MultiGroom 7000 1

8 images

Đồ Gia Dụng

Hộp du lịch Gridfinity cho Philips MultiGroom 7000

By Hunex_823200

Downloads
255
Likes
102
Views
2,181

Files 17 23.3 MB

  • MG7000_Trimmer_v1.2_1773632592.stlSTL · 919.5 KB
  • 1-2mm_Comb_1773632593.stlSTL · 483.8 KB
  • 3-5mm_Comb_1773632594.stlSTL · 528.2 KB
  • Generic_Comb_1773632595.stlSTL · 363.1 KB

Make a variant with AI

Build another version of this model.

Open Studio

Description

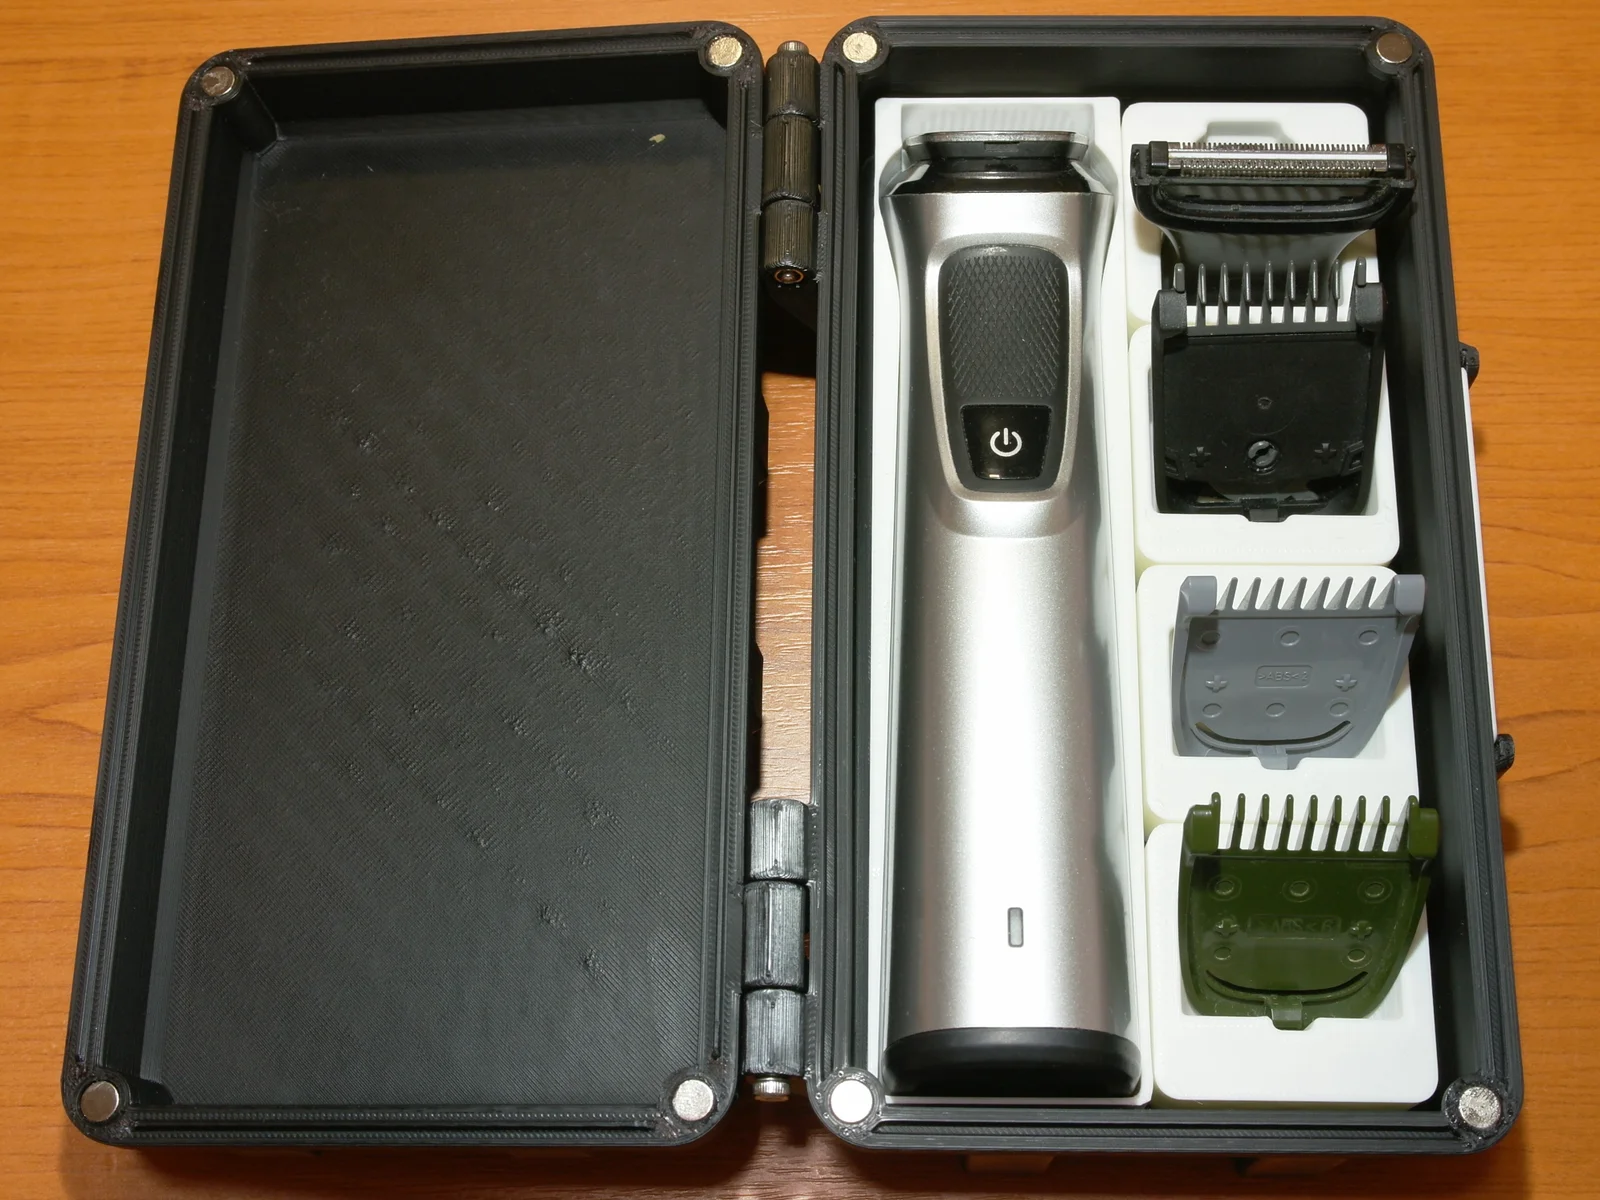
The model was designed for the Philips MultiGroom 7000 (MG7720), but you can adapt the inlays to any model.

It uses the Gridfinity design to ensure modularity, so you can take the essentials with you and save space while travelling.

My trimmer kept randomly going off by itself in my bag whenever I travelled, so I’ve always wanted to create something to stop that from happening. The Philips contest finally gave me the push I needed to actually make something to fix it.

Hardware

The model requires:

  • 2x M3x40 mm bolts
  • 2x M3 nuts
  • 6x2 mm magnets for the inlays
  • 8 6x3 mm or 6x2 mm magnets for the box
  • (Optional )Velcro
  • (Optional) Foam / Felt

Printed Parts

  • 1x Box Top - choose either 6x2 or 6x3 version.
  • 1x Box Bottom - choose either 6x2 or 6x3 version.
  • 1x Label (you can add your own text on the empty one)
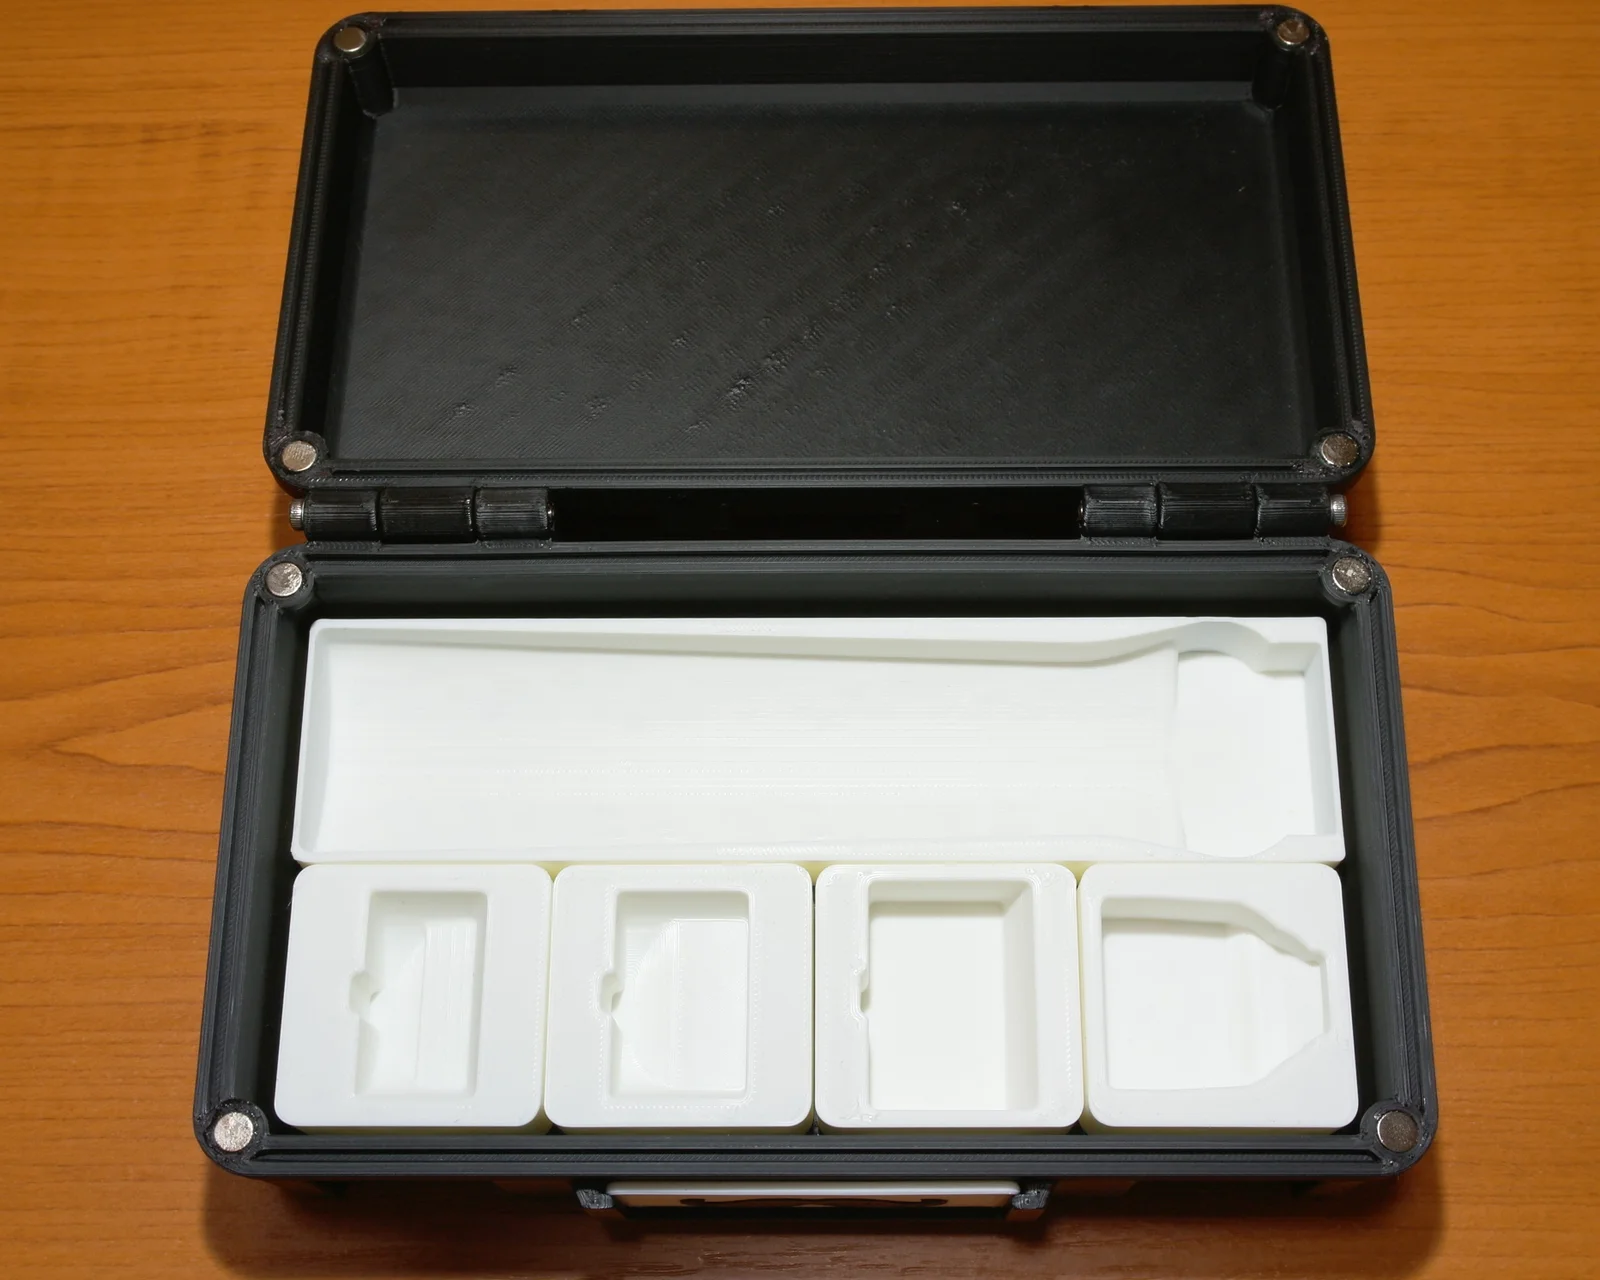
  • 1x Trimmer inlay
  • 4x Attachment inlays of your choice

If you have 6x3 magnets use those for the box for better closing force, but 6x2 magnets should suffice.

Recommended Print Settings

  • 5 walls
  • 5 bottom layers
  • 5 top layer
  • 15% infill
  • No supports
  • Mouse ears

Test fit

  1. Put the inlays in the box
  2. Put the trimmer and attachments in the inlays
  3. Put the top of the box on the bottom
  4. Insert the label

The models were designed with generous tolerances so if you have fitment issues try recalibrating your printer.

Assembly

  1. (Optional but highly recommended) Glue inlay magnets (6x2 mm):
    1. bottom of the inlays
    2. grid (bottom of the box-bottom)
      Use at least 2 for every inlay (diagonally), preferably 4 for larger inlays.
      PAY ATTENTION to magnet polarity!!!
  2. Glue magnetic closing mechanism (6x3 mm or 6x2 mm):
    1. box top
    2. box bottom
      Use the matching magnets depending on your chosen model!
      PAY ATTENTION to magnet polarity!!!
  3. Assemble the hinge:
    1. Take an M3 nut and place it into the slot in the box bottom hinge
    2. Take an M3x40 bolt and place it in the outside hinge, but don't push it in entirely just yet.
    3. Repeat this for the other side of the box
    4. Take the box top and place it, so the box top hinge falls between the box bottom hinges on both sides.
    5. Push in the M3x40 bolts so they reach the other side of the hinge, but be careful not to knock out the nuts.
    6. Screw the bolts into the nuts
  4. (Optional) Padding
    1. Velcro / glue something soft (foam, felt or some textile) in the box-top

Read more Show less

Print spec

Formats
stepstl
Model files
17
Total size
23.3 MB
Largest file
5.8 MB

0 comments

See all