



Thùng rác in Vase Mode
 BybobmakesLikes2.5KDownloads17.5K
Build another version of this model.
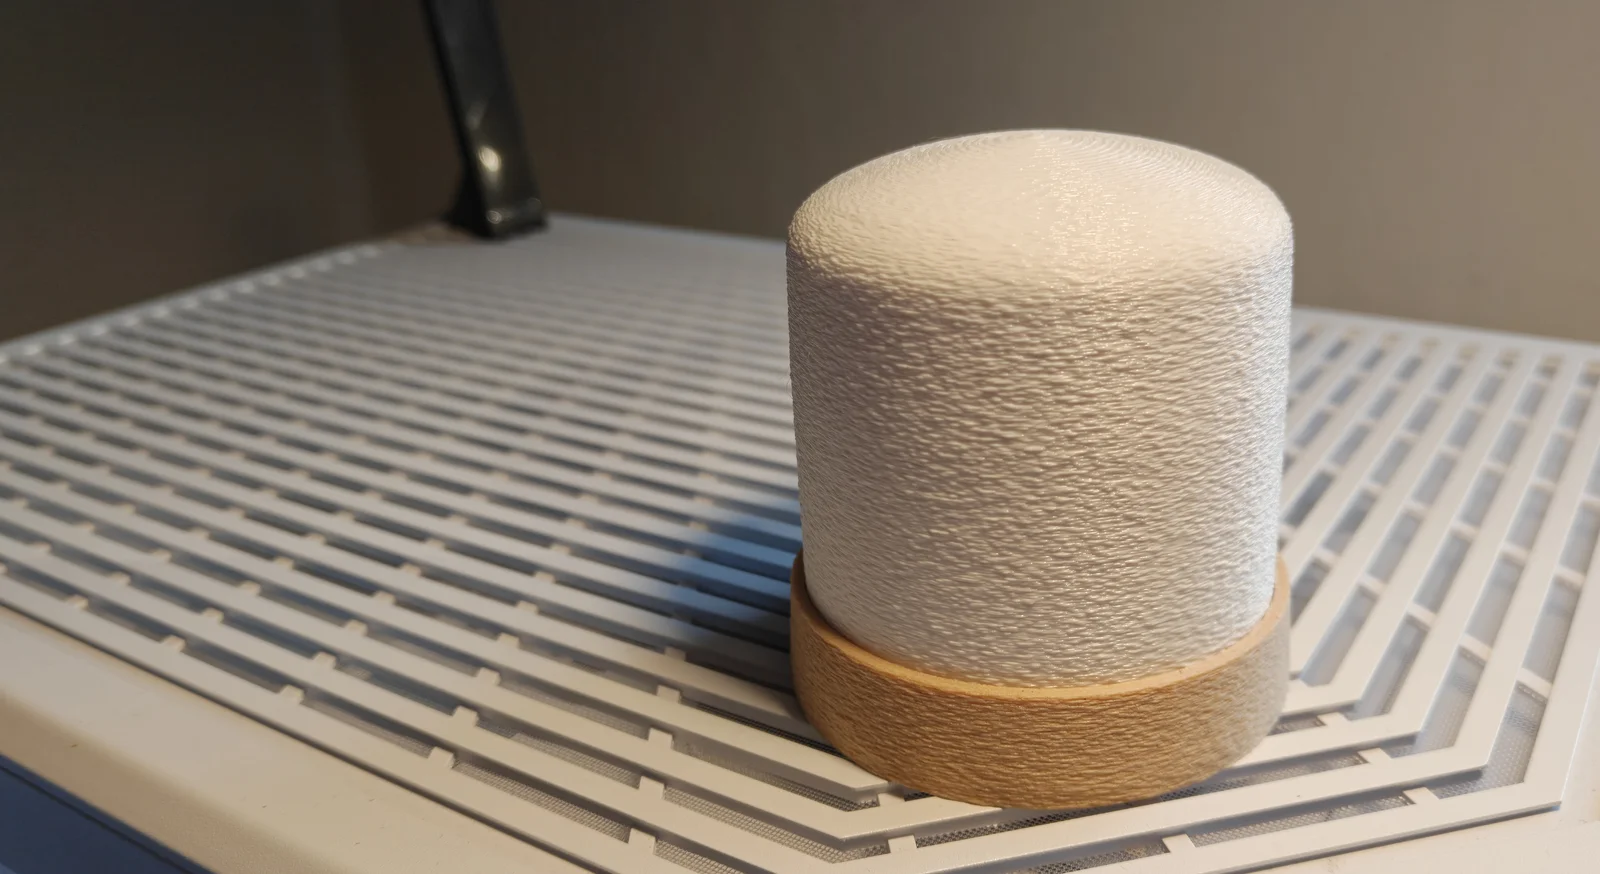
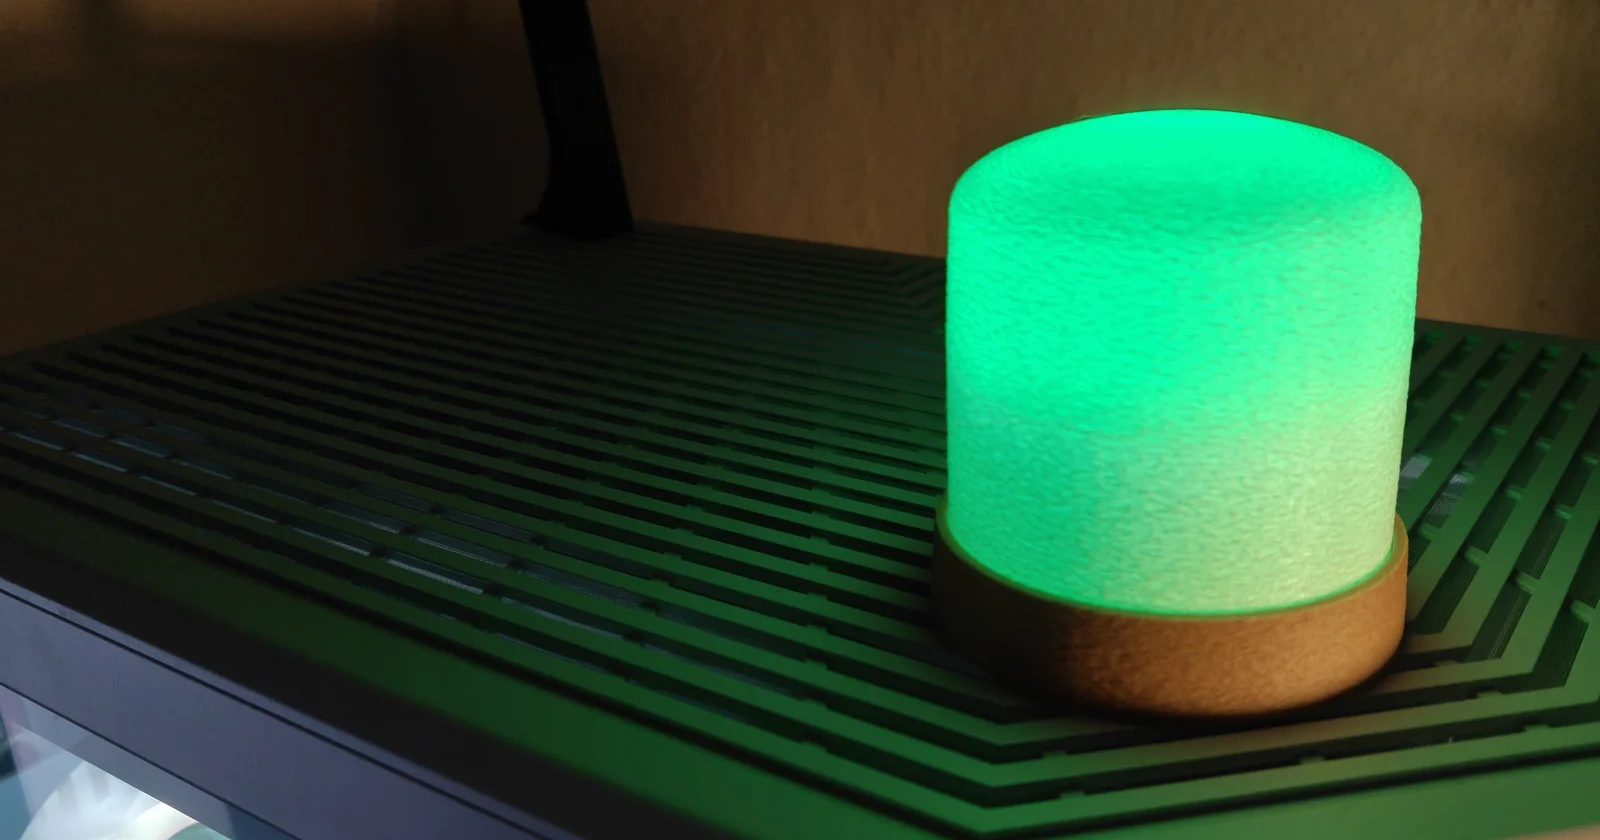
I cute littel indicator light. I use it to indicate a variaty of different statuses in my home automation.
Using a IKEA RGB light bulp makes it very easy to automate using the matter protocol.
In order to build this lamp you need the following
Wire for plugging in the lamp to mains
Plug to put on the mains wire
2 x WAGO 2.4mm2 Connectors to put inside the lamp for safe connections (https://www.avxperten.dk/samlemuffer/samlemuffe-2x4mm2-skrueloes-wago.asp?ss_gc=Cj0KCQjwgr_NBhDFARIsAHiUWr6yYAdWs2eUx_pdML_9GQhuRuSGeJOLjeZYXnNNGtyXPysEWjxmqboaArhgEALw_wcB&gad_source=1&gad_campaignid=21283167487&gbraid=0AAAAAD87SX7DU88dzOWAhsjiUHKKsgGvI&gclid=Cj0KCQjwgr_NBhDFARIsAHiUWr6yYAdWs2eUx_pdML_9GQhuRuSGeJOLjeZYXnNNGtyXPysEWjxmqboaArhgEALw_wcB)
1 x GU-10 socket (https://ledpaerer.dk/gu10-fatning.html)
GU-10 Light bulp. IKEA KAIPLATS 470lm recommended for RGB colors and easy automation (https://www.ikea.com/dk/da/p/kajplats-led-paere-gu10-470-lm-smart-farvet-hvidt-spektrum-10608578/?gclsrc=aw.ds&&utm_source=google&utm_medium=cpc&utm_campaign=Search%20-%20Shop%20-%20Catch%20all%20-%20Brand&utm_id=16443316551&gad_source=1&gad_campaignid=16443316551&gbraid=0AAAAAD9cmpZhE7CuYlhTmB0p6jEfgsGUf&gclid=Cj0KCQjwgr_NBhDFARIsAHiUWr6YDg8YY6sPwmFBACdZpSAz7BkM2_250sv-y_lLxIMrYg2yJQaeBhAaAhEdEALw_wcB)
Some basic tools (Wire cutters, a stright head screwdriver, pliers)
Fillament: ColorFabb woodFill (PLA)
Infill: 20%
Layer Height: 0.2 mm
Support: Yes (support on build plate only)
Support Style: Organic
Outer Perimiter Type: Fuzzy Skin (Outside Walls)
Fuzzy Skin thickness: 0.3 mm
Fuzzy Skin point distance: 0.8 mm
Add pause at/before layer at 11.80 mm to add two power connectors.
Fillament: PETG or PLA
Infill: 80%
Layer Height: 0.2 mm
Support: No
XY Size Compensation: -0.2 mm (Adjust for printer performance)
Cover
Fillament: White PETG or PLA
Infill: 20%
Layer Height: 0.2 mm
Support: Yes (support on build plate only)
Support Style: Organic
Outer Perimiter Type: Fuzzy Skin (Outside Walls)
Fuzzy Skin thickness: 0.3 mm
Fuzzy Skin point distance: 0.8 mm
Add pause at/before layer at 11.80 mm to add two power connectors.
During base printing insert the two-wire connectors
After printing insert the GU-10 Socket
Strip the UNCONNECTED wire ends and push them through the wire strain relief
Insert the two wires in each seperate connecter
Push some of the remaining wire into the wire strain releif
Insert the screw into the strain releif and tighten until the wire cannot be moved
Insert the GU-10 socker in the base by sliding it into the socket mount
Insert the GU-10 socket wires in each seperate connecter so that one power wire goes to one bulp wire
Test that all wires a tightly seated and cannot be pulled out with resonable force
Insert a GU-10 bulp into the GU-10 socket
Place the Lamp cover so that the large hole sits on top of the wire going into the lamp
Push the cover down and twist anti-clockwise until it clicks into place
Before you power on the lamp, make sure no wires are exposed. If any uncertainty about the wiring please consult someone with experience in electrical componens, as the 230V that goes into the lamp can kill you and others. Everything you see here is at you own risk. I take no responsibility for any injuries or death you may impose on yourself or others.
BybobmakesLikes2.5KDownloads17.5K

 BytsmccLikes0Downloads311

 Bygummiegecko8477Likes0Downloads261

 ByVinors3DLabLikes393Downloads1K

 Bycustom-3d-partsLikes0Downloads210

 ByHydratedMini_1690513Likes173Downloads724

 Byxtruderline-3dLikes0Downloads132

 ByimanorangutanLikes0Downloads676

 Bym-collectableLikes0Downloads3.9K

 Byquibeck_3353173Likes545Downloads3K

 Bylayer-forgeLikes0Downloads599

 ByTommy3DLab_2023125Likes636Downloads2.5K