



New
SolderMate - Fully 3D Printed Desk Soldering Companion
 ByleonicLikes0Downloads1.4K
Build another version of this model.
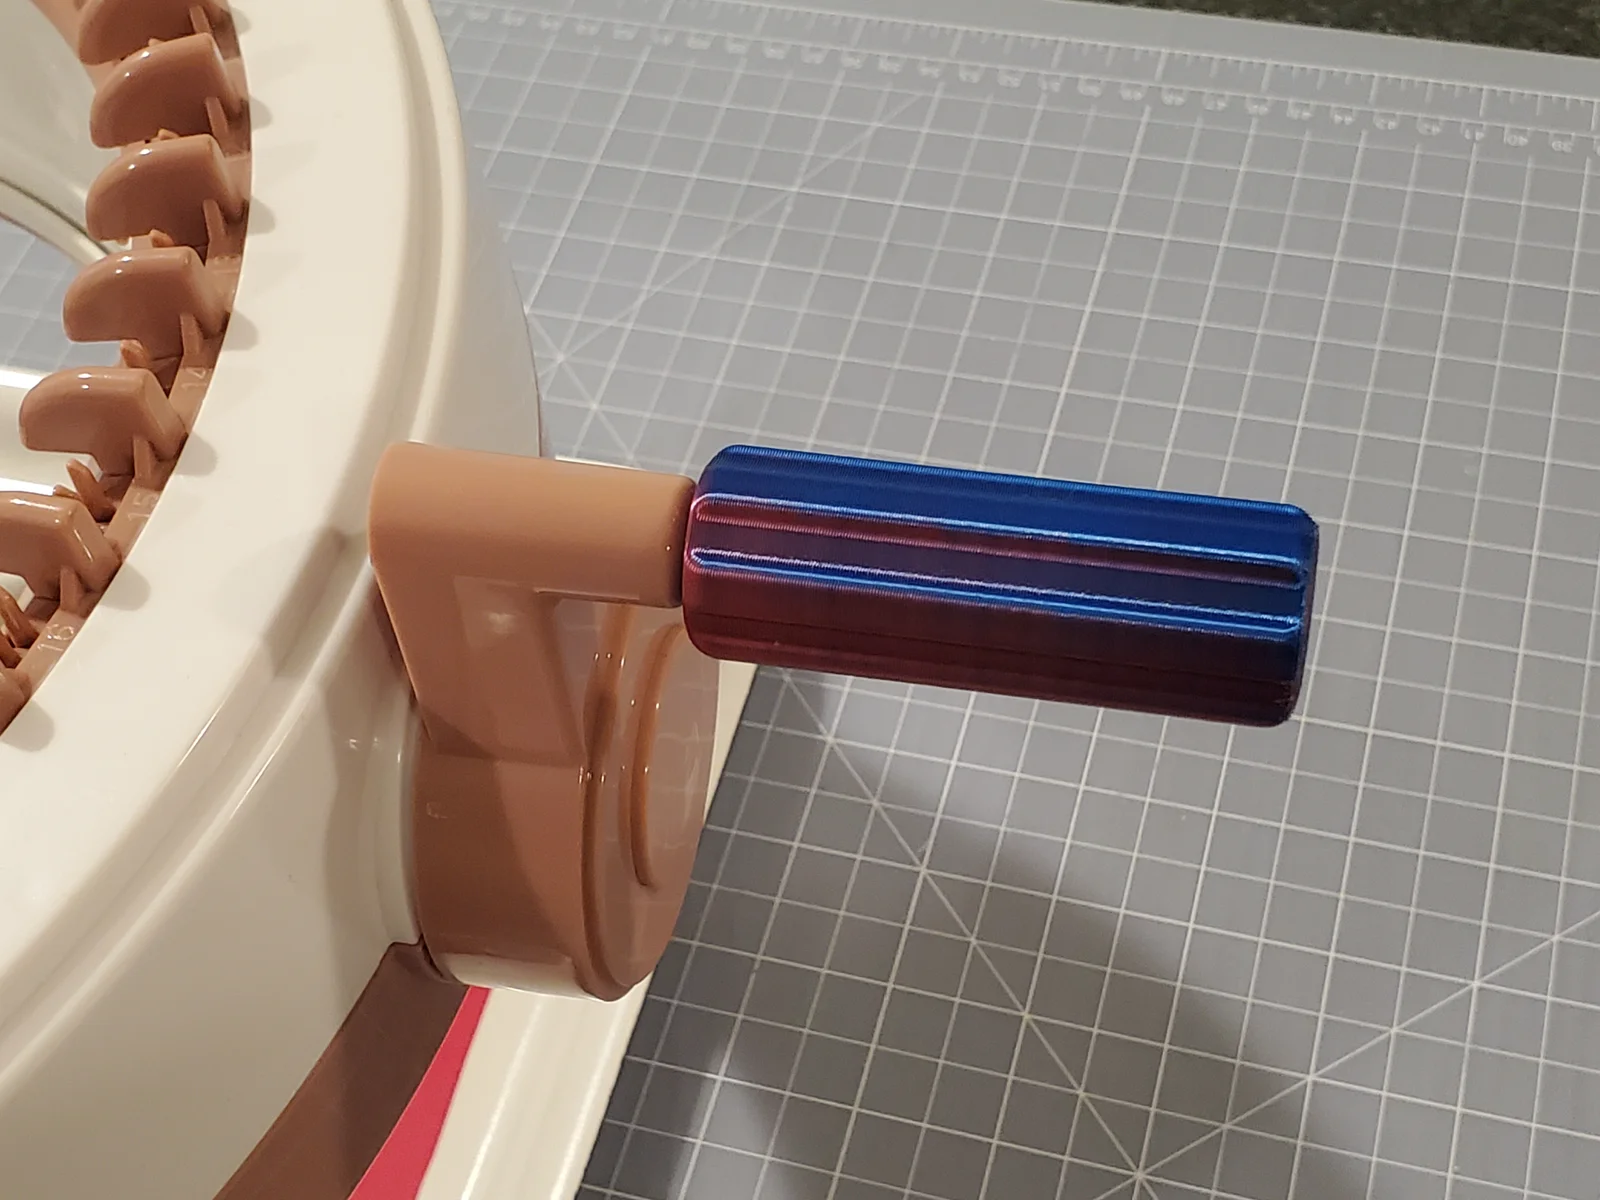
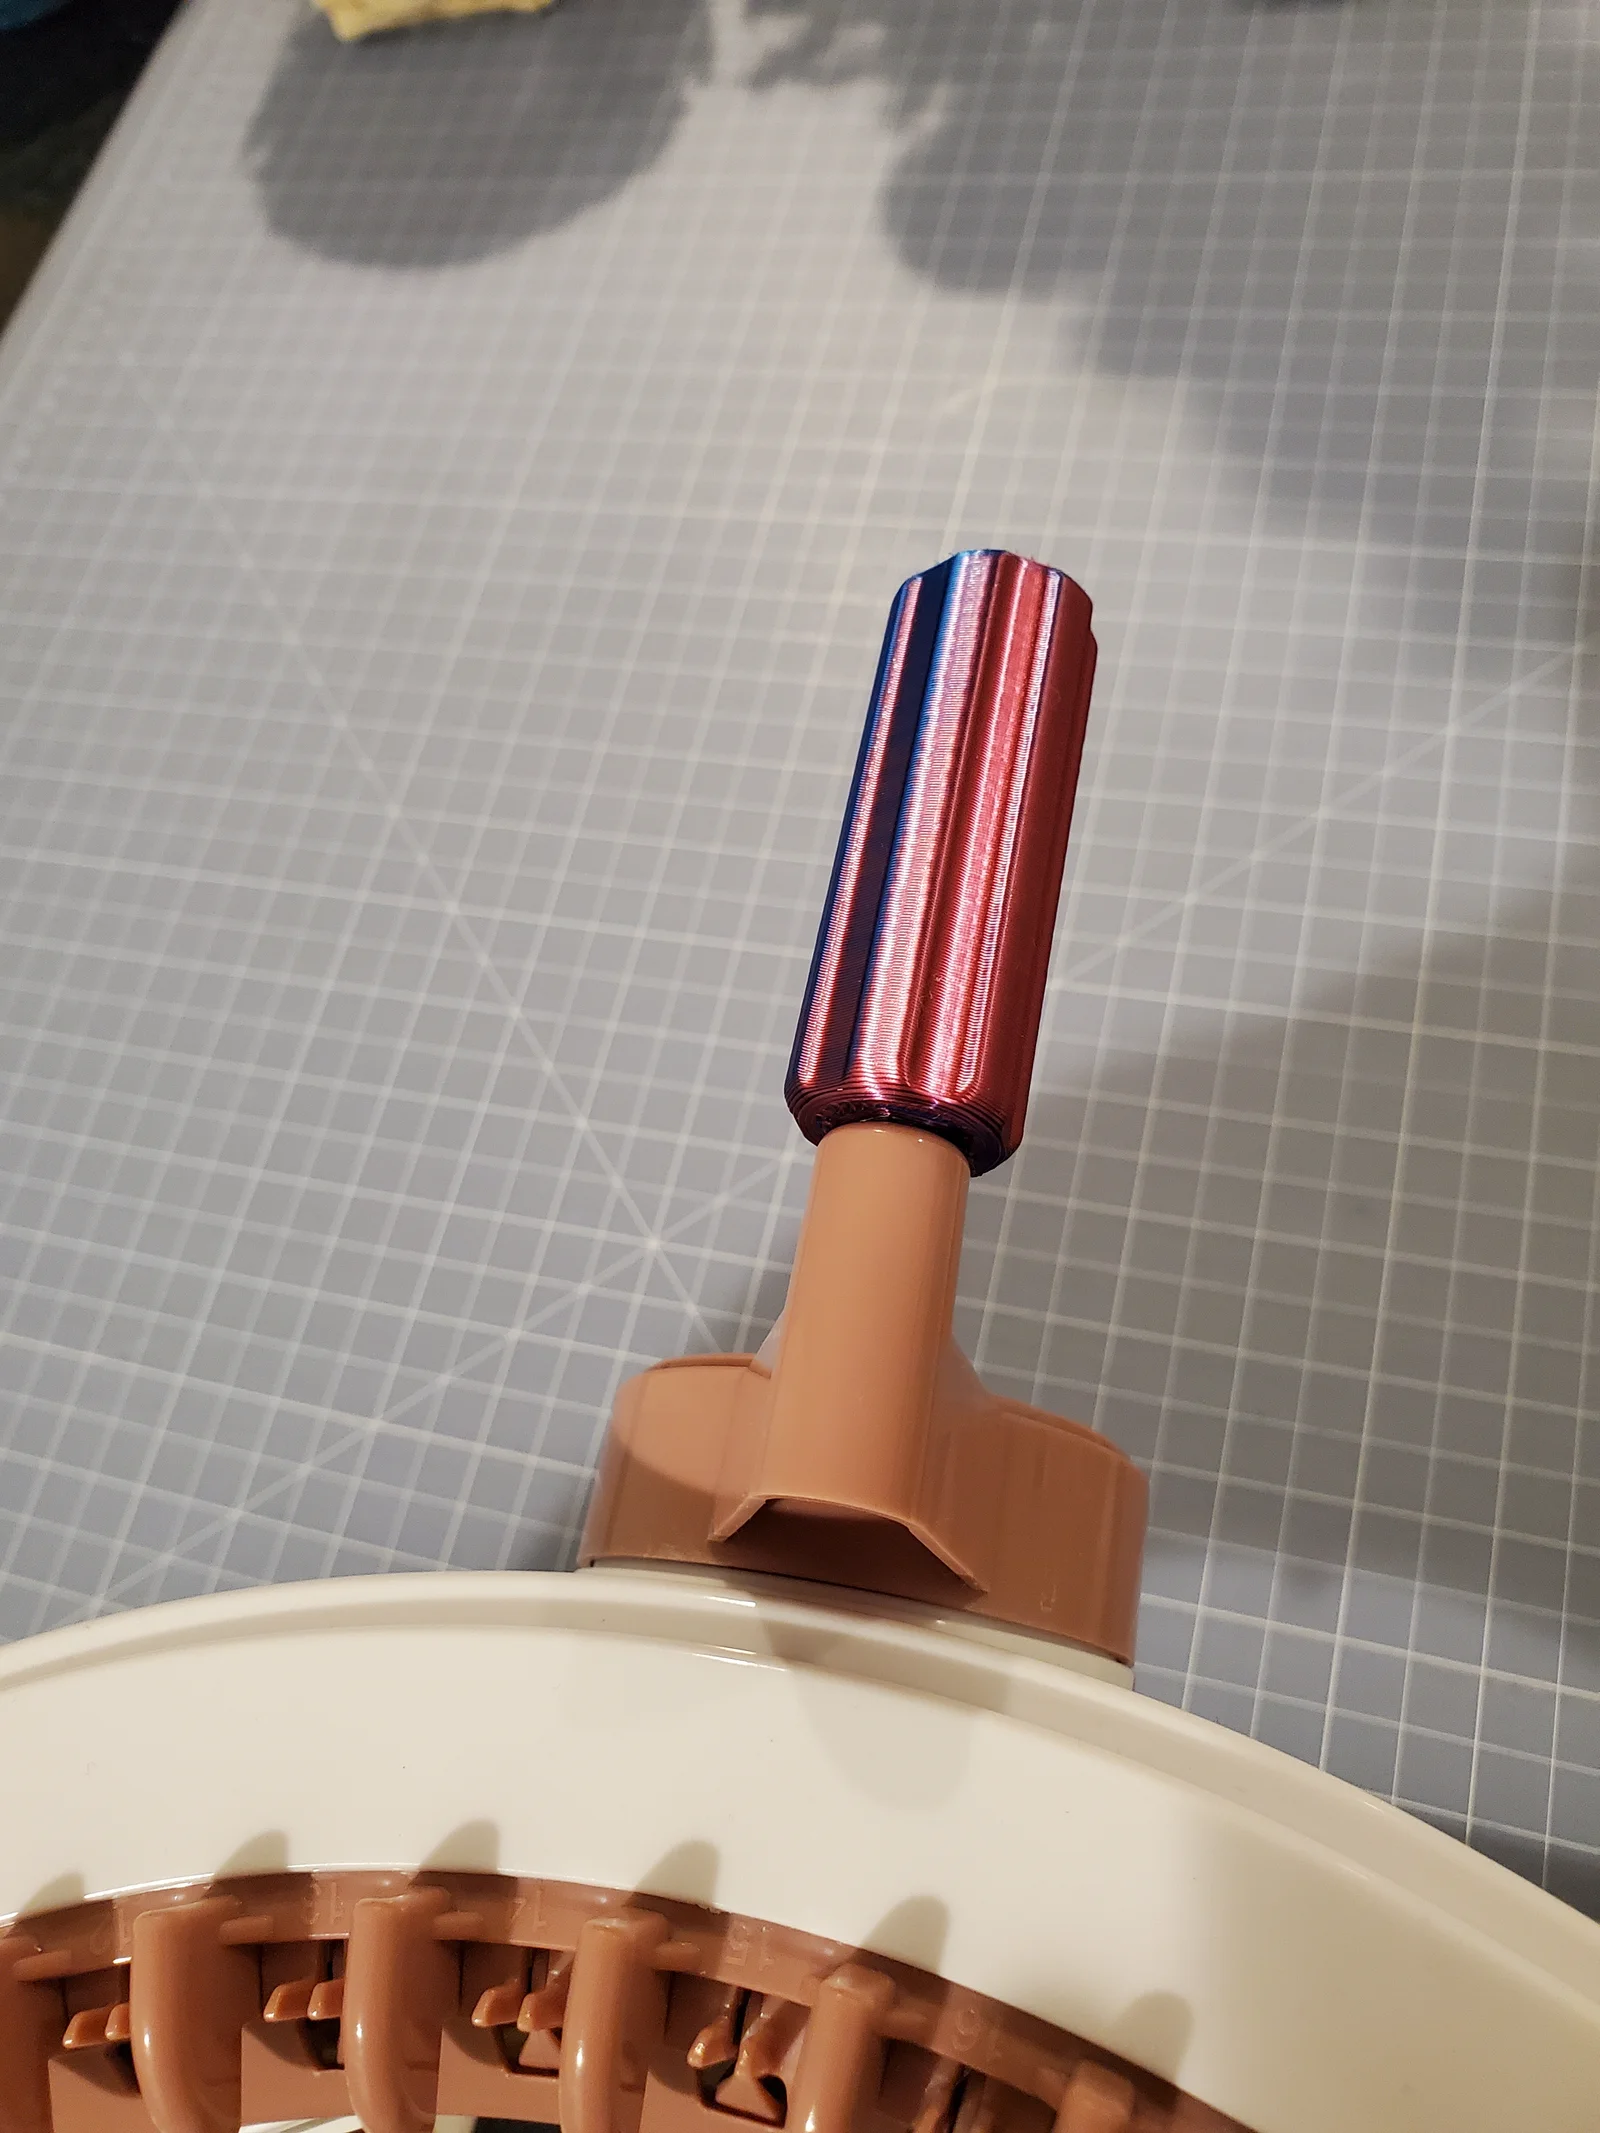
I'm told adult-size hands can cramp up using the ball crank on Sentro machines; these handles are more comfortable than the ball. My initial design was all PLA, but we found the axle part can snap--it might be better in PETG. I uploaded those Sentro48 and Sentro22 prints if you're stuck. (The handle "axles" are different lengths.)
SewHandle2 is a more durable design, but it requires $5 of additional parts that you can get at a hardware store:
#10-24 Zinc Rod Coupling Nuts, $1.67/3 @ HD
#10-24 x 1-1/4 in. Combo Round Head Zinc Plated Machine Screw. $1.78/5 @ HD
7/32" X 12" Round Aluminum Tube, Mfr K&S #8105, $1.29 @ Ace
Note 3 perimeters and 25% fill for strength. After the handle is printed, use a hammer to tap the coupler nut into the hex recess. Use a hacksaw or Dremel w/ cutoff wheel to cut the aluminum tube to length: 16mm for Sentro48, 17mm for Sentro22. Insert the machine screw in the back of the crank, place the aluminum sleeve over the screw threads, and screw on the hex coupler/handle assembly. If the handle is too loose, you can file the aluminum tube a little shorter. You don't want it too tight, or the handle will bind on the crank.
Settings:
Filament PLA
Nozzle 0.6
Layer 0.30mm
Supports No
Fill 25% gyroid
Perimeters 3
Temp 215C
ByleonicLikes0Downloads1.4K

 ByfifindrLikes500Downloads4K

 ByVC_DesignLikes679Downloads3.6K

 ByDan Schwartz SchwartzLikes744Downloads3.4K

 Bythorin-oakenshieldLikes0Downloads530

 Bychubbs8697_2027893Likes585Downloads1.7K

 Byquibeck_3353173Likes965Downloads1.9K

 ByPixeleena_3532521Likes78Downloads304

 ByRungeKuttaLikes229Downloads1.2K

 ByJeremyVillalo_760366Likes68Downloads769

 ByZED4EverLikes313Downloads5.2K

 Bykjus_448782Likes314Downloads677