Mỹ Thuật
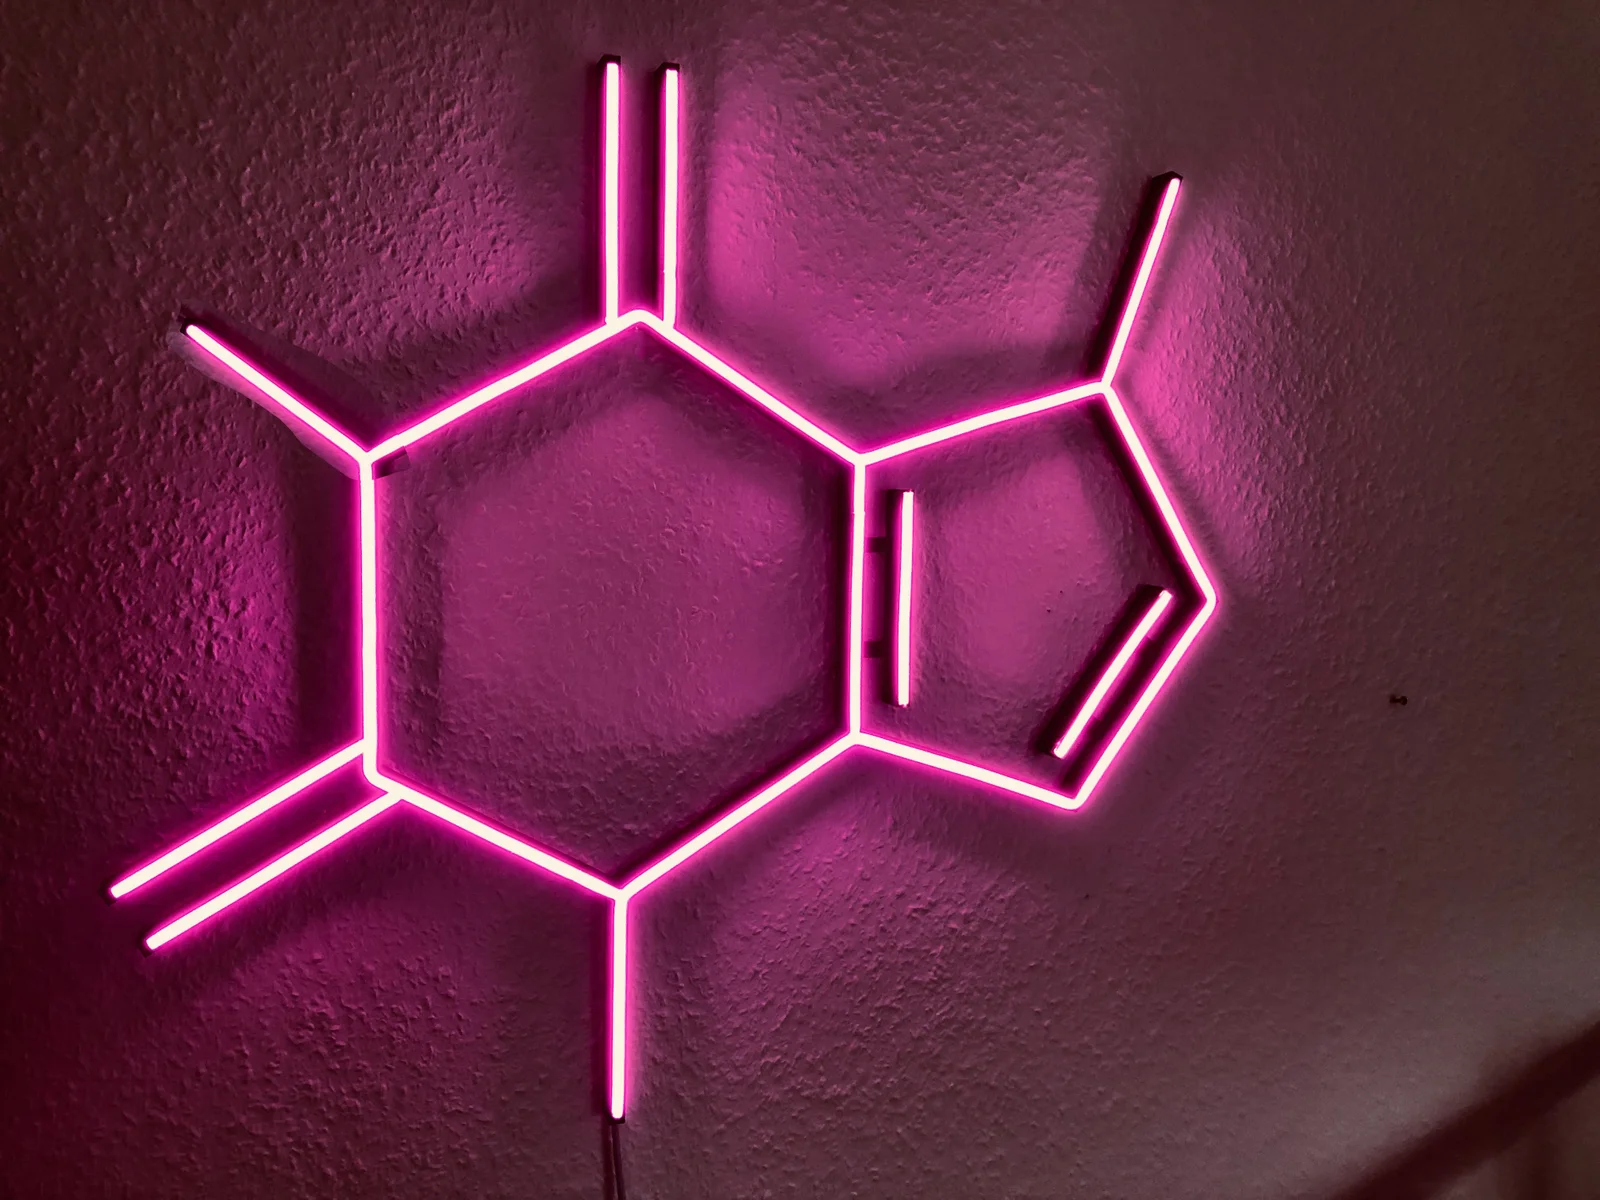
Mô hình đèn Neon LED cấu trúc phân tử Caffeine
- Downloads
- 130
- Likes
- 65
- Views
- 1,273
- Remixes
- 0
- Comments
- 0
Files 12 12.7 MB
- Coffein_-_Connector_1_1773402445.stepSTEP · 21.5 KB
- Coffein_-_Part_5_1773402446.stepSTEP · 80.1 KB
- Coffein_-_Part_2_1773402447.stepSTEP · 78.2 KB
- Coffein_-_Part_1_1773402448.stepSTEP · 122.4 KB
Make a variant with AI
Build another version of this model.
Details
- Model ID
- #247285
- Category
- Mỹ Thuật
- Published
Description
Work steps
- Parts printing
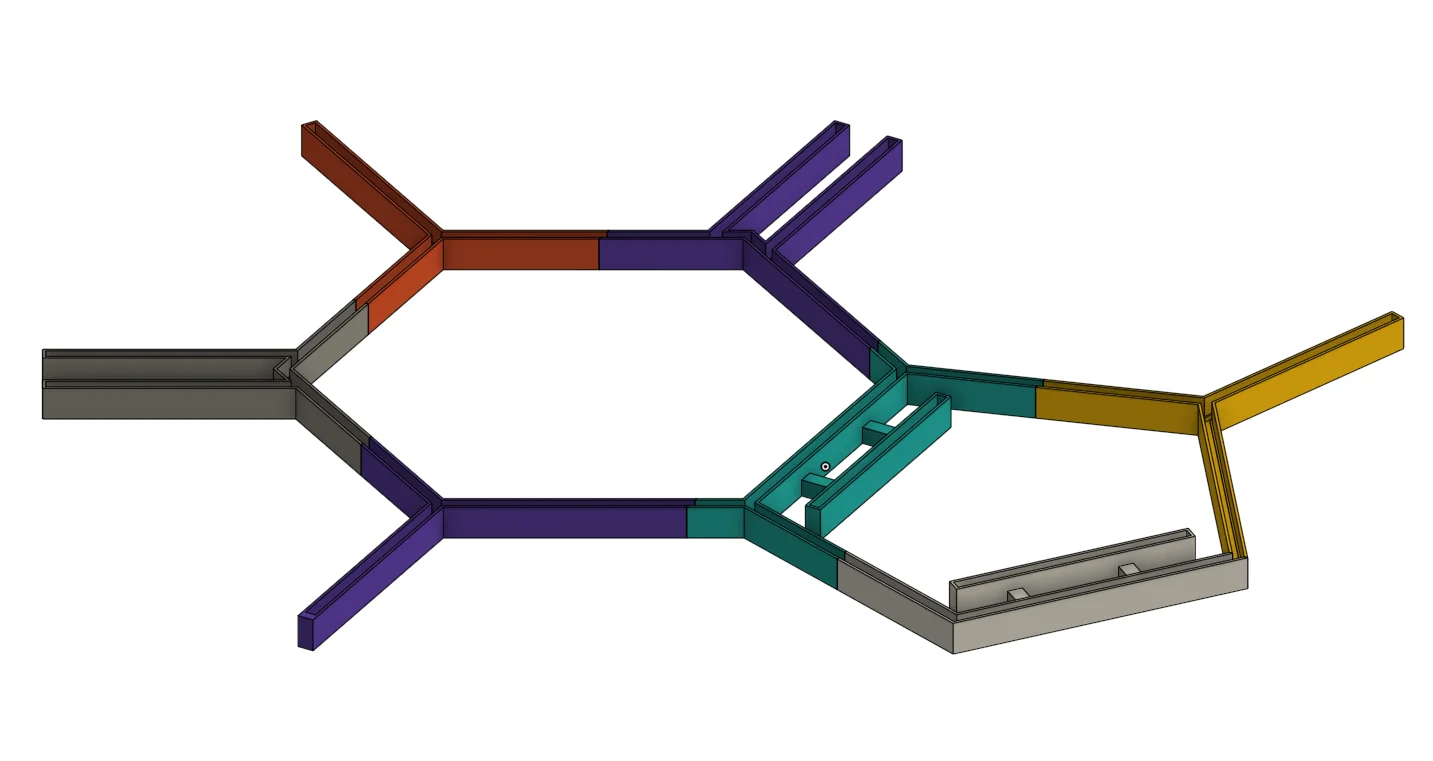
- Connector 1 you need seven and connector 2 once.
- Assemble parts. Best on a suitable table. Needs some space.
- Insert cable. Leave some overhang so that you can shorten it when the LED strip is inserted.
- Fill the longest possible path with the LED strip.
Cut the rest and solder it. - Check in between that all solder joints have contact.
- Hang up and enjoy
Hints
- I tried to solder the cables so that they go straight down into the cable channel. Then the bending radius is smaller. I have also torn off soldered joints. Do not make the temperature on the soldering iron too hot.
- In the double bindings, I have installed undercuts so that the cable has enough space. In the pentagon is a tunnel in the webs so that the cable can be fed through. With a little patience, it works.
- Make the calves longer than they really need to be. Do not cut them to course. Only shorten if you also want to solder dise.
- I have hung the lamp with two headless nails.
Tools you will need:
- LED-Strip
- Soldering iron
- Solder
- Cable 0,25 mm²
- Side cutter
- Needle nose pliers
- pad for soldering
- Knife/ scalpel
- wire stripper
I printed it on 0.2 speed with a 0.4 mm nozzle. You don't need to adjust support. You will need to remove some filament from the connector holes.
Print time 16:50h
61.3 cm x 54.3 cm size
Print spec
- Formats
- gcodestep
- Model files
- 12
- Total size
- 12.7 MB
- Largest file
- 6.6 MB