



Mô hình boomerang in liền khối cực nhanh
 Byquibeck_3353173Likes1.5KDownloads11.5K
Build another version of this model.
If you enjoy this design, please consider buying me a coffee: https://buymeacoffee.com/leehound
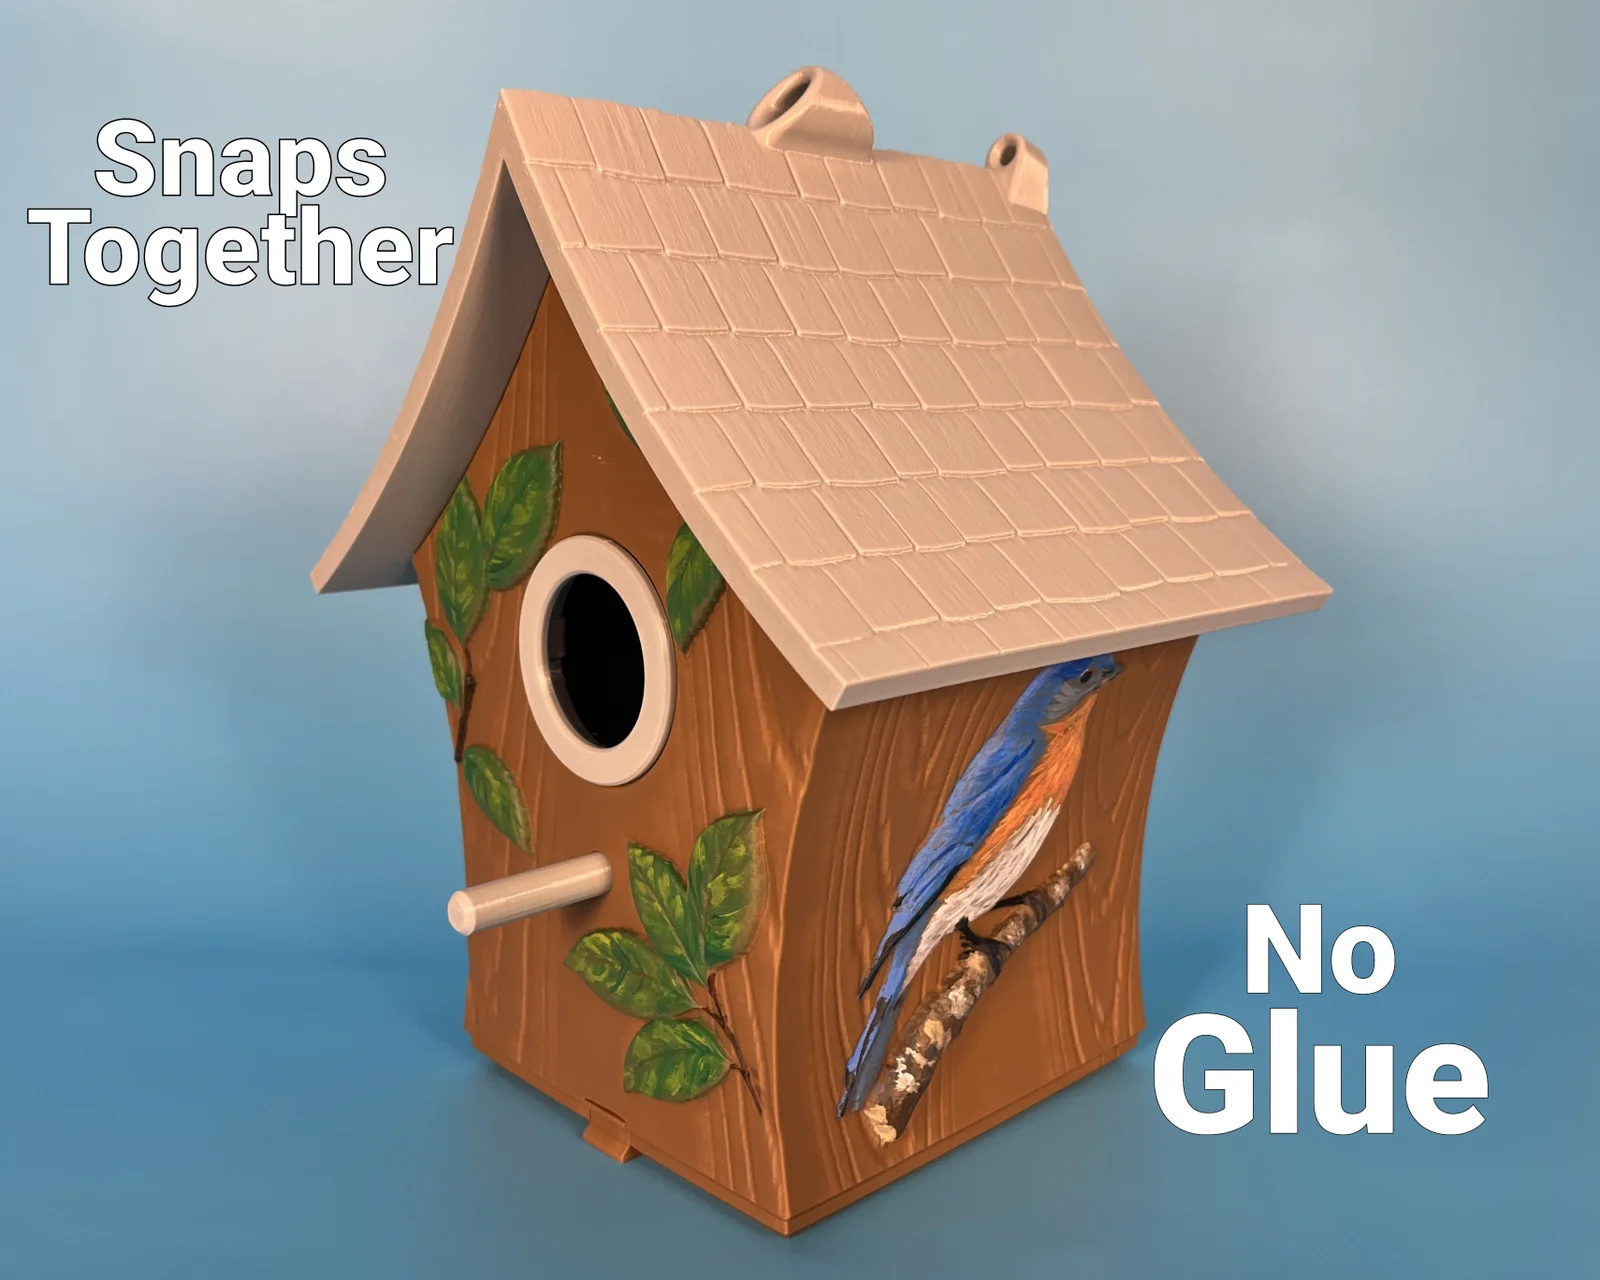
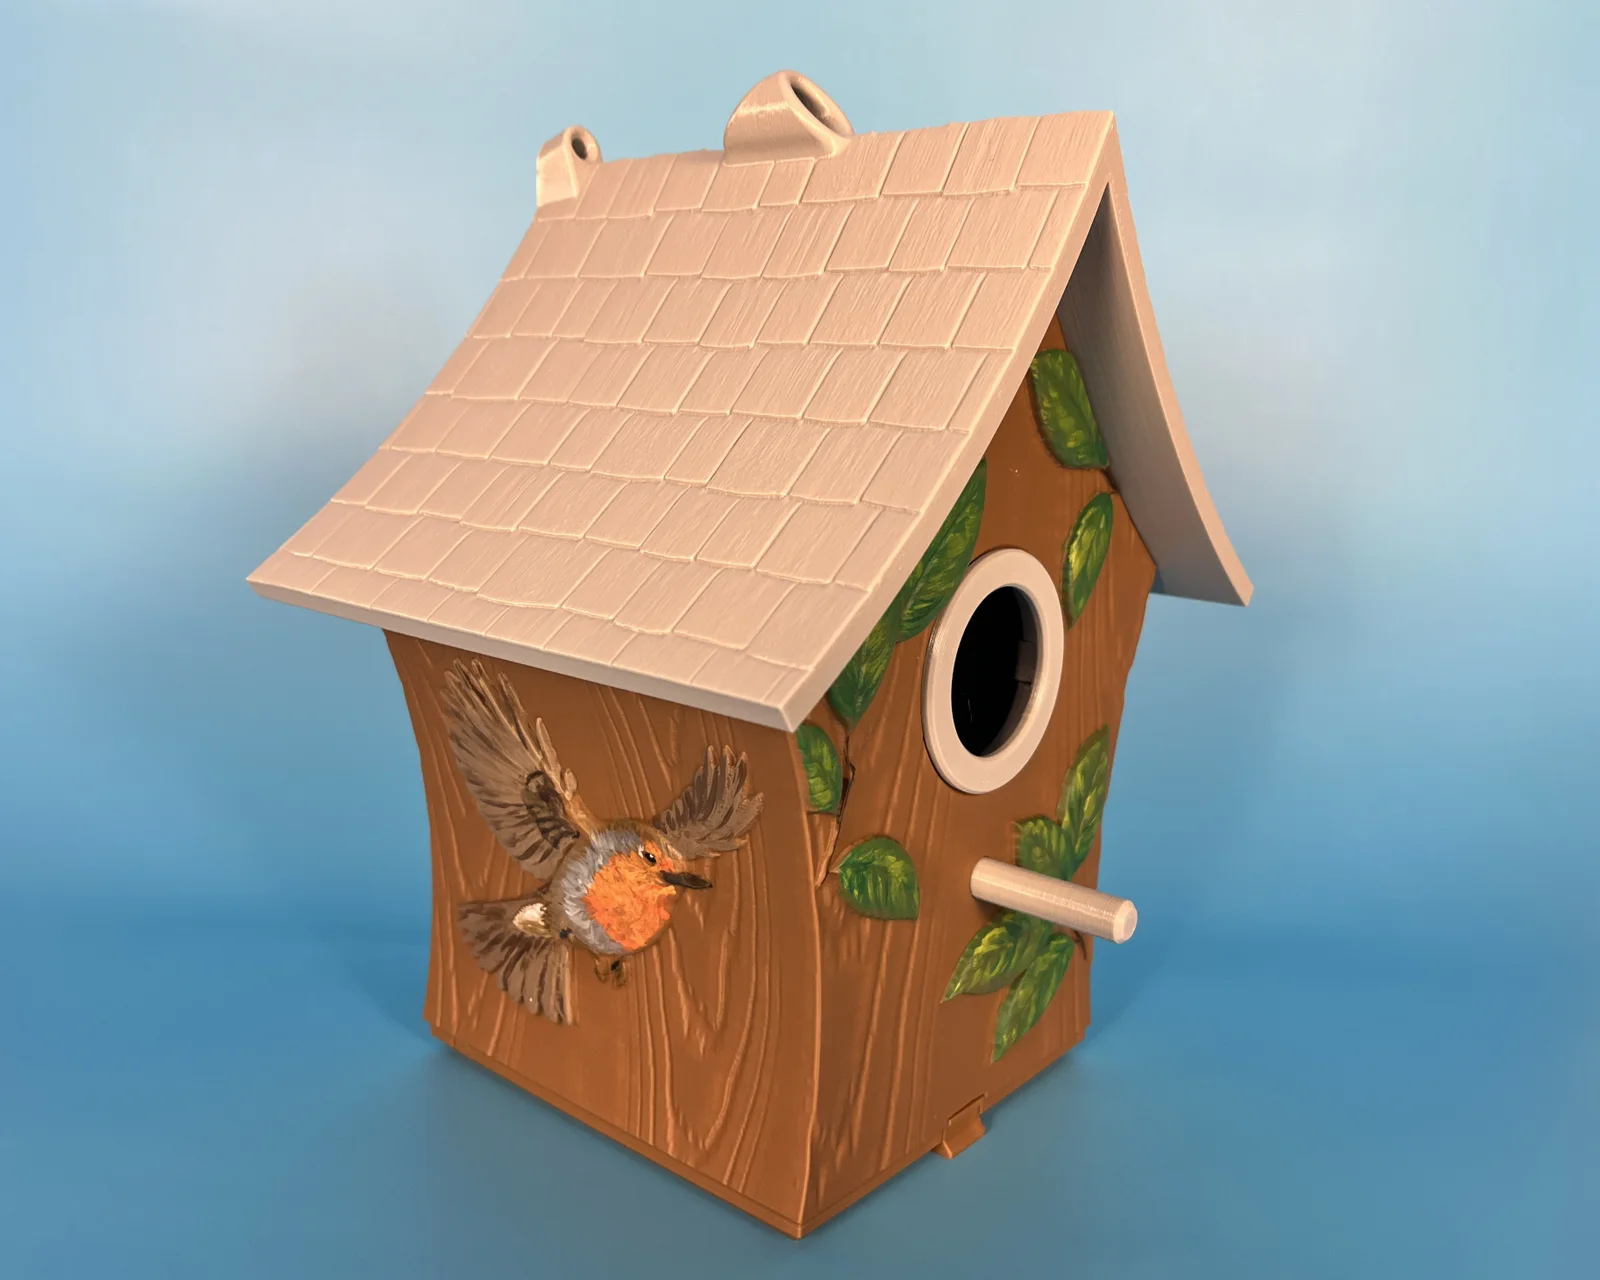
This is a fully functional Birdhouse with a rustic design. Adorned with leaves and birds. It will snap together without the need for glue. Although my example is painted to highlight the embossing, it is ready for multi-color printing. The birds and leaves are separate parts, which makes for easy selection. Or these adornments can be removed if you desire.
It can be Hung or Post Mounted.
The birdhouse consists of 4 parts:
Base - Has A Print In Place Hinged Door for Easy Nest Clean-out. The door is held closed with a #9 wood Screw.
Roof - This is best printed with a brim in the orientation provided.
Hole - Prints Easily in the orientation provided.
Perch - This is best printed with a brim in the orientation provided.
Printing: No Supports Necessary, .2 Layer and 3 Perimeters
Material: At minimum, the roof, perch and hole should be printed in PETG (for Strength and Weather). I have used PLA for the base on different birdhouses in the past and it seemed to hold up well in the elements.
Assembling the parts:
Before attaching any parts to the base, you must break loose the hinged door by forcefully tapping on the inside opposite the hinge. Once free, it will require a #9 wood screw to keep it closed.
The roof will need to be attached to the base by aligning it on top of the base with the mounting screw hole towards the back (it will only go this way). I find the best way of snapping the roof onto the base, is by having the top of the roof facing down on the floor (on something soft) and pushing on the bottom of the base into the roof. It will self align and 6 points will snap in. Once attached, it cannot be undone.
The hole easily snaps into place.
The perch needs to be gently hammered in the hole until it firmly seats.
Enjoy!
Byquibeck_3353173Likes1.5KDownloads11.5K

 BybobmakesLikes2.5KDownloads17.5K

 ByPlaca_1765482Likes42Downloads406

 ByStuart800_1278696Likes77Downloads234

 Bybearded-printerLikes0Downloads194

 ByshoheiyLikes0Downloads296

 By43DPRINTLikes295Downloads663

 ByJackLikes145Downloads765

 ByMichael_1442457Likes230Downloads637

 ByelitailLikes0Downloads181

 Bym-collectableLikes0Downloads3.9K

 ByFergyMcFergusonLikes50Downloads423