



Steam Machine Companion Cube / Vỏ đựng Weighted Storage Cube
 ByJaronLikes310Downloads1K
Remix of openGrid - Khung & Hệ Sinh Thái Gắn Tường/Bàn Làm Việc By DavidD
Build another version of this model.
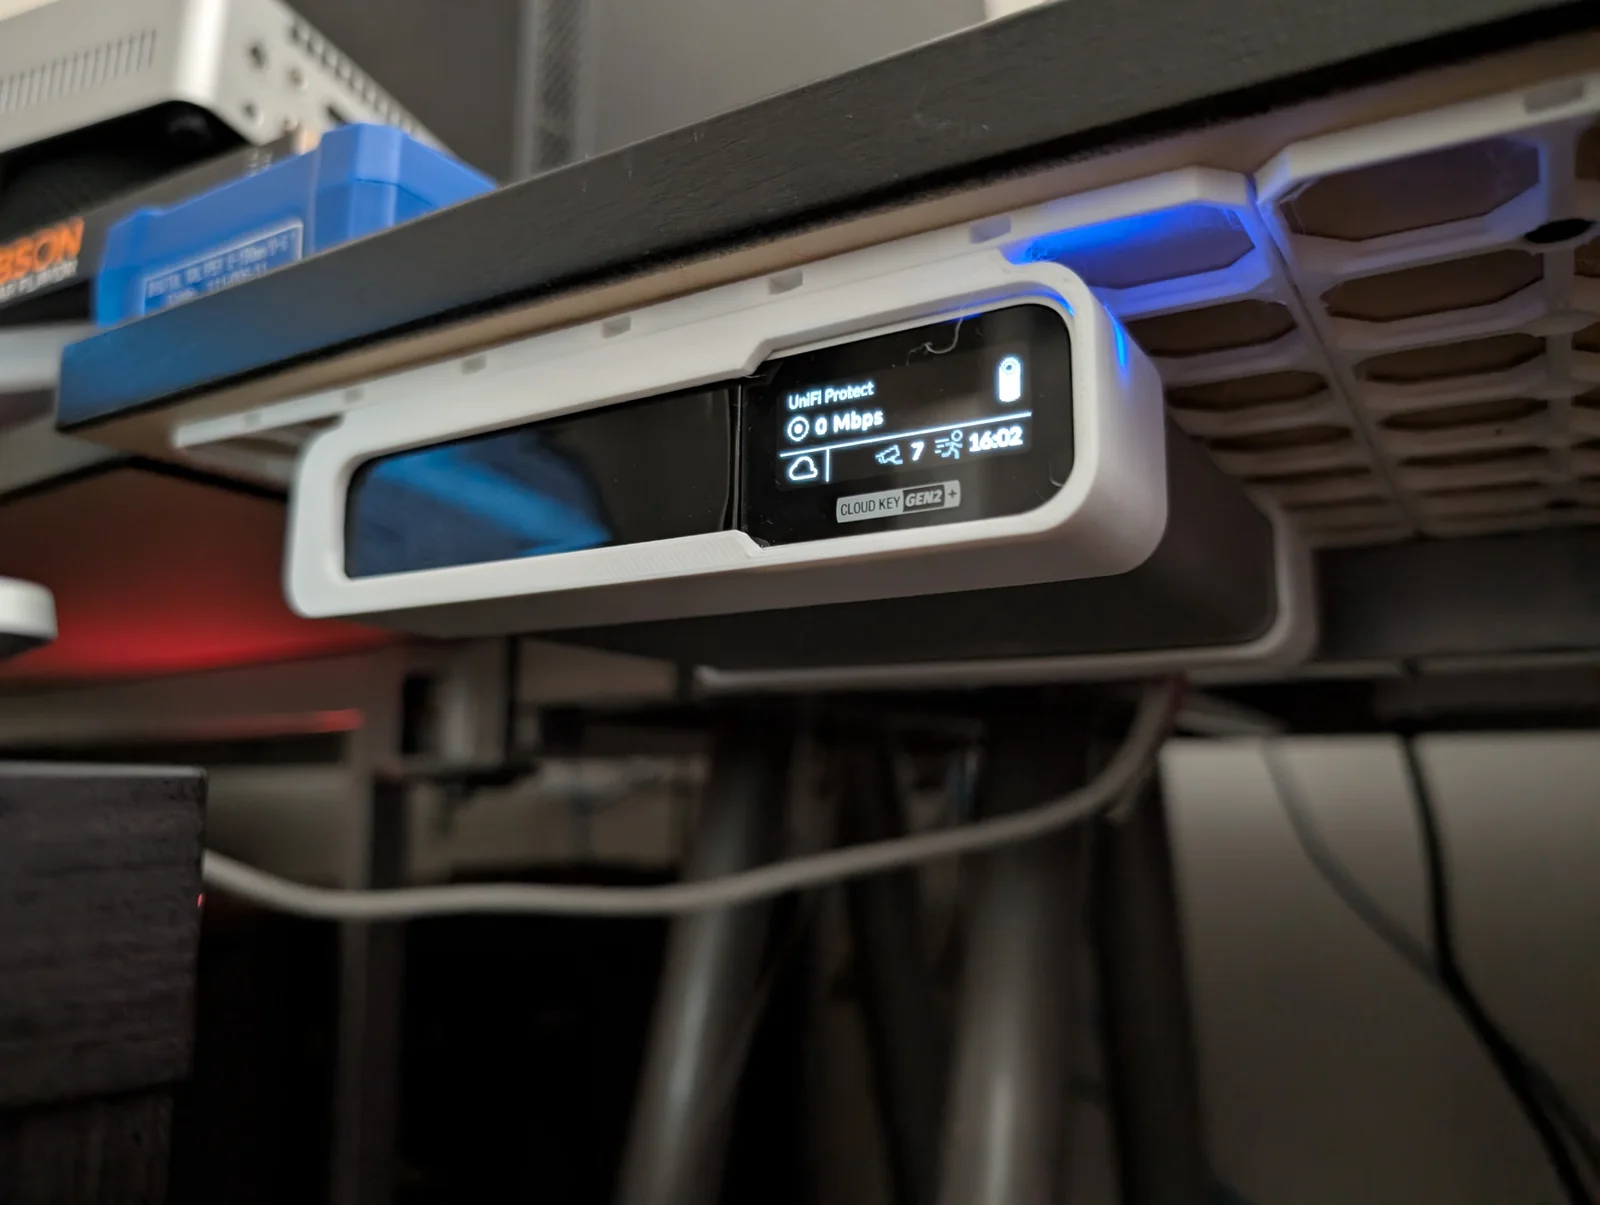
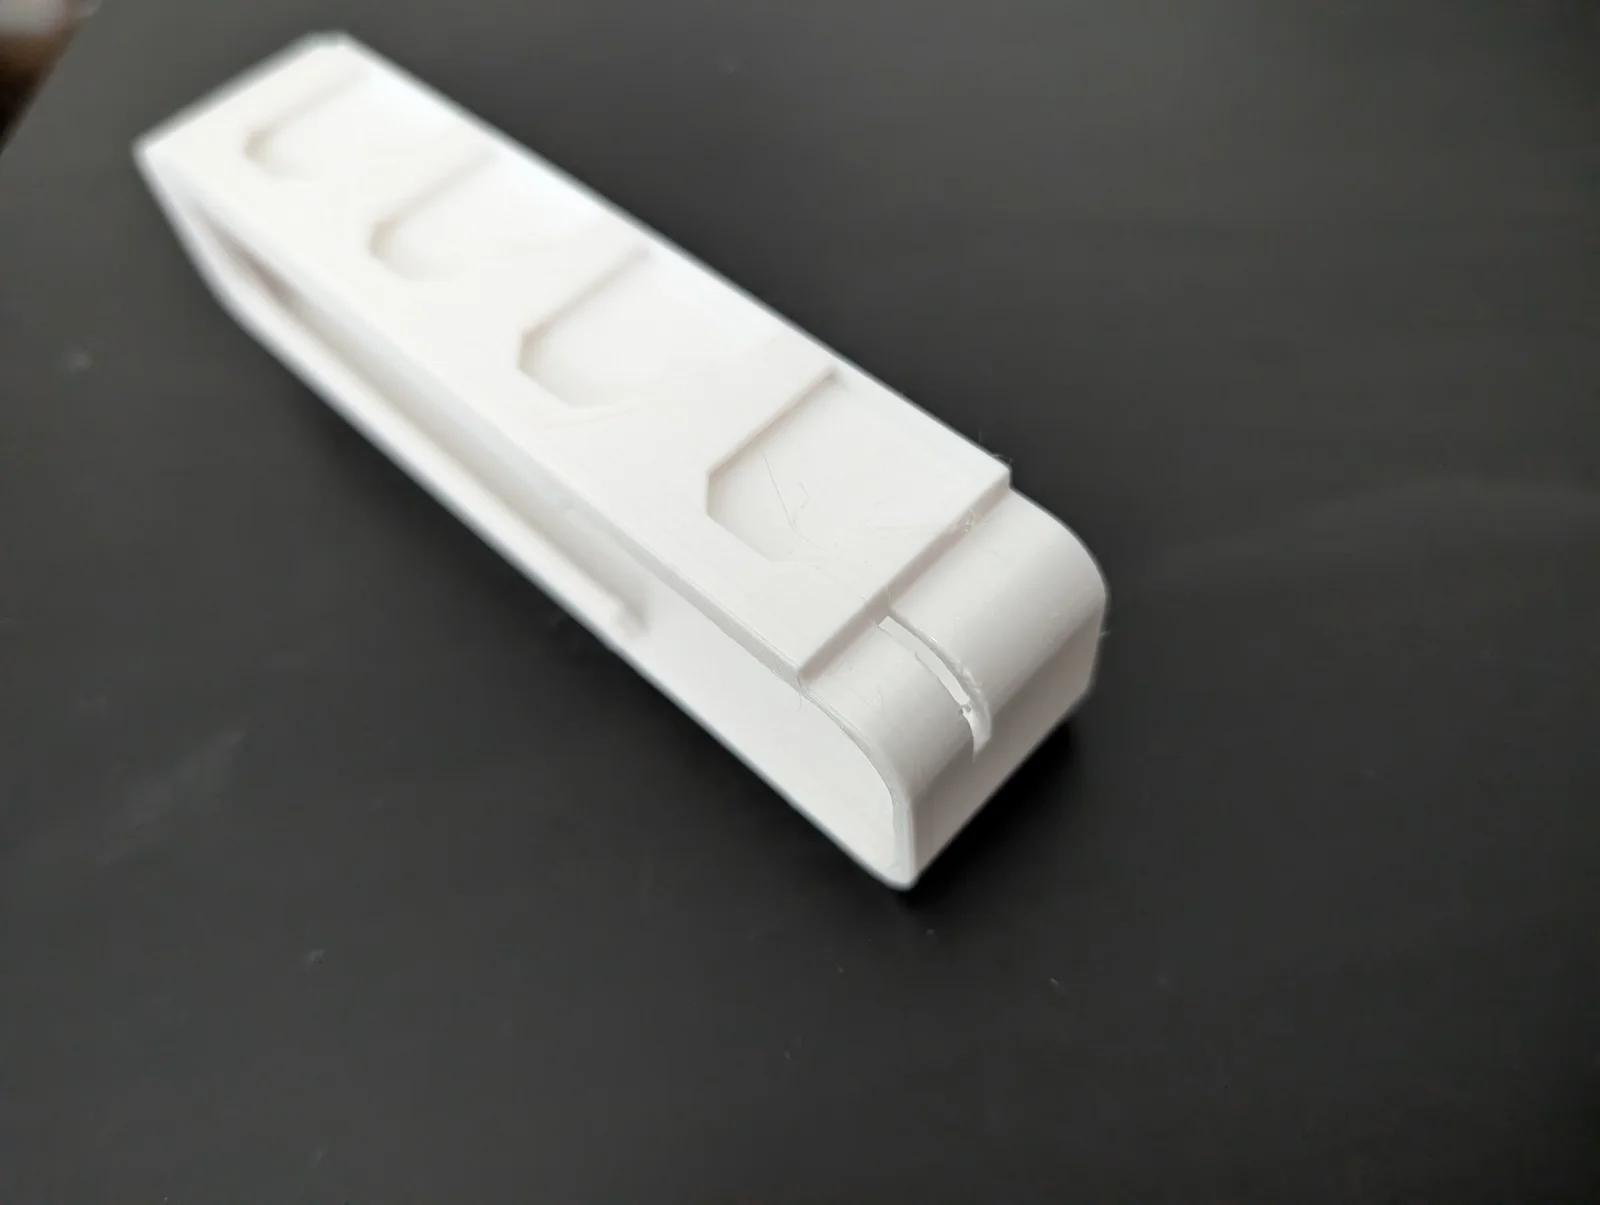
This is a bracket for mounting a Unifi Cloud Key Gen 2+ to an openGrid board using openConnect snaps.
This bracket has a 6x5 openGrid unit footprint, but the connector area is 4x5, so if this is the only thing on your openGrid board that's the minimum size.
I used 6 openConnect expanding screws on a lite openGrid tile generated with the Gridfinity Generator.
4 of the snaps were used on the rear bracked and 2 at the front. I found that it was a bit hard to push the front bracket all the way in with the Clud Key already in the rear bracket. You can probably get away with 4 snaps (one in each outer socket).
To ensure there is good ancoring you may want to use more than 4 screws in the openGrid board.
If you're using the spinning rust HDD that came with the Cloud Key then you should print this, the board and the snaps in PETG or some other material with a higher melting point. The Cloud Key is passively cooled and typically operates at 40°C. Too warm to safely use PLA.
Here are the print settings I used.
Material: PETG
Walls: 2
Supports: None are needed for the rear bracket.
Supports are required on the forward bracket except for the openConnect slots.
Use the expanding thread symetric and openConnect screw from the openConnect files for the openGrid board type you're using (full or lite either seems fine for this). Up to 8 can be used but I think 4 should be fine. Fit the snaps in place and then screw in the screws. Push the rear bracket in first.
Then slide the front bracked over the front of the Cloud Key. Then slide the front bracket and Cloud Key into the rear bracket and openConnect screws.
Use common sense, I'm not responsible if you break something!
If you have questions about how to use this or print it leave a comment and I'll see if I can help.
ByJaronLikes310Downloads1K

 Byw3rN42Likes127Downloads934

 ByTomDDLikes89Downloads574

 ByJwidessLikes34Downloads375

 ByBroBuilds3D_4455044Likes32Downloads453

 ByckthLikes148Downloads2.4K

 Bynexgen-3d-printingLikes0Downloads392

 ByVikingptty_1943738Likes50Downloads233

 ByBrokentooth_designsLikes30Downloads225

 Byslava-kuzminLikes0Downloads282

 ByJKMCZLikes11Downloads176

 Byjodinskylab_3390035Likes144Downloads166