



Kẹp giữ sợi Filament
 Bytinx_1344834Likes1.2KDownloads6K
Build another version of this model.
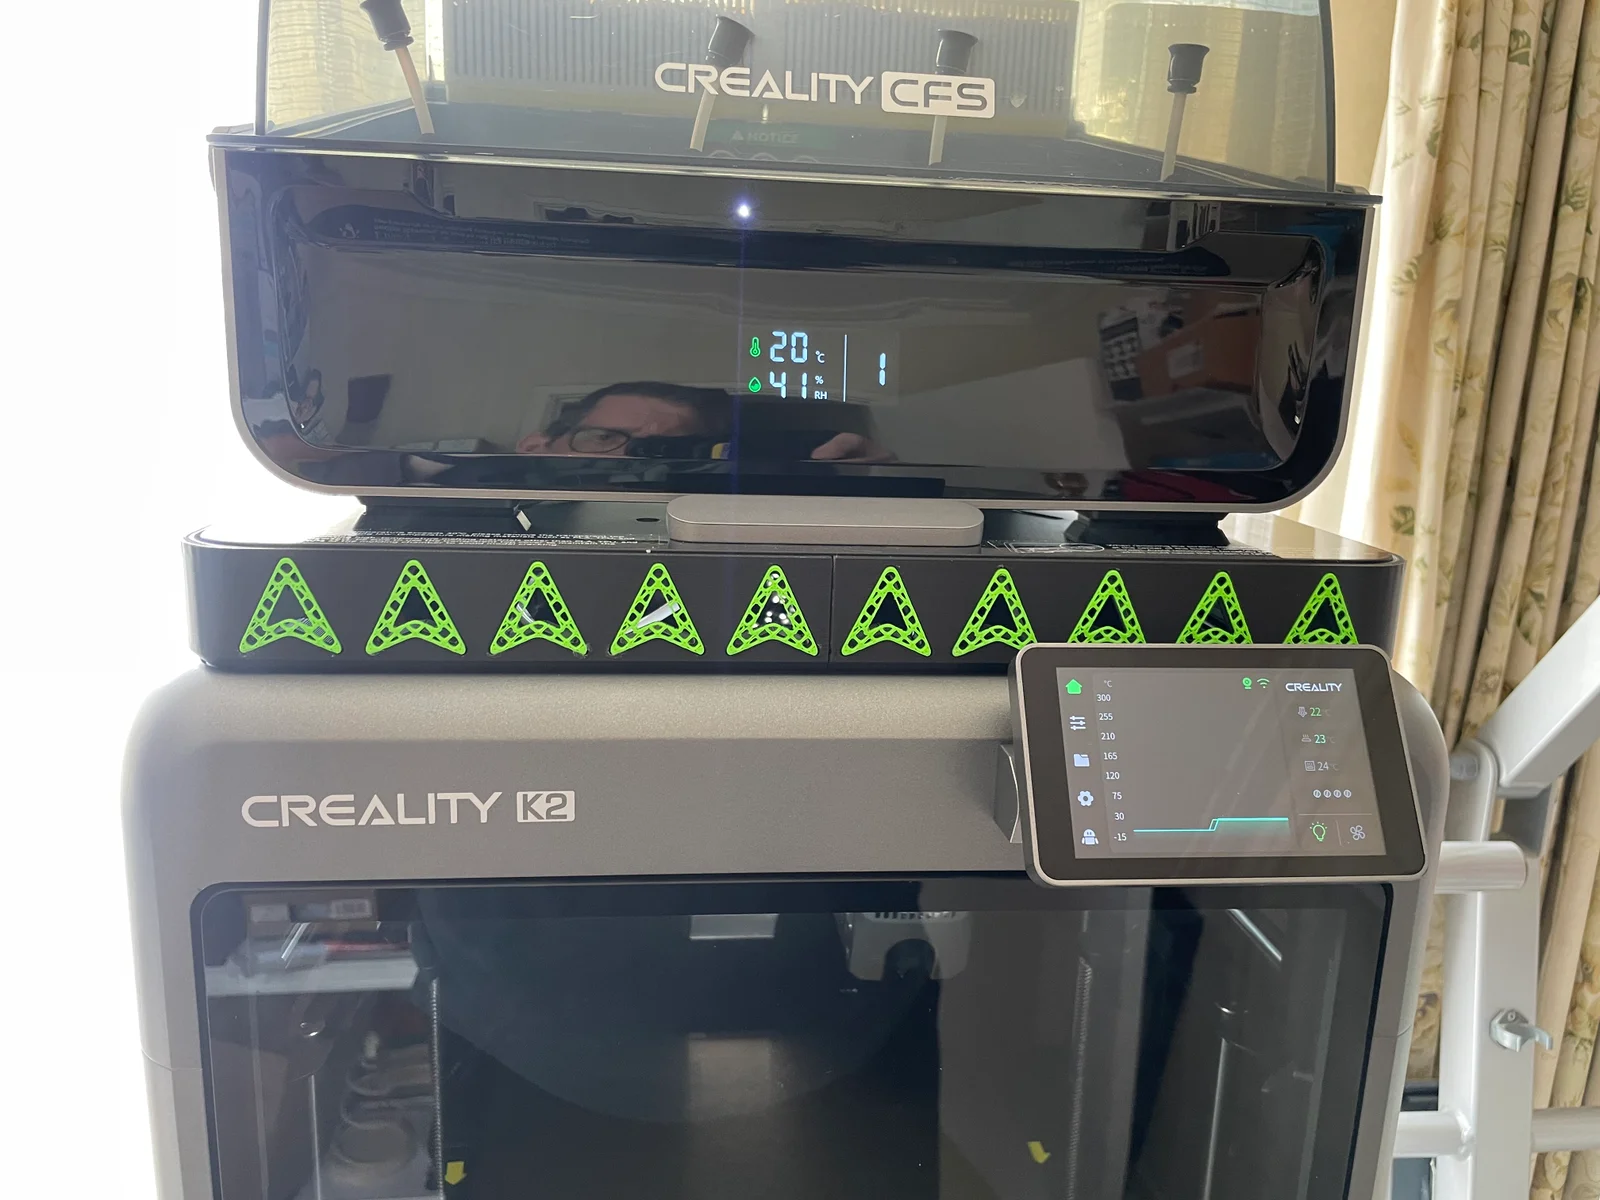
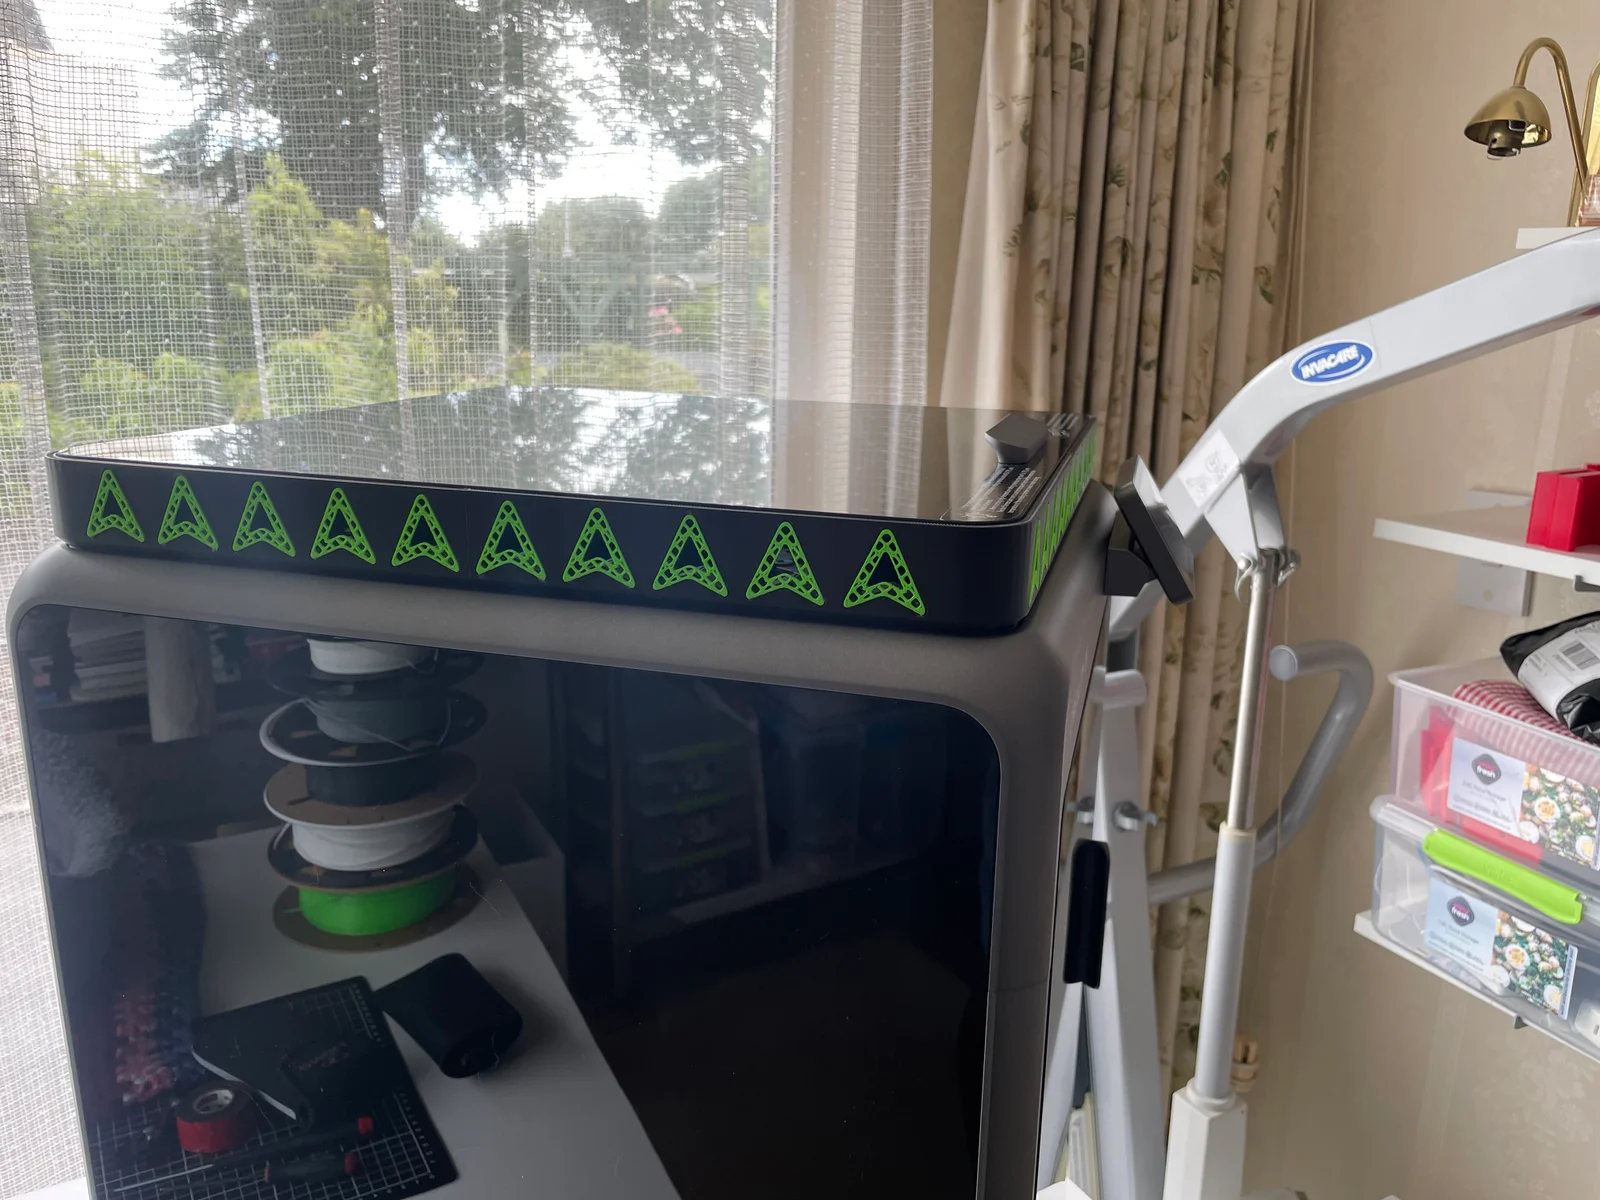
This is what I wanted from a Riser for my K2
Slim, Vented, Nice looking, Not lift the CFS to high, Stop PTFE Tube marking the Glass lid
I have added a couple of extra inserts in the files incase you don't like the mesh ones that I used, There's a solid version of the creality logo with just small hole in middle to still let some airflow & ive done a thin version if you want just a bit of colour. Or you can leave the logo/inserts out altogether.
Printing is pretty standard, but ask if you're not sure. You print 2 each of the front left & 2 each of the front right & then that gives you the 4 pieces of the frame you need. Print 8 plugs & 40 inserts of your choice. I do suggest to print a test insert and make sure of the fit before printing all of them and if they won't fit the just scale down in the slicer a couple of percent in the X,Y direction. They have been designed to fit, but if your printer/filament calibration is out a bit they may not fit and need a bit of scaling down. The PLUGS to join the frame together, ive added a .2, .3, .4 Print one of each and see what fits best for you. I used the .2 and it was a nice firm fit and the whole frame holds together without glue.
The Logo inserts need to be glued into place, which is very easy. I just put a tiny drop of super glue on the 3 tips of the logo and it holds them perfectly.
I added some 1mm foam tape around the lip where the glass lid sits, you don’t have to do this but I did to stop any chance of rattles etc. One other thing I did and suggest is I gave the ends of the frame parts where the plugs go into a nice light sand to make sure the ends mate together nice and clean and I got a nice clean fit.
Feel free to ask question if you need help & don't forget to share your Make.
Bytinx_1344834Likes1.2KDownloads6K

 Byprusa-researchLikes0Downloads2.7K

 ByBrokentooth_designsLikes17Downloads147

 Byarhi_585078Likes64Downloads540

 ByHanzo3dLikes155Downloads414

 BydarienLikes0Downloads1K

 ByGeek5DLikes147Downloads484

 BynozeLikes0Downloads130

 ByvertigomakesLikes0Downloads560

 By3DSourcererLikes48Downloads377

 Byartme-3dLikes0Downloads333

 ByWyomingWolf_261196Likes52Downloads429