

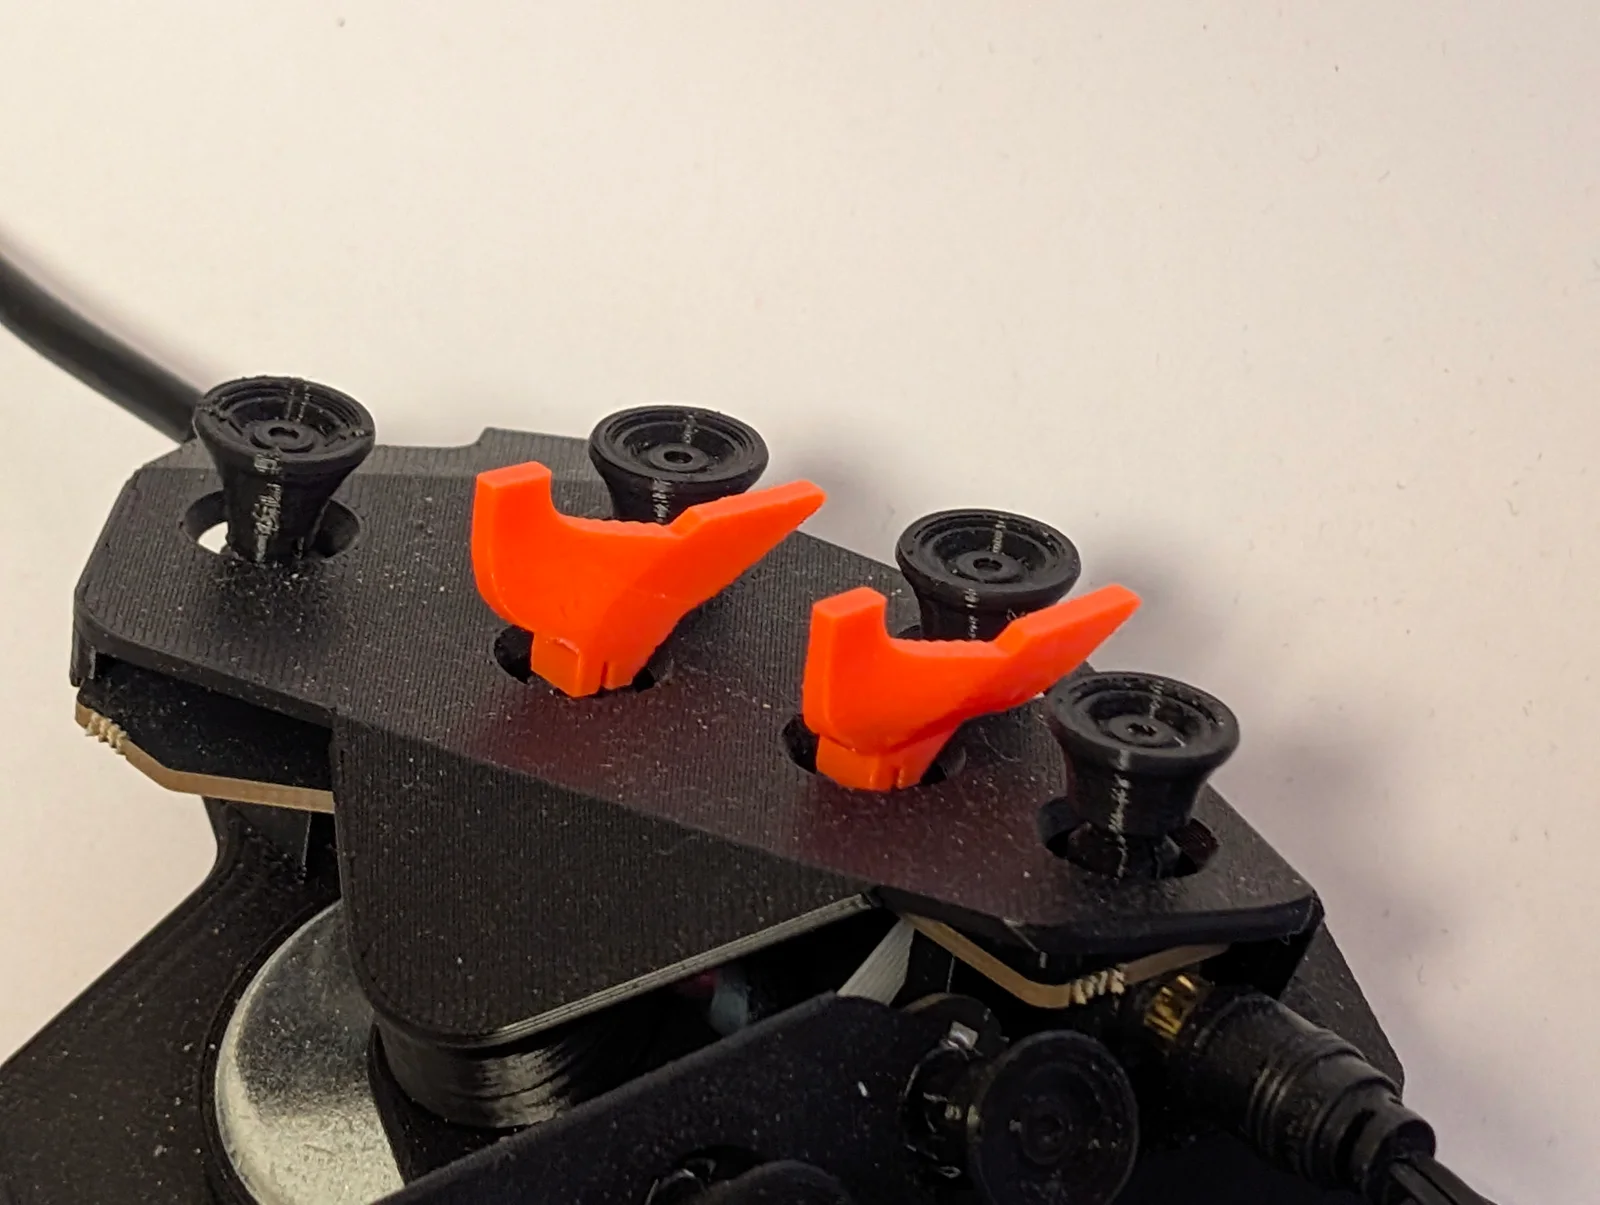
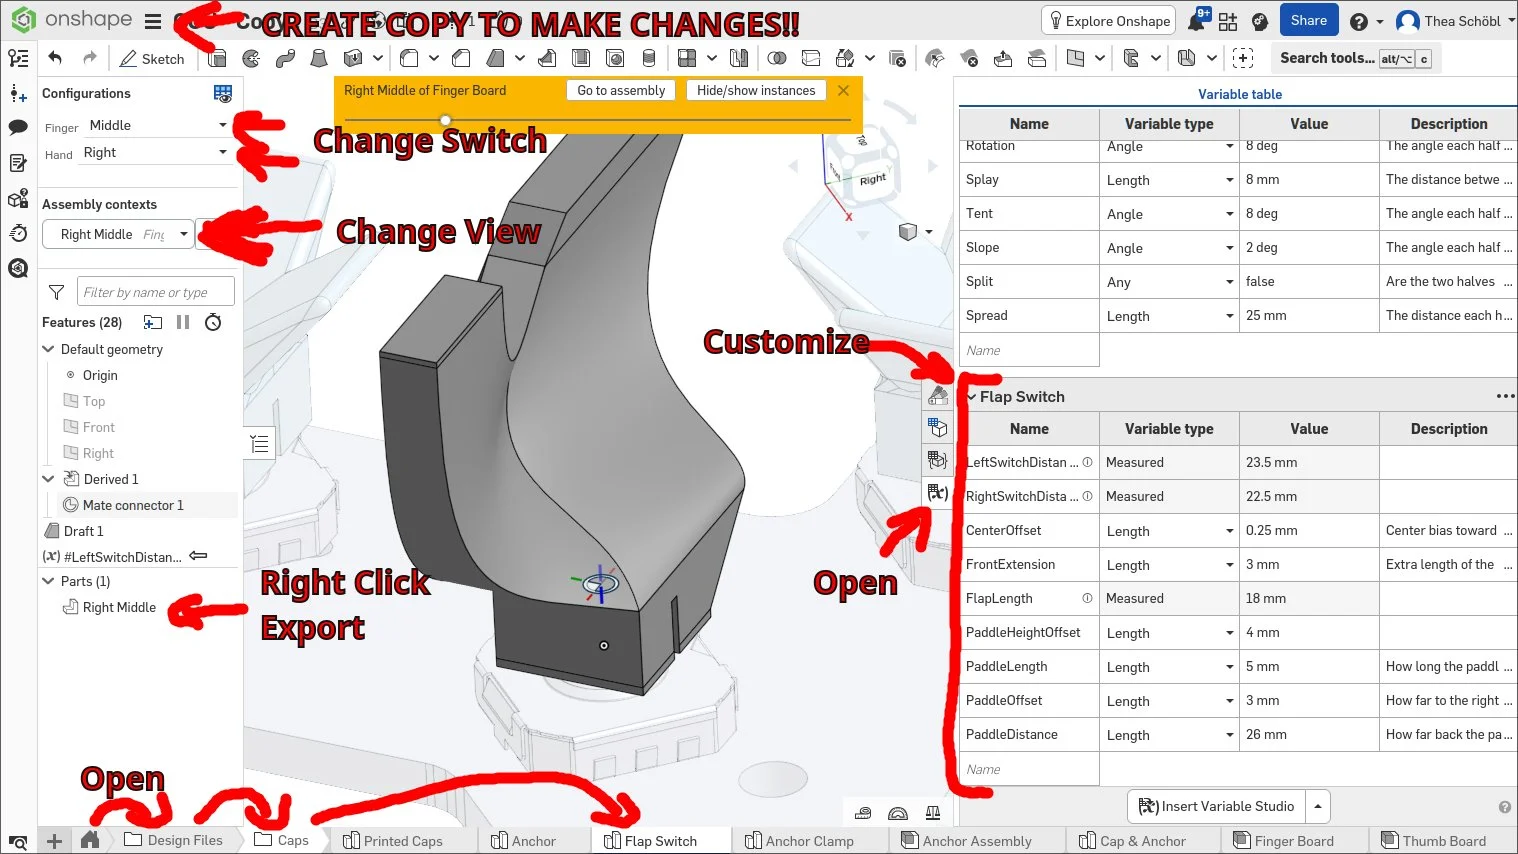


New
Build another version of this model.
PRINT SETTINGS
SUPPORTS ENABLED!!
0.08mm layer height
NO SHAME IN USING A BRIM if your print doesn't stick. Or get a Biqu Cryogrip Glacier build plate and never have issues with PLA bed adhesion ever again.
ELEPHANT FOOT COMPENSATION is a MUST. 0.2mm, or more for at least 2 layers until you get NO MATERIAL STICKING OUT at the bottom.
DO NOT FORCE YOUR SWITCH ON THE STEM, you WILL DAMAGE the soft resin.
If your switch won't go on with light force reprint, increase scale in the slicer by 0.1-0.5% (or the other way around if it sits too loosely).
Too loose will wear out the stem!
Too snug and you will damage the stem putting it on!

 Byrorys3DLikes0Downloads325

 ByAustin Wolt WoltLikes162Downloads380

 ByLecso_113752Likes76Downloads337

 Bytovelaermans_3355197Likes63Downloads427

 ByAlexMuLikes41Downloads331

 ByckthLikes148Downloads2.4K

 ByTangoOscarMik_505113Likes31Downloads252

 ByxsynaticLikes27Downloads213

 BySimin03Likes84Downloads205

 ByDerTapirLikes34Downloads174
