



New
Pocket-Size Third Hand Mini Spring Loaded Vise
 ByrjunLikes0Downloads303
Build another version of this model.
10-feb-2026 : PSU plate is more open to allow for other brands, such as Fortron or Apevia. Also, there's a new revision of Model 200, which now share the same back and handle parts as Model 240. You can print both fronts and have a try !
07-feb-2026 : active [back-plate & PSU] cooling & improved airflow for Model 240
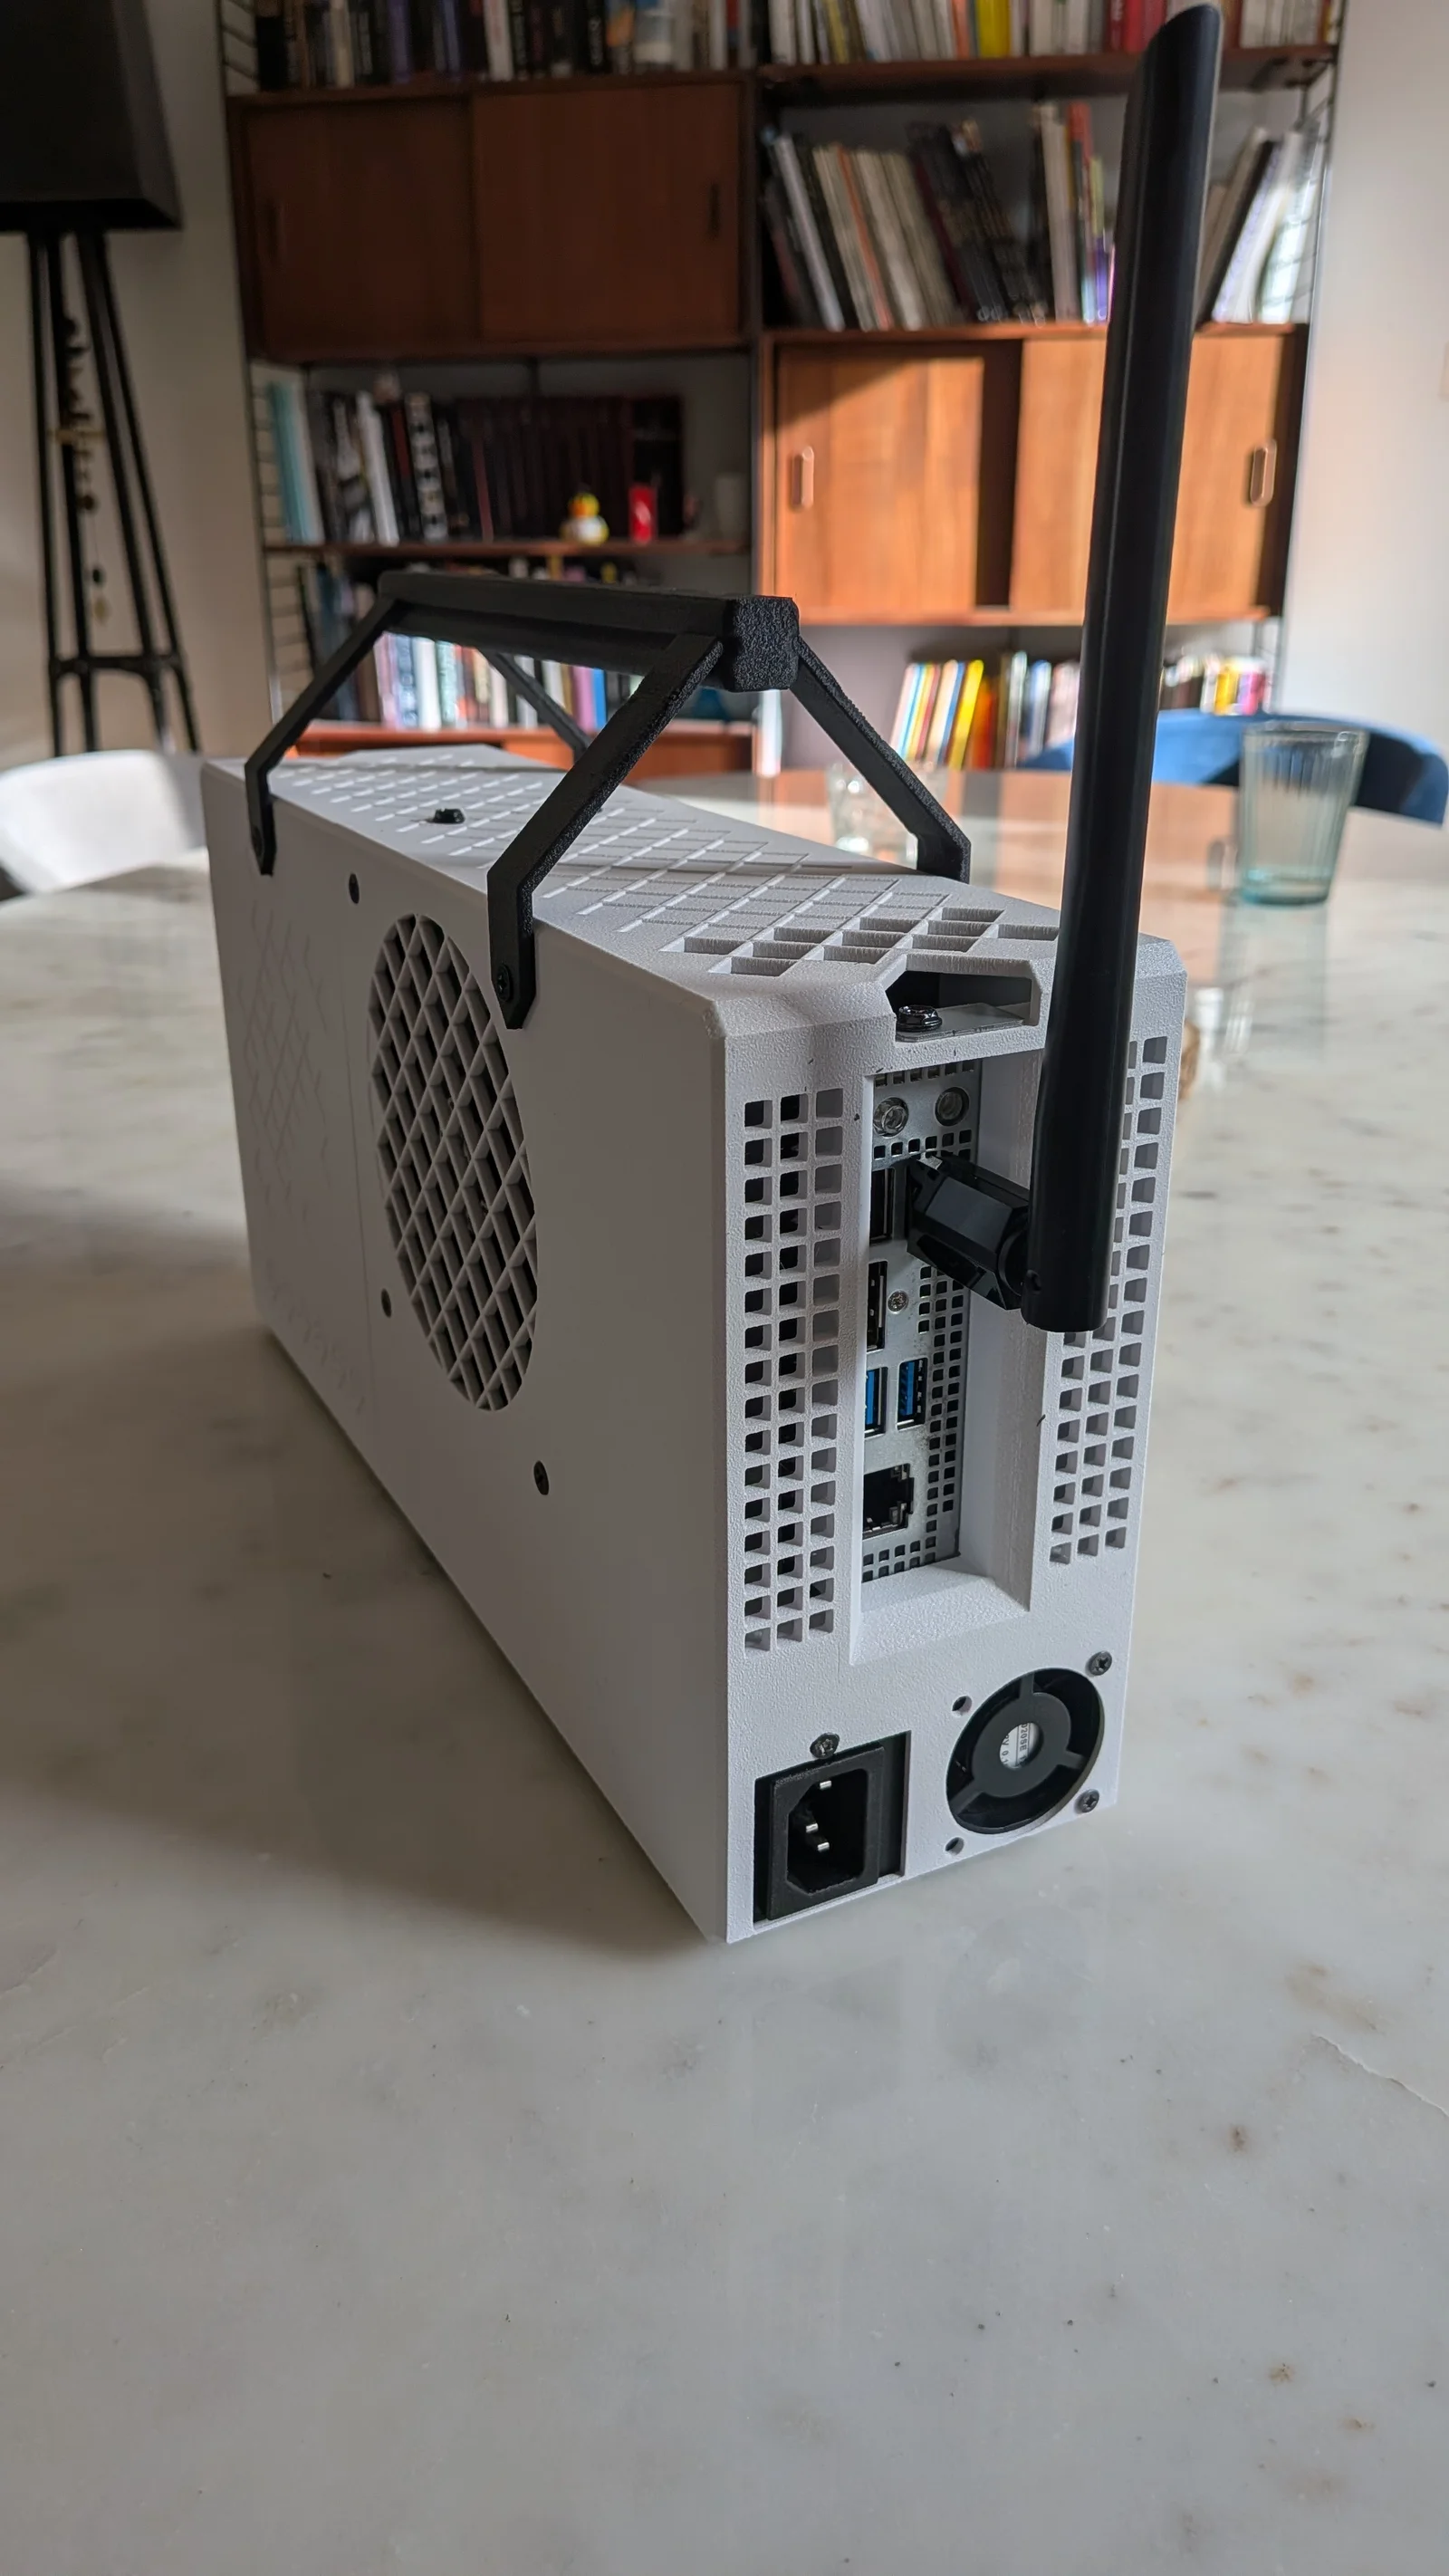
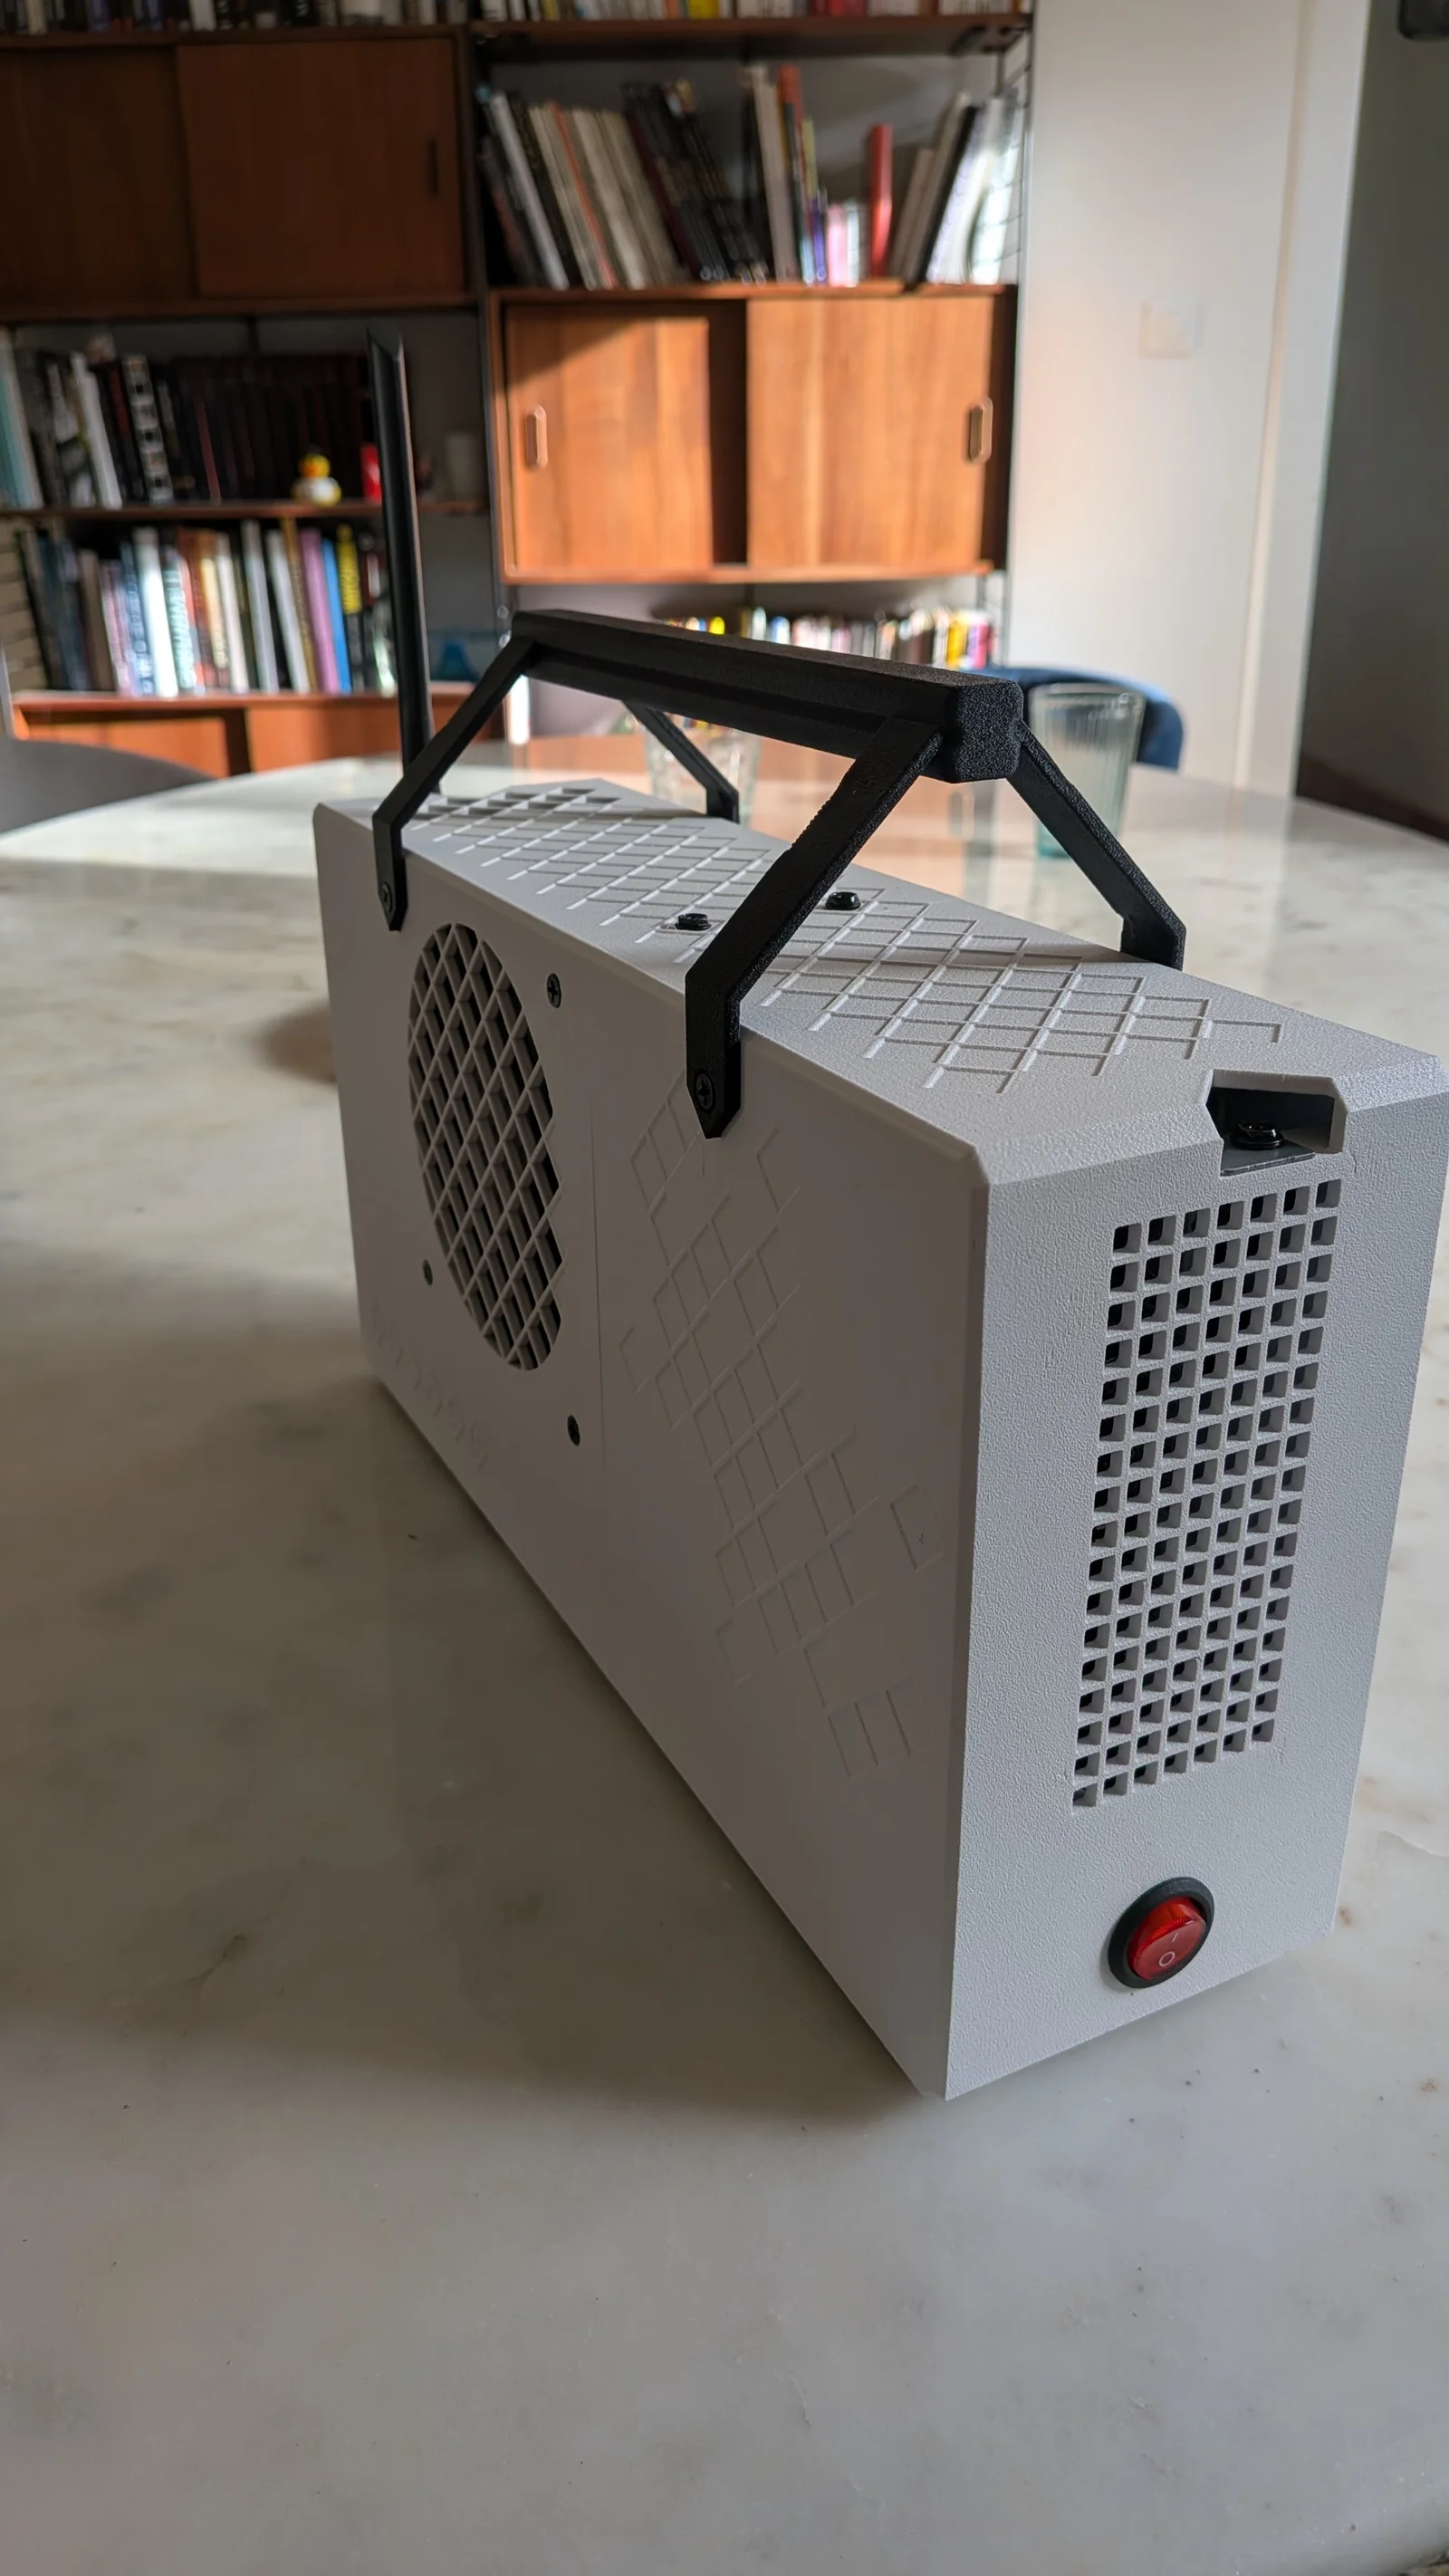
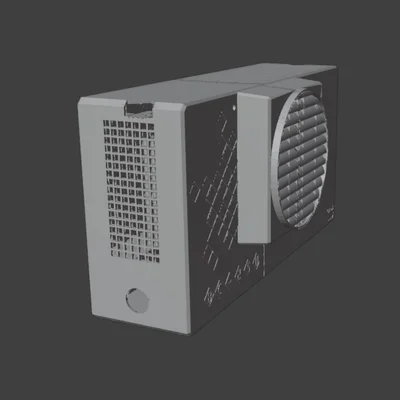
This set of cases was designed to experiment with the BC-250 board under various airflow configurations. I wanted a simple design to print - 2 pieces, and no overhang that would require support.
I ended-up with 2 variants
Model
Fans / Layout
PSU Fan orientation
Best with
Furmark stable freq you can expect (*)
200
1 side‑firing 120x25mm fan (high static pressure)
1 front 80x15mm fan (exhaust)
Intake
Closed fins heatsink
CPU : 3700Mhz
GPU : 1850Mhz
Combined Power ~125W
240
1 side‑firing 120x25mm fan (high static pressure)
1 side‑firing 120x15mm fan
Exhaust
Open fins heatsink
CPU : 3800Mhz
GPU : 2120Mhz
Combined Power ~160W
(*) that's the frequencies I have been able to reach, please note it entirely depends on silicon you have, fan models you choose, the quality of the thermal contact between the APU and the heatsink, and how high you choose to clock your CPU
Handle comes as a bonus. It's not only useful, it also makes the case sturdier (attaches with fan screws).
If your fins are open, definitely choose model 240, it's able to dissipate about 160W under load, and cools down both PSU and VRAM.
Power Supply : Flex ATX PSU (e.g. Metalfish 300W)
Cooling :
APU fan : 120 x 25mm high-static pressure (e.g. ARCTIC P12 Pro PST)
Front fan (model 200) : 80 x 15mm (e.g.: ARCTIC P8 Slim PWM PST)
Backplate fan (model 240) : 120 x 15mm (e.g.: ARCTIC P12 Slim PWM PST)
Front power-button : 21mm ATX power button (see reference image)
Filament :
my prototypes were printed using PETG-GF. I didn't get any satisfying results with PLA for the handle, but your mileage may vary...
~690g filament for the case
~40g filament for the handle
Slicing Parameters :
Auto-position the parts, then rotate 45°
No support needed
No brim (feel free to use glue)
Walls loops : 3
Fill-Multiline : 3
Printing time : ~14h back + ~10h front
Except for fan screws, use 3.5mm PC screws (the holes are threaded)
Apply force carefully, PETG isn't very strong and will tear appart if tightened too hard
Install and screw the PSU first with its cables already attached.
Note 1 : you can safely remove the PSU's top cover, especially with model 240, as it receives substantial airflow from the side-fan.
Note 2 : turn your PSU fan so it intakes with model 200 and exhausts with model 240
Install side fan(s).
Install the BC-250 board on its bracket support (1 screw)
Plug the PCIe connector into the board
Connect the fan(s) to the board
Install the ATX switch. You'll need to remove the connectors first; mark their positions before removal (e.g. 1-M-0). Reconnect the switch after installation to the case.
Model 200 only : Screw the front 80mm fan to the case, and connect it to the Y cable or the APU fan
Connect the ATX switch to the PSU
Place the back side upright (BC-250 should remain vertical)
Pre-position the front part on top:
Route excess cables toward the back plate side
On Model 240, this operation is a bit trickier, because of air guide on the radiator-side. To avoid pinching the APU fan cable, run it along the radiator.
Once the front and back are properly aligned, and cables are neatly packed, finish assembling front and back parts together. Walls should perfectly align. If not, you might have some cables in the way.
While still vertical, install the BC-250 board to its front-bracket support (1 screw)
Gently tighten top and bottom screws (2+3) to secure the case (again, don't over-tighten!)
Test that everything powers-up correctly before installing the handle
ByrjunLikes0Downloads303

 ByleonicLikes0Downloads1.4K

 ByZED4EverLikes313Downloads5.2K

 ByVC_DesignLikes271Downloads756

 ByfifindrLikes500Downloads4K

 Bymrfixit_324954Likes65Downloads478

 Bylab-96Likes0Downloads105

 ByDan Schwartz SchwartzLikes744Downloads3.4K

 ByBrokentooth_designsLikes83Downloads453

 Byvc-designLikes0Downloads3.2K

 Bythorin-oakenshieldLikes0Downloads530

 ByUpcrid3D_1585693Likes808Downloads2.1K