

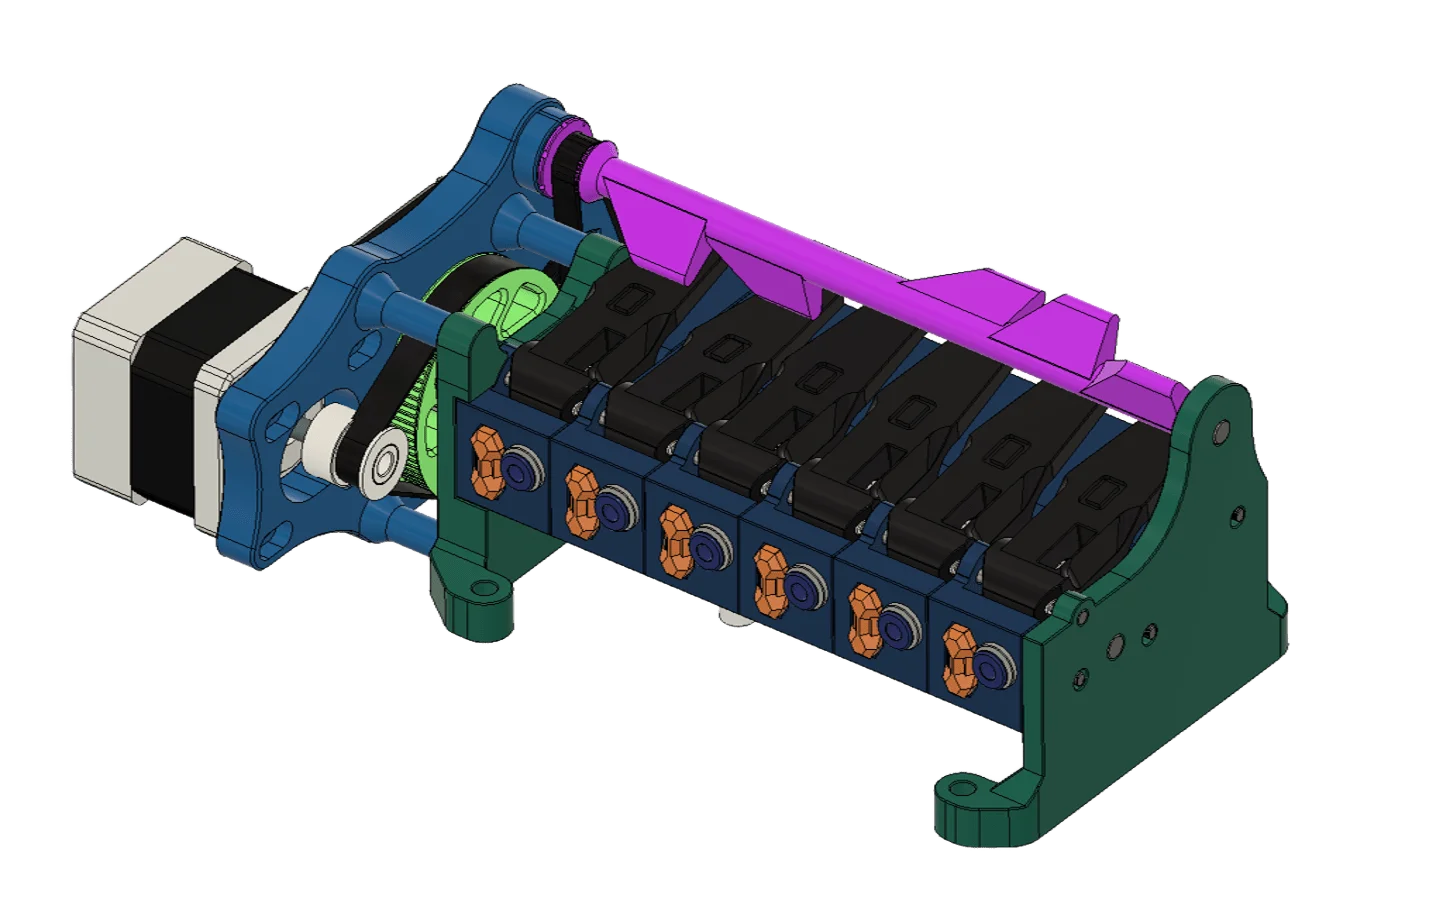


Kẹp giữ sợi Filament
 Bytinx_1344834Likes1.2KDownloads6K
Remix of Low Rider MMU - cho mọi máy in Klipper By GcodeGearHead
Build another version of this model.
 CamShaft-Idle90° - Trục cam tùy chỉnh cho hệ thốngByMarcBogadi_2020155 · 03/15/2026
 Low Rider V2 - bánh răng servo open loopByOndrejTisler_1756298 · 02/24/2026
 Low Rider V2 - đường line trong suốtByOndrejTisler_1756298 · 02/21/2026
###### Please post your Makes ######
Please like this, download and post the make if you built it
It helps us makers with feedback and gets us some Prusa meters as most people don't pay it forwardFeel free to help my projects continue https://ko-fi.com/gcodegearhead
###########################################################################
# Intro
###########################################################################
The first iteration of this project can be found here
The Low Rider MMU is heavily based on the following MMUs, and credit must be given where it is due. My project aims to build on these and contribute to the open source community.
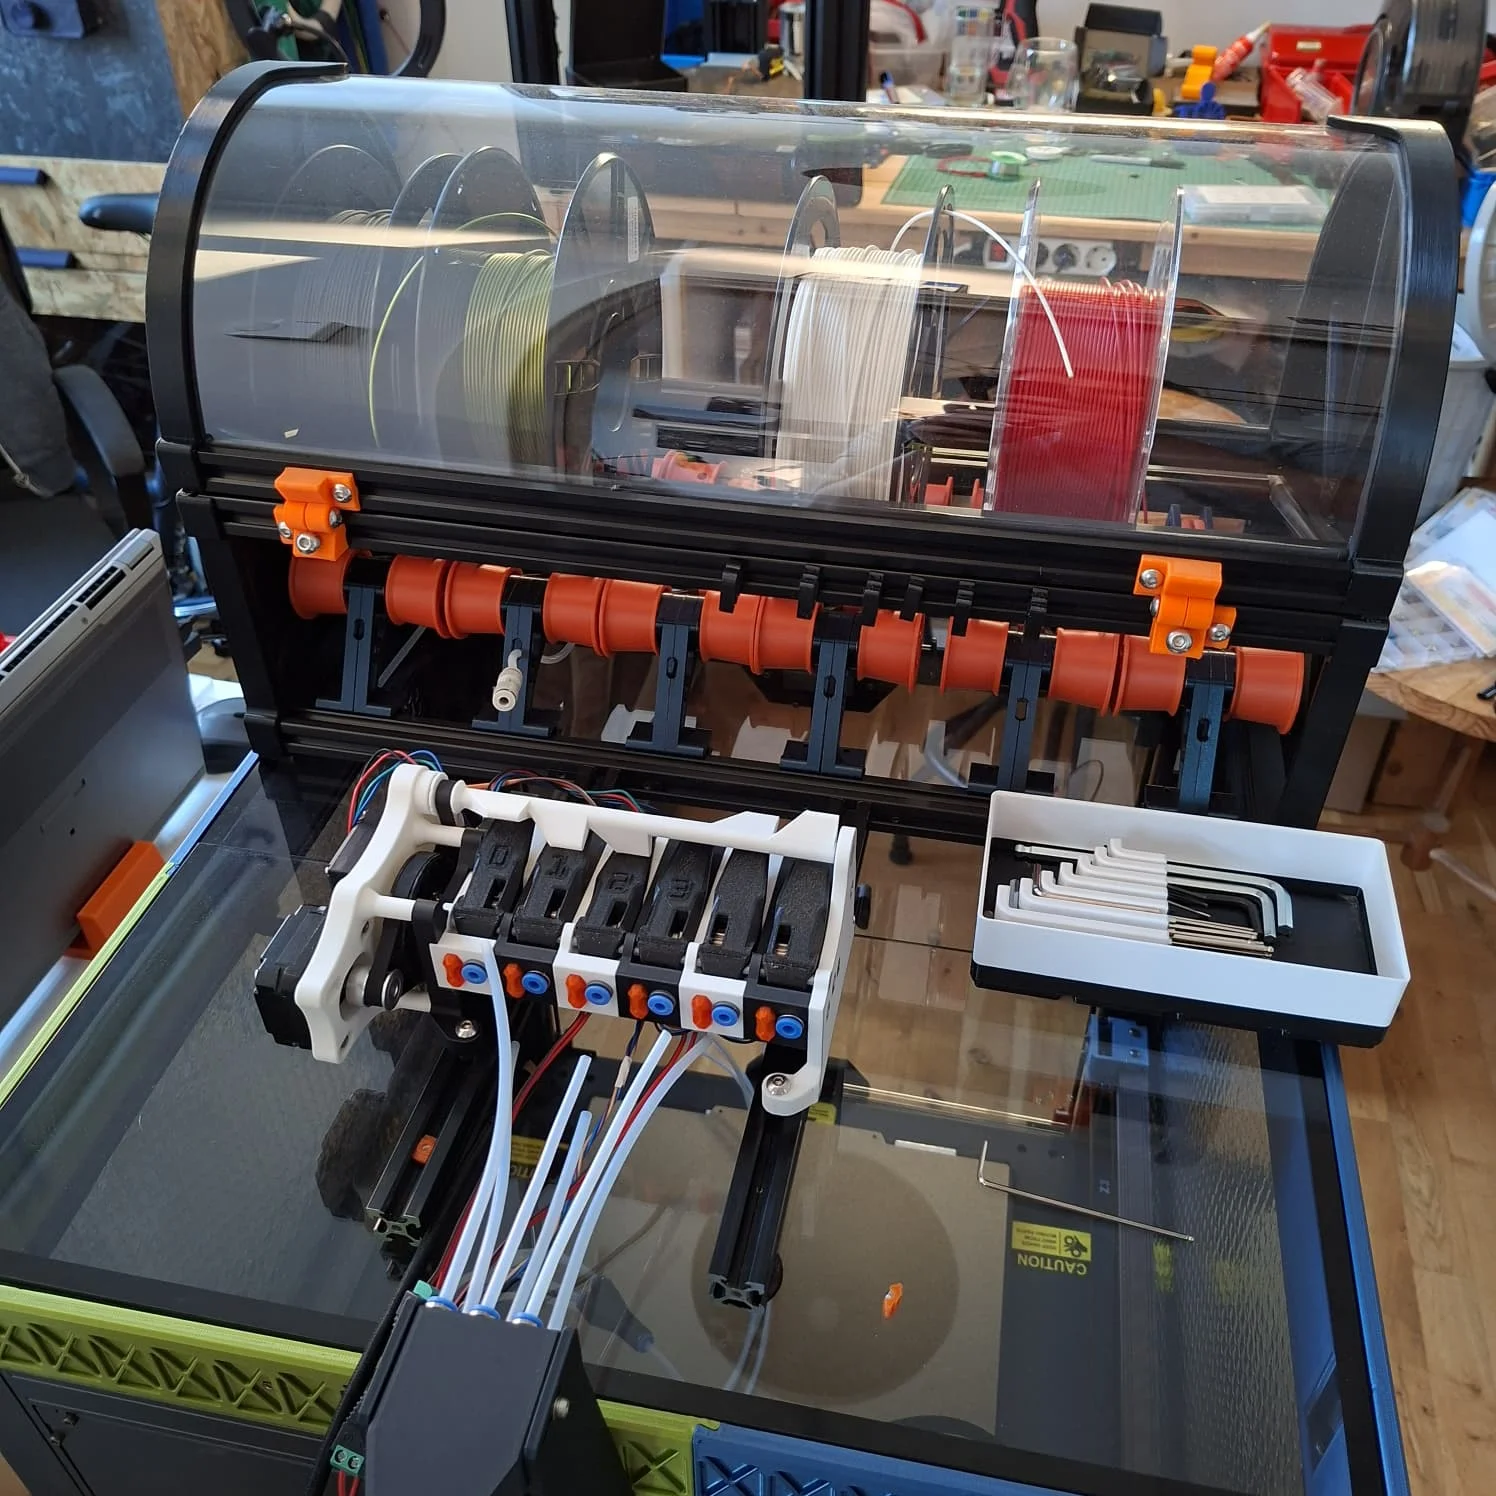
This is designed to be a simple relatively low cost MMU which has less moving parts to align and tinker with. The idea is it can be mounted to the side of a printer or underneath a filament rack etc. and take up minimal space. The fact that it looks interesting, like its thinking, when in operation is also good reason to keep it out on display.
Special mention to AmfKuna who contributed to improving the double shear servo gear as well as great mods to the lever arms.
###########################################################################
# Update Log
###########################################################################
Date
Info
12-FEB-2026
Added 5,4,3 Lane CAMs, (angles are the same minus the missing ears)
11-FEB-2026
Updated Manual
08-FEB-2026
Initial Release
###########################################################################
# Assembly Instructions
###########################################################################
Download the Manuals supplied below.
I assume you know how to flash an EBB board, if not follow the linked wiki pages.
This is intended to give you a starting point, it is by no means comprehensive.
You will need to tune your purge volumes, change to a blobifier, etc etc.
This is to help you get going and lower the barrier to entry to MMU units.
You can pair this with my spool holder
https://www.printables.com/model/1193075-4-5-spool-filament-dispenser-sv08-coprint-config-t
You can pair it with my Park Blob Poop for the SV08
https://www.printables.com/model/1328600-park-blob-poop-sv08-pbp-sv08
Here is a calibration test for tuning
https://www.printables.com/model/1322272-mmu-orca-flush-volume-test
This is a DIY project with multiple interfacing parts which move in close proximity to each other.
The quality of this project is strongly dependent on the accuracy of your printer, quality of your prints, and how well you pay attention to the details.
###########################################################################
# Print Settings
###########################################################################
Print all parts except for the levers as orientated, settings are in the manual
Orient the levers flat side down in the slicer
I have left a filled in version of the number in the lever for multi colour prints.
If you don't want it, split the lever to objects and delete the number body
###########################################################################
# BOM
###########################################################################
Parts
Qty
Link or info
EBB42 V1.2 (no Max31865)
1
Use the No-Max version
https://biqu.equipment/products/bigtreetech-ebb-36-42-can-bus-for-connecting-klipper-expansion-device?variant=39760665247842
LM2596 DCDC Buck
1
Neo Pixel LEDS GRBW
6
Use amount required for your configuration choice
MG996r Servo
1
Nema 17 Stepper Motor
1
Heat Set Inserts M3 OD5 L5mm
19
Heat Set Inserts M5 OD7 L6mm
1
0.2mm2 / 26AWG wire
As Required
Small Zipties
As Required
(approx. 5)
Limit Switches D2FC NO+NC
6
Use amount required for your configuration choice. Use the exact switch type, or tolerances will be off
https://www.amazon.de/DAOKAI-Switch-Straight-Moment-Arduino/dp/B09WVMRD5V
Solder
As Required
M5 x 14mm
1
M3 x 30mm
4
M3 x 8mm
9
M3 x 6mm
4
M3 x 4mm
4
M3 Nuts
6
Or use 3x M3 lock nuts
M3 Washers
7
M2 x 10mm
12
GT2 Belt 6mm x 186
1
Closed loop for stepper
GT2 Belt 6mm x 146
1
Closed loop for stepper
GT2 20 tooth pulley 5mm OD
2
Bearing F695
3
https://www.aliexpress.com/item/32850989216.html
Bearing 685
3
https://www.aliexpress.com/item/1005003141324807.html
BMG Dual Extruder Gear sets
6
https://www.aliexpress.com/item/1005005249662532.html
OD 3mm Shaft L=160mm
1
OD 5mm Shaft L=180mm
2
M3 threaded Rod L=160mm
3
ECAS04
12
Use amount required for your configuration choice
6x3 N35 Magnets
12
Use amount required for your configuration choice
5mm Steel Balls
6
Use amount required for your configuration choice
PTFE Tubing OD=4mm ID=3mm L=20mm
6
For levers
Use amount required for your configuration choice
PTFE Tubing OD=4mm ID=3mm
As required
Routing from spool holder to MMU and MMU to printer
Bytinx_1344834Likes1.2KDownloads6K

 ByMordievLikes0Downloads7

 Byarhi_585078Likes64Downloads547

 Byn-spireLikes0Downloads163

 Byprusa-researchLikes0Downloads2.7K

 Bydet-manLikes0Downloads177

 Bygummiegecko8477Likes0Downloads168

 Bychukwufumnanya-arinzechukwuLikes0Downloads154

 BydalleLikes0Downloads152

 ByhumebeamLikes0Downloads133

 BynasikLikes0Downloads123

 ByltloweLikes26Downloads126