

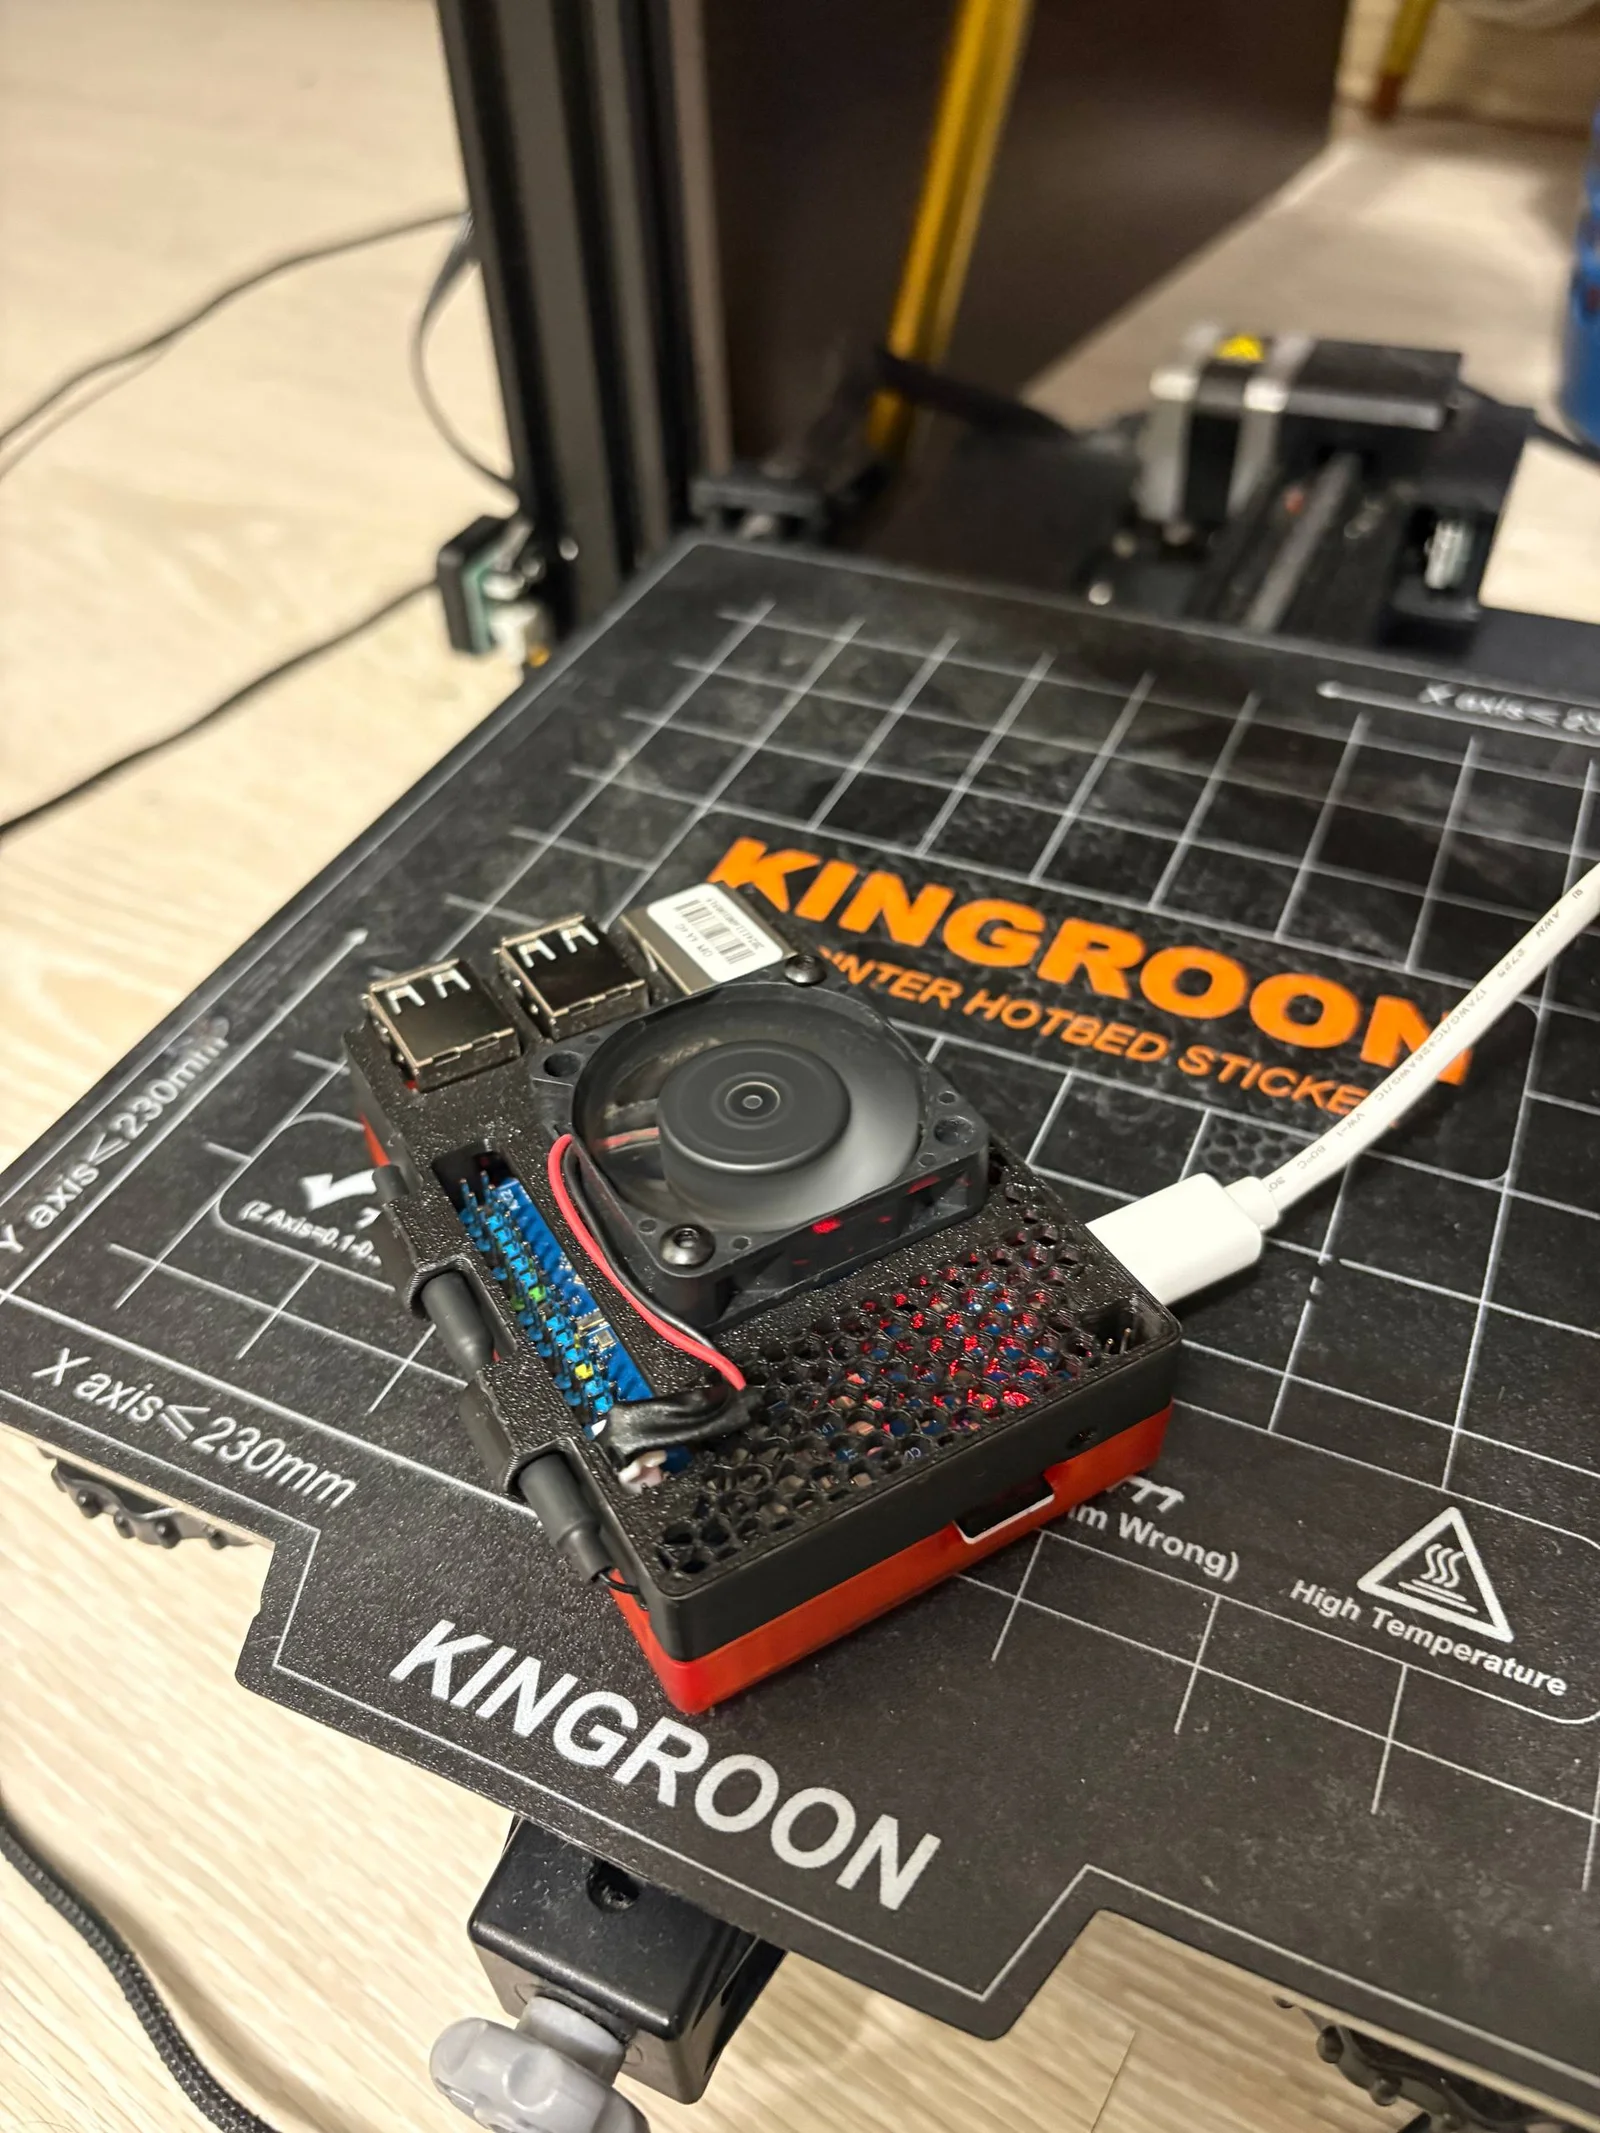
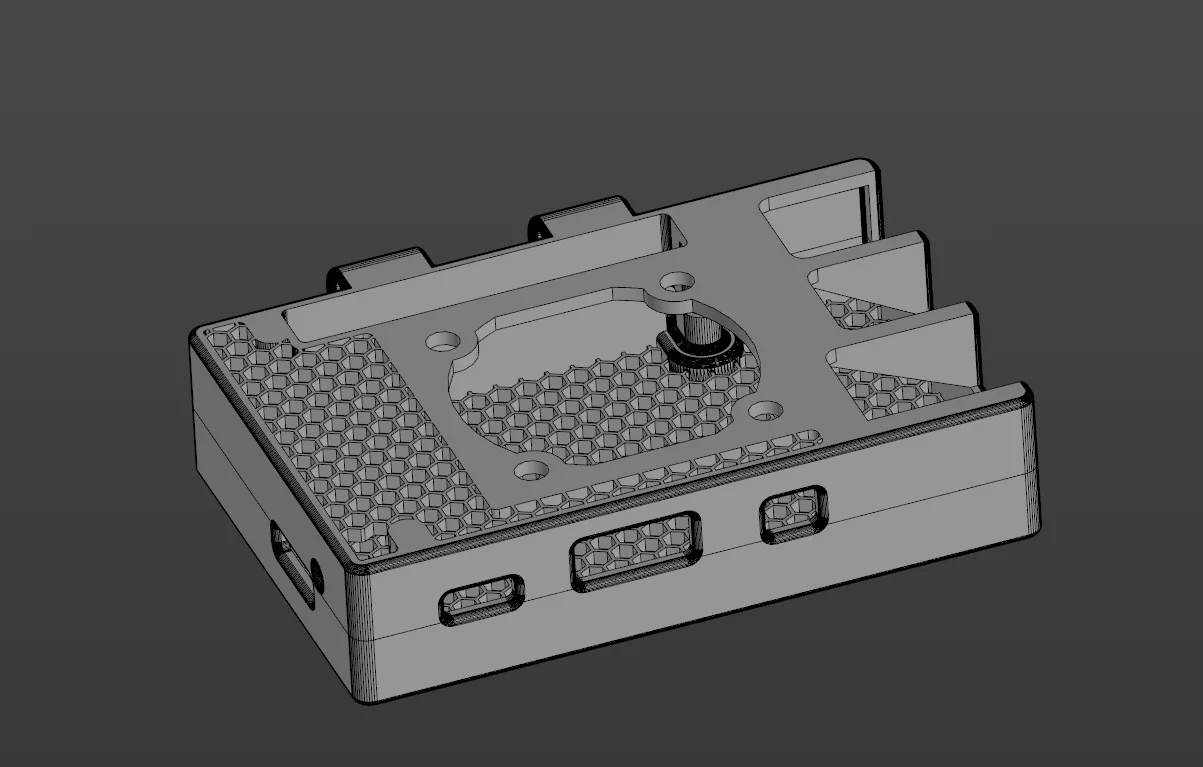


Case Fractal North Mini cho Raspberry Pi
 ByZapador_43198Likes14Downloads26
Remix of Vỏ (Case) OrangePi 4A By TheParanoidEn_917266
Build another version of this model.
This is a case I designed for the OrangePi 4A.
You will need to print a case bottom and case top cover of your choosing. Personally, I like the external antenna versions (ANT). Simply run the antenna wire in the slot in the rear corner and place the antenna in the retention slots (place the antenna in the holder prior to screwing the case together).
Layer Height: 0.2mm
Wall Thickness: 1mm minimum
Top/Bottom Thickness: 1mm minimum
Infill: 100% (recommended)
Avoid Crossing Perimeters (Combing): Enabled
(This setting reduces stringing in the hex. I also suggest using dry filament)
Supports: Not Required!
Adhesion: If you have poor adhesion use a bit of glue stick
Print Orientation: Hex pattern on buildplate
If you have stringing, use a heat gun or lighter to remove the strings.
Place the PCB in its place in the case bottom.
(If using ANT version) Place the antenna in the retention holes of the case top.
Ensure antenna cable is in the slot and will not get pinched during assembly
Place the case top on the case bottom.
Screw together the top and bottom parts (from the bottom) using the 4 SHCS specified above.
Ensure the Case/PCB is secure but do not overtighten (threaded into plastic).
Please post your makes and let me know how it works out for you!
ByZapador_43198Likes14Downloads26

 ByWolf_115355Likes513Downloads8.4K

 ByPit_1524259Likes0Downloads3

 ByZED4EverLikes313Downloads5.2K

 ByVC_DesignLikes271Downloads751

 ByfifindrLikes500Downloads4K

 Bymrfixit_324954Likes65Downloads473

 ByDan Schwartz SchwartzLikes744Downloads3.4K

 ByBrokentooth_designsLikes83Downloads448

 Byvc-designLikes0Downloads3.2K

 ByKNIN_CustomLikes112Downloads436

 ByUpcrid3D_1585693Likes808Downloads2.1K